
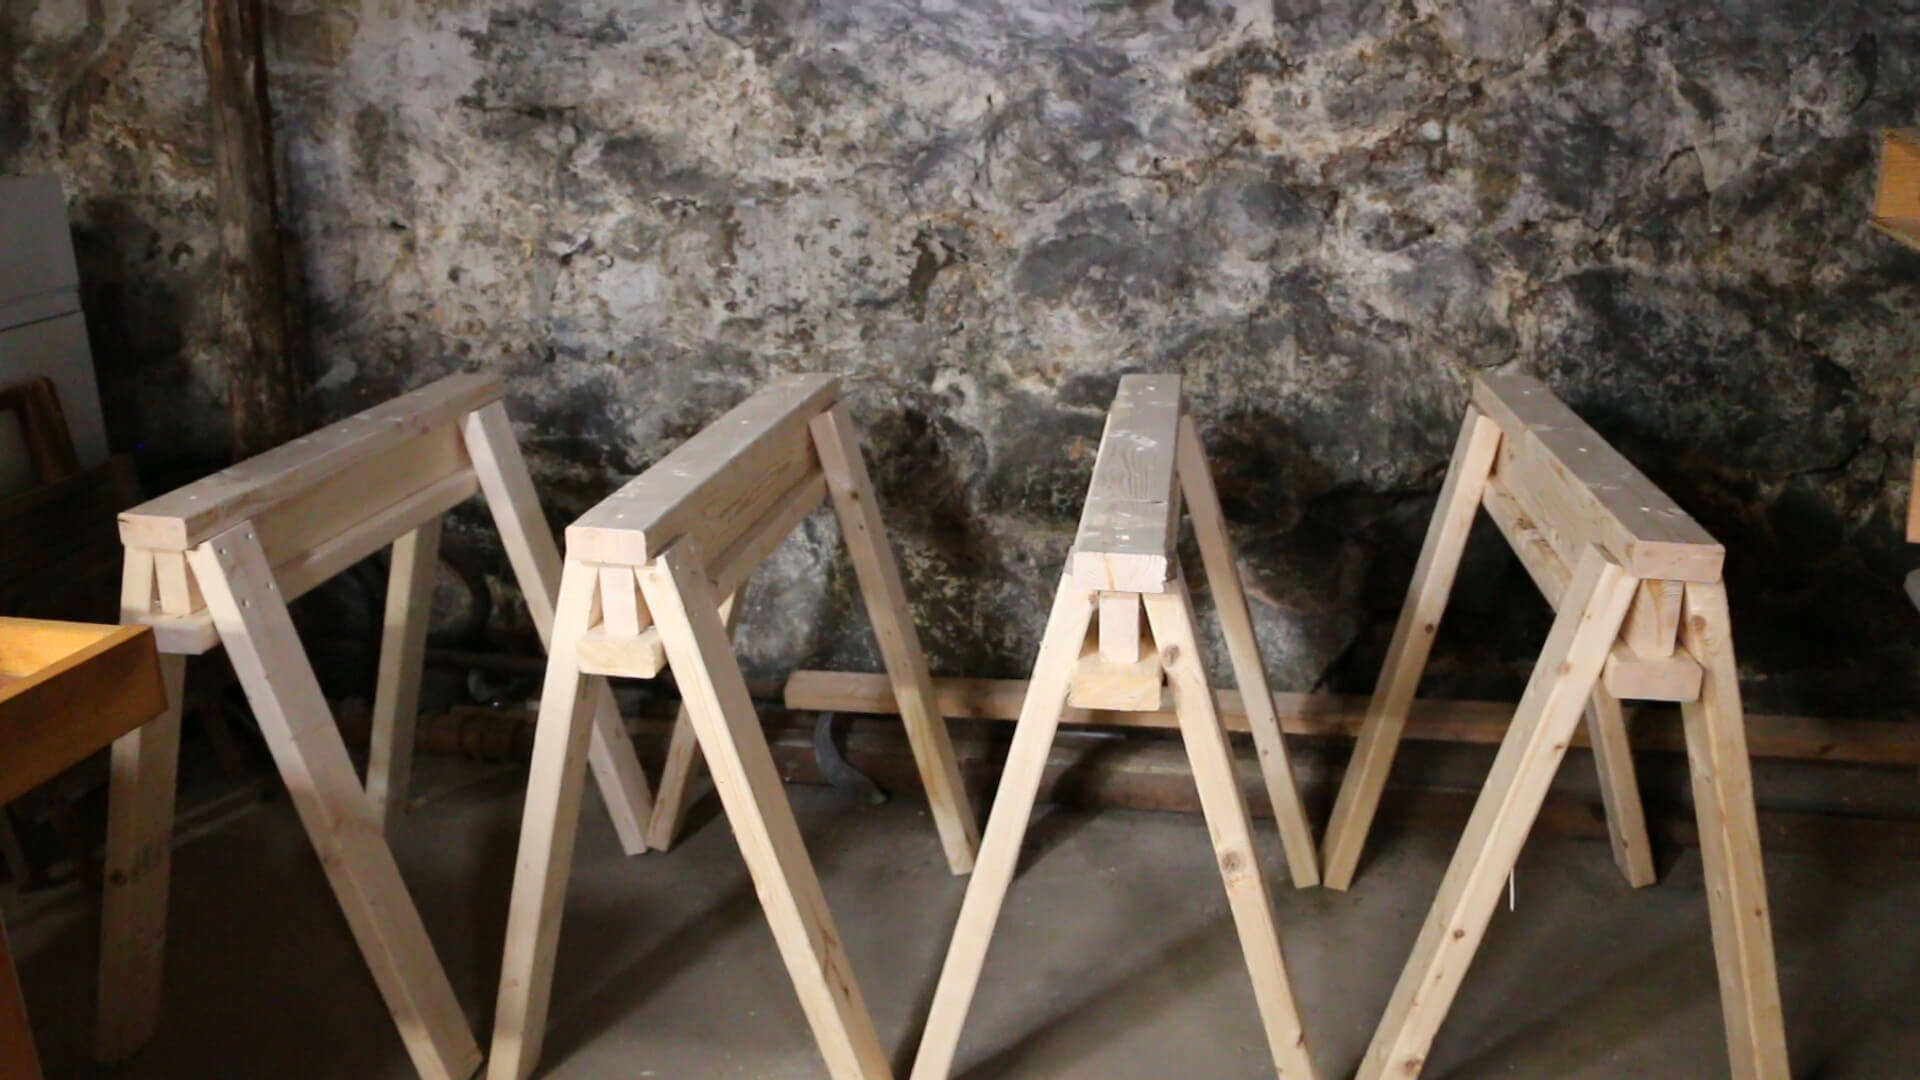
These sawhorses are strong, very easy to build and inexpensive to make. They can be made quickly for about $7 each worth of 2×4 lumber. They are light weight and stackable and excellent for setting up makeshift tables, cutting plywood and are a must-have for your wood shop!
Tools needed
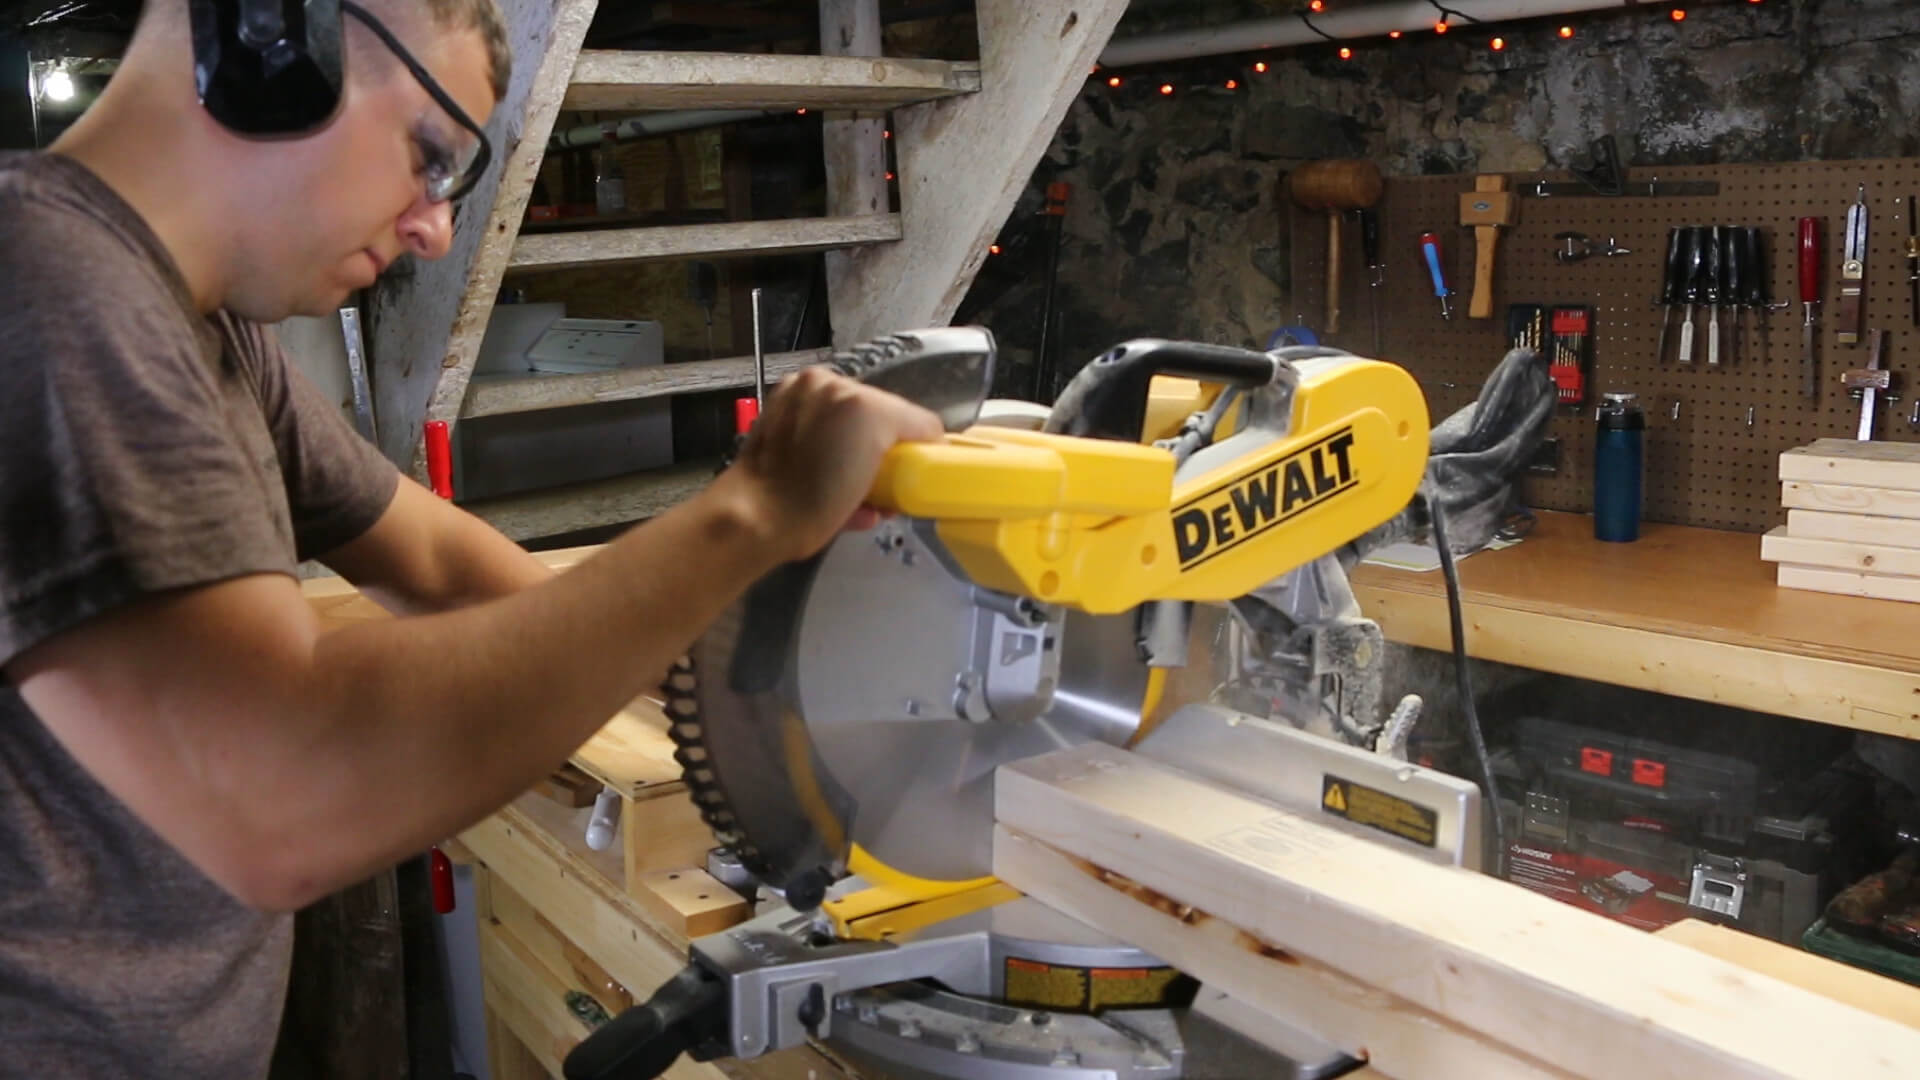
Miter saw or table saw
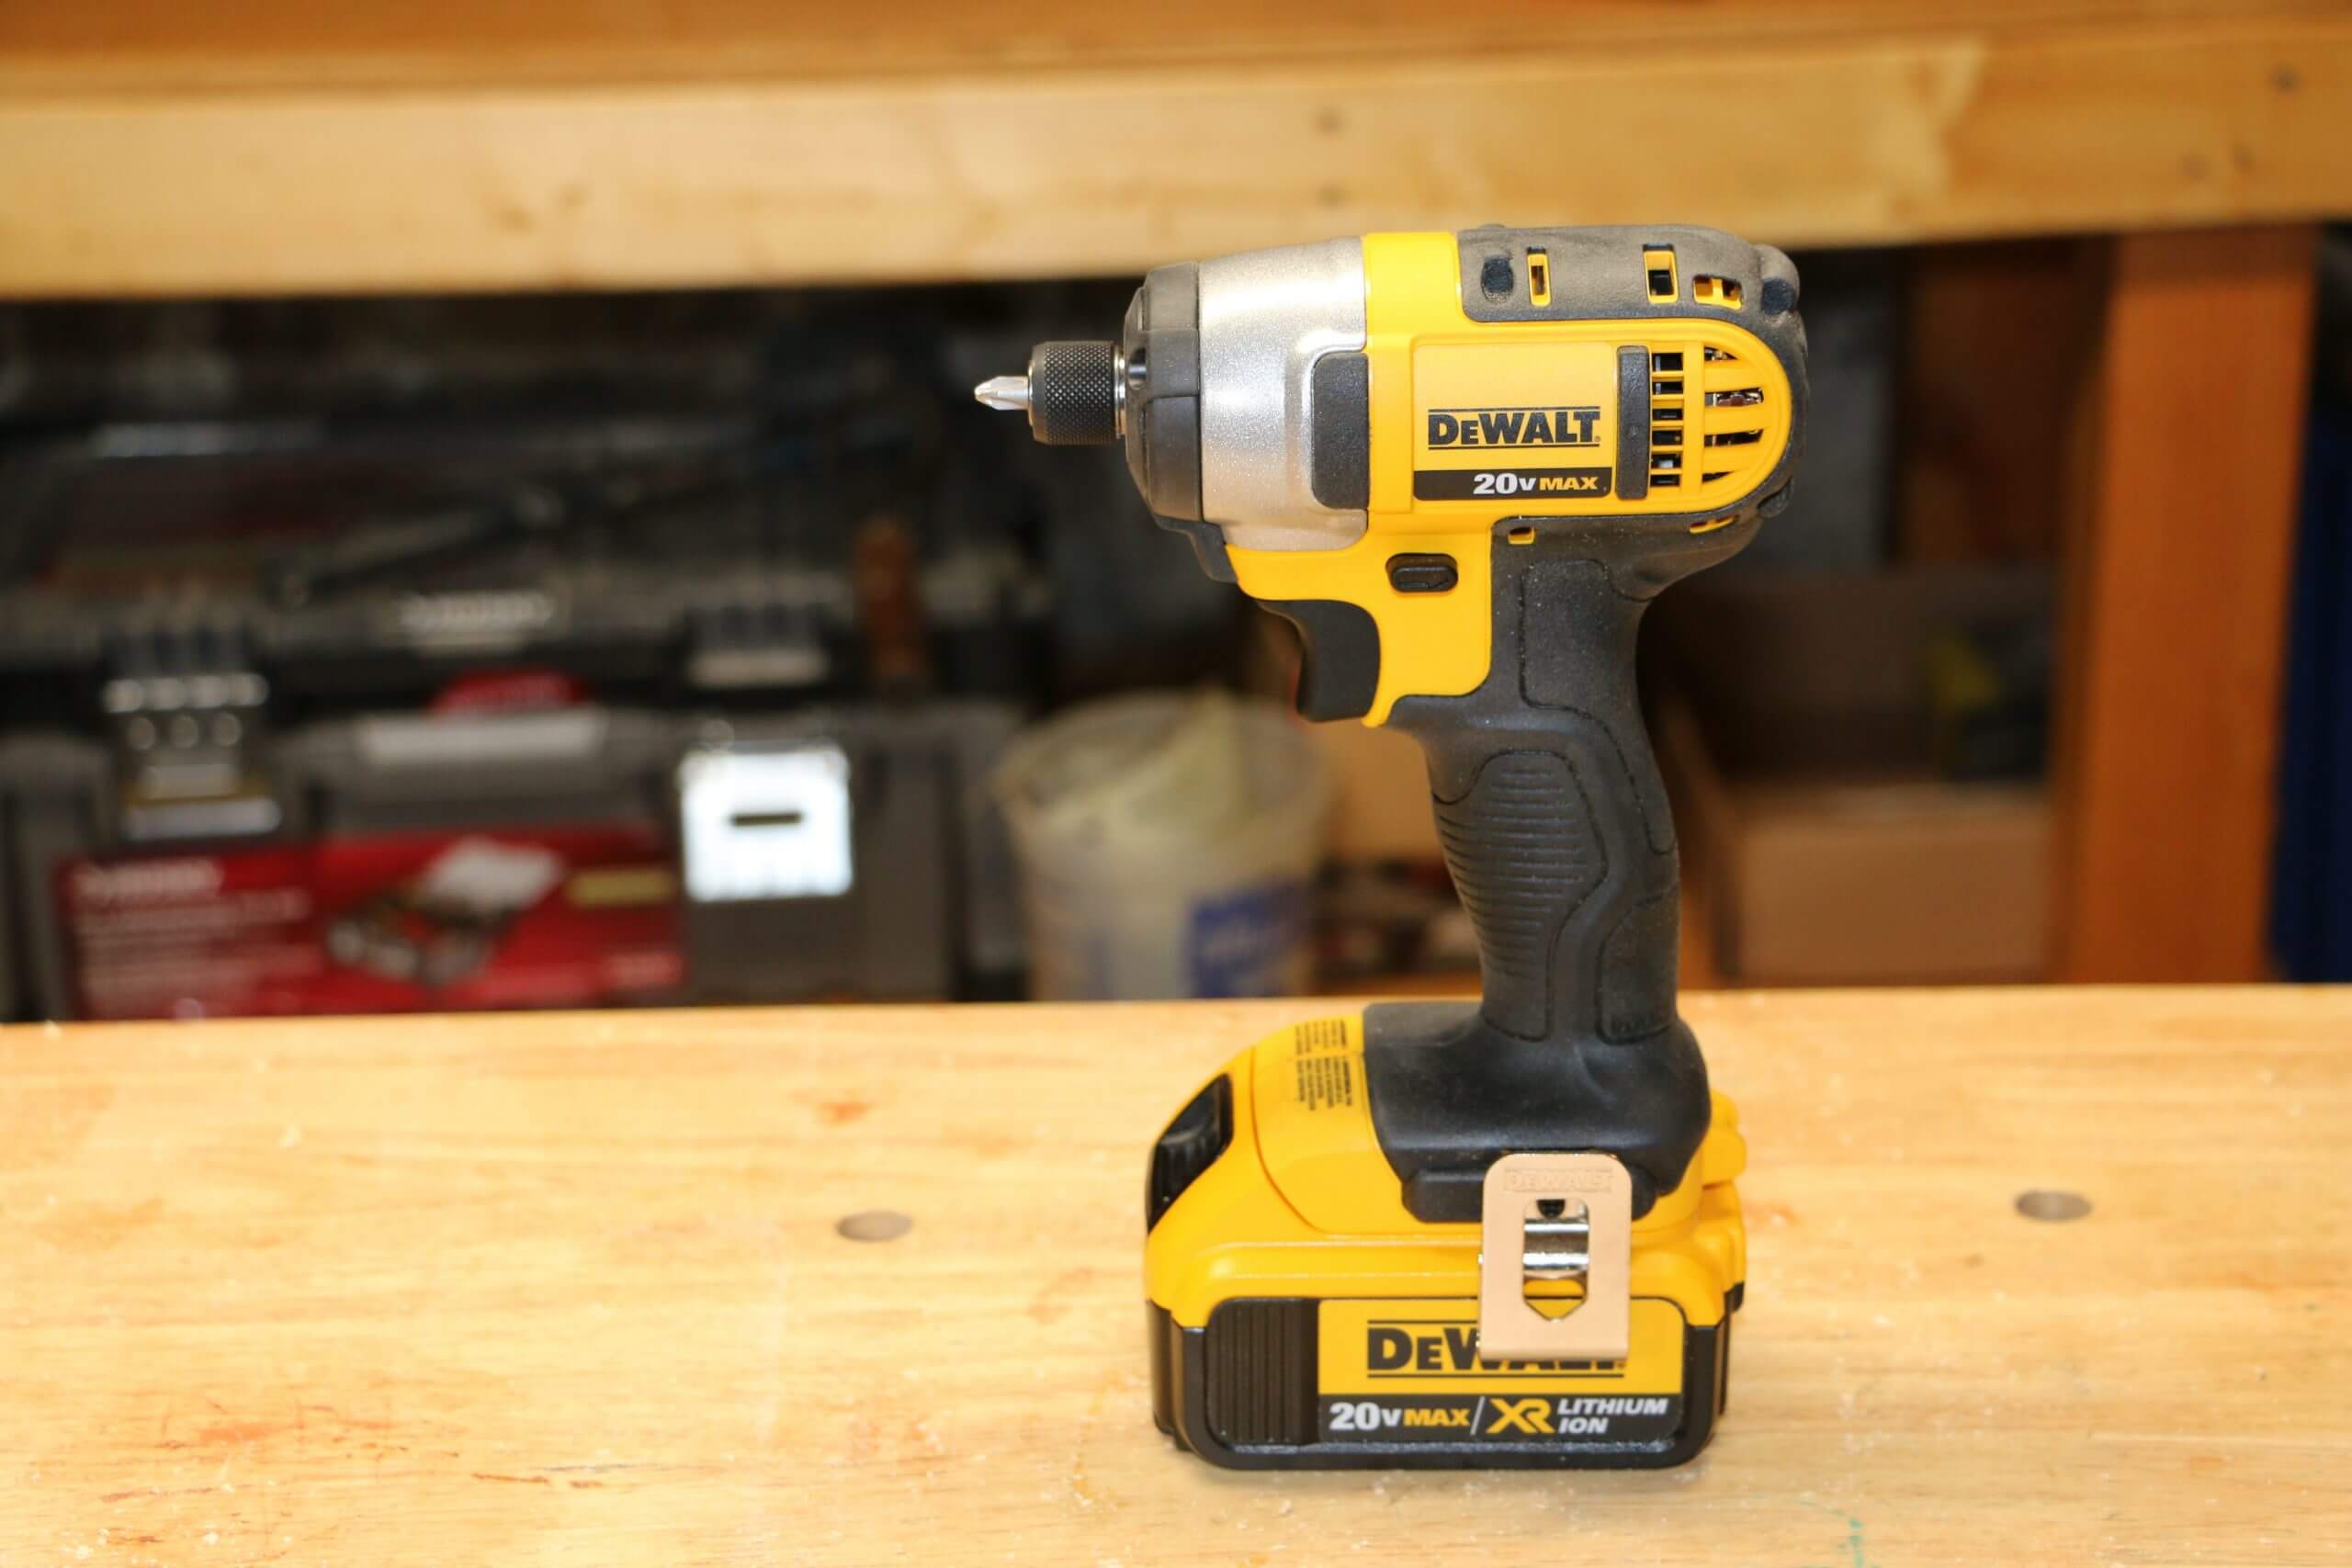
Impact driver (optional but really helps – much cheaper if you buy them as a combo)
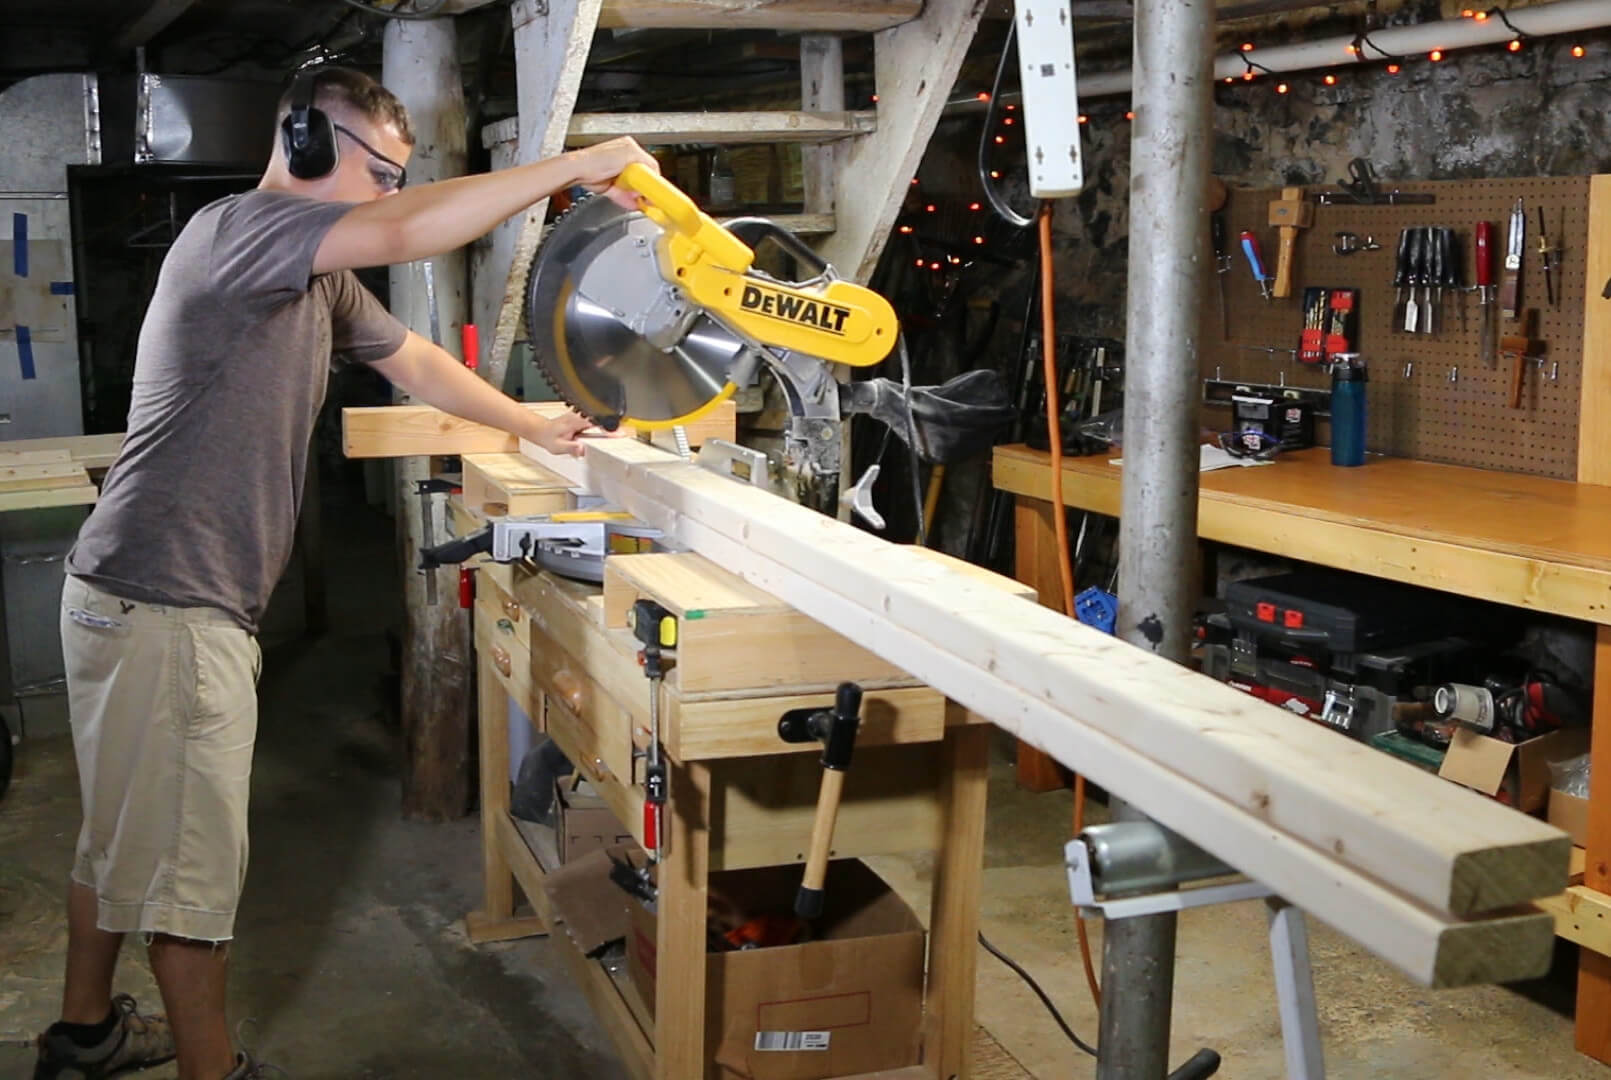
Roller stand (optional – helps when cutting long boards)
Lumber & Materials
(5) 2×4’s – 8 foot length boards – These will be used for the legs & cross beams and will yield two sawhorses.
3″ Screws (decking screws work fine)
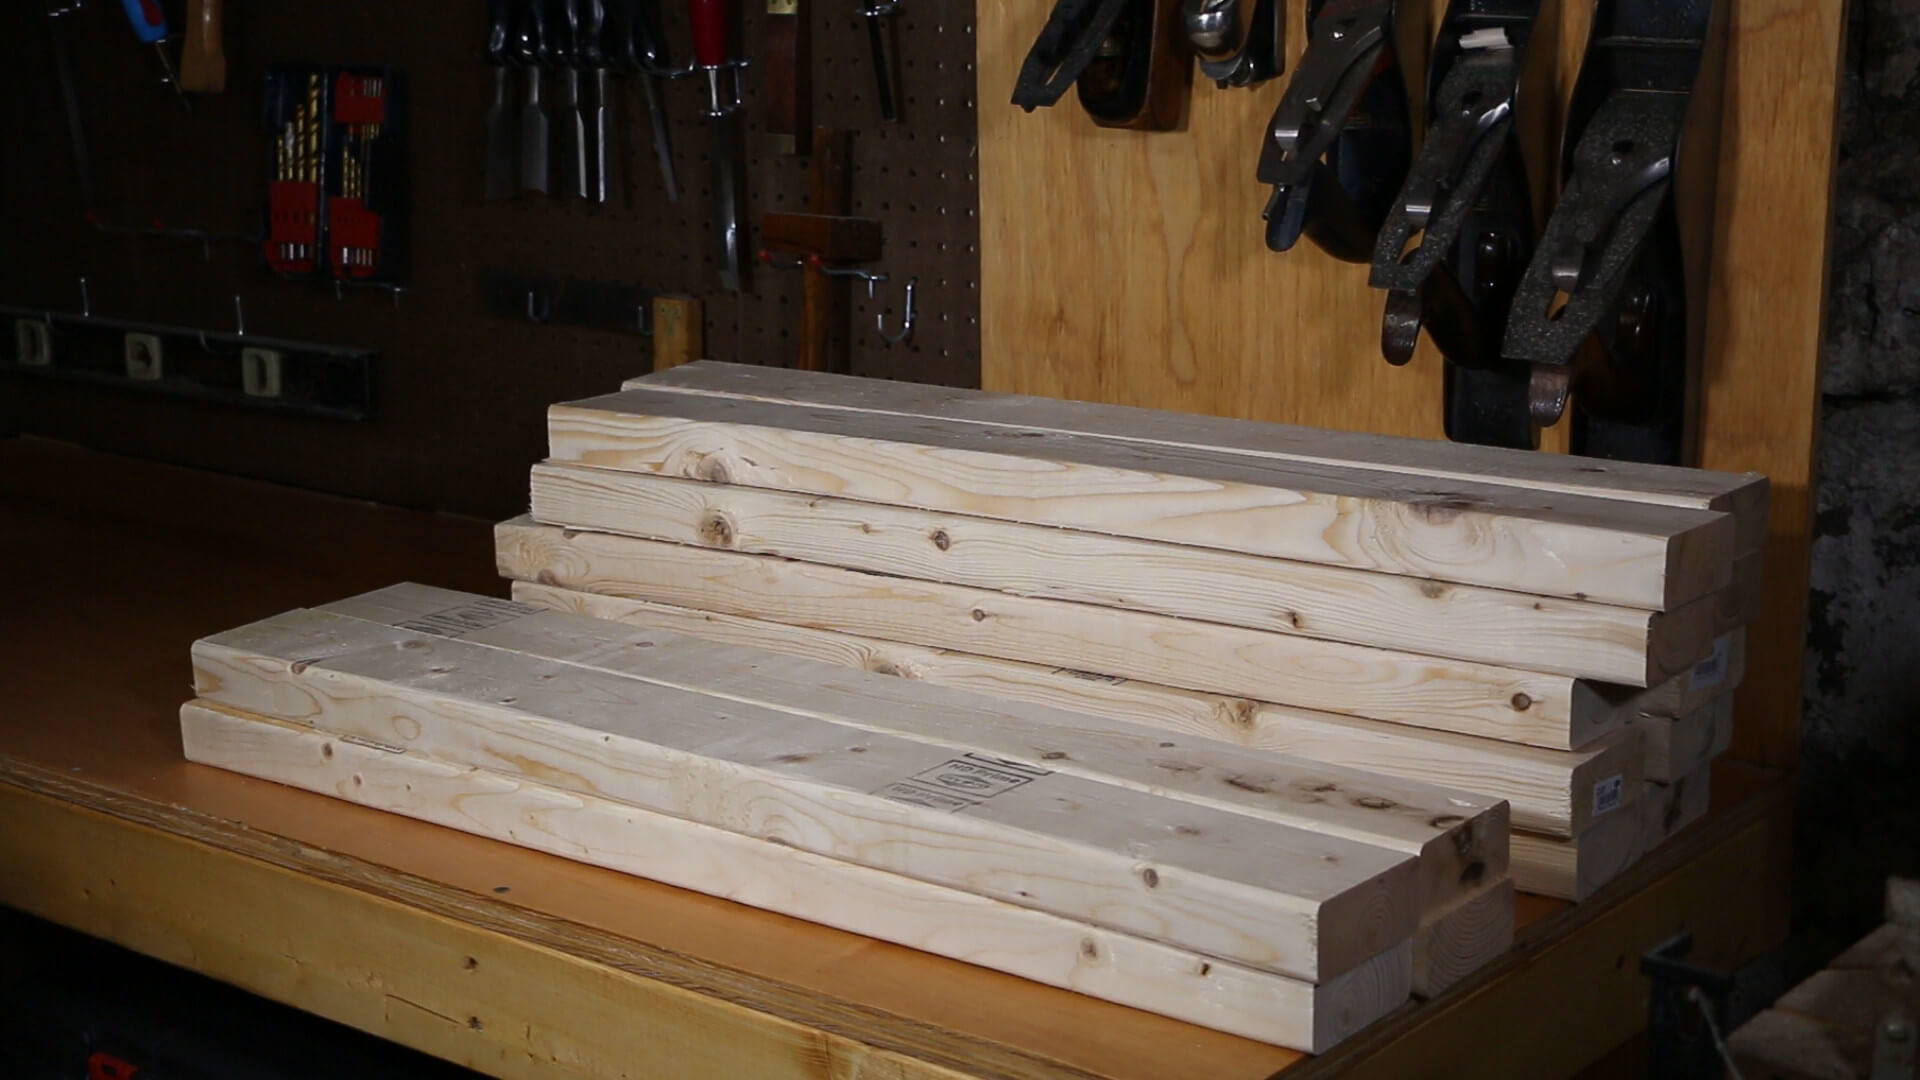
Step one: Select & cut lumber
Since 2×4 lumber is notorious for being cupped, warped or otherwise bent, make sure to inspect each board that you buy. You want the straightest possible boards otherwise your sawhorses will come out crooked and will not sit level.
To make a pair of sawhorses, you’ll need to cut the 2×4’s into the following dimensions:
(10) 30″ lengths
(4) 32″ lengths
This can be done easily on a miter saw with a stop block.
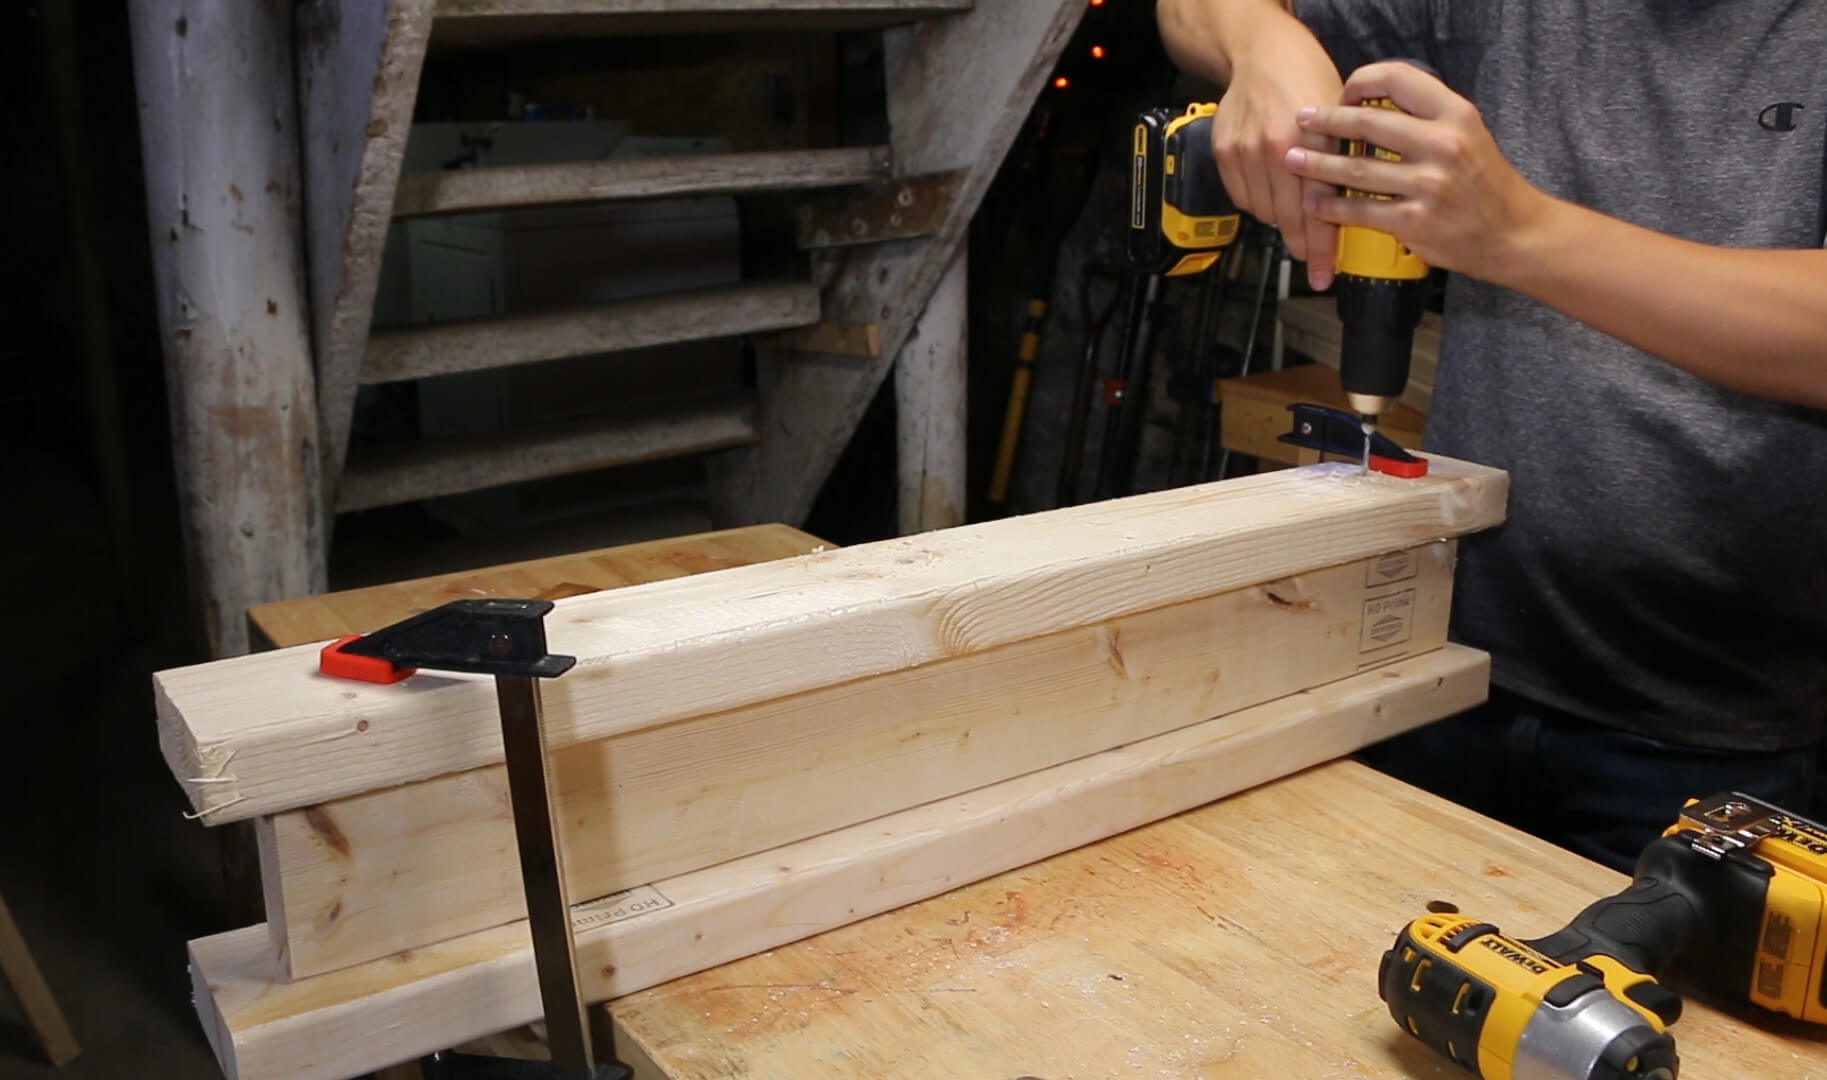
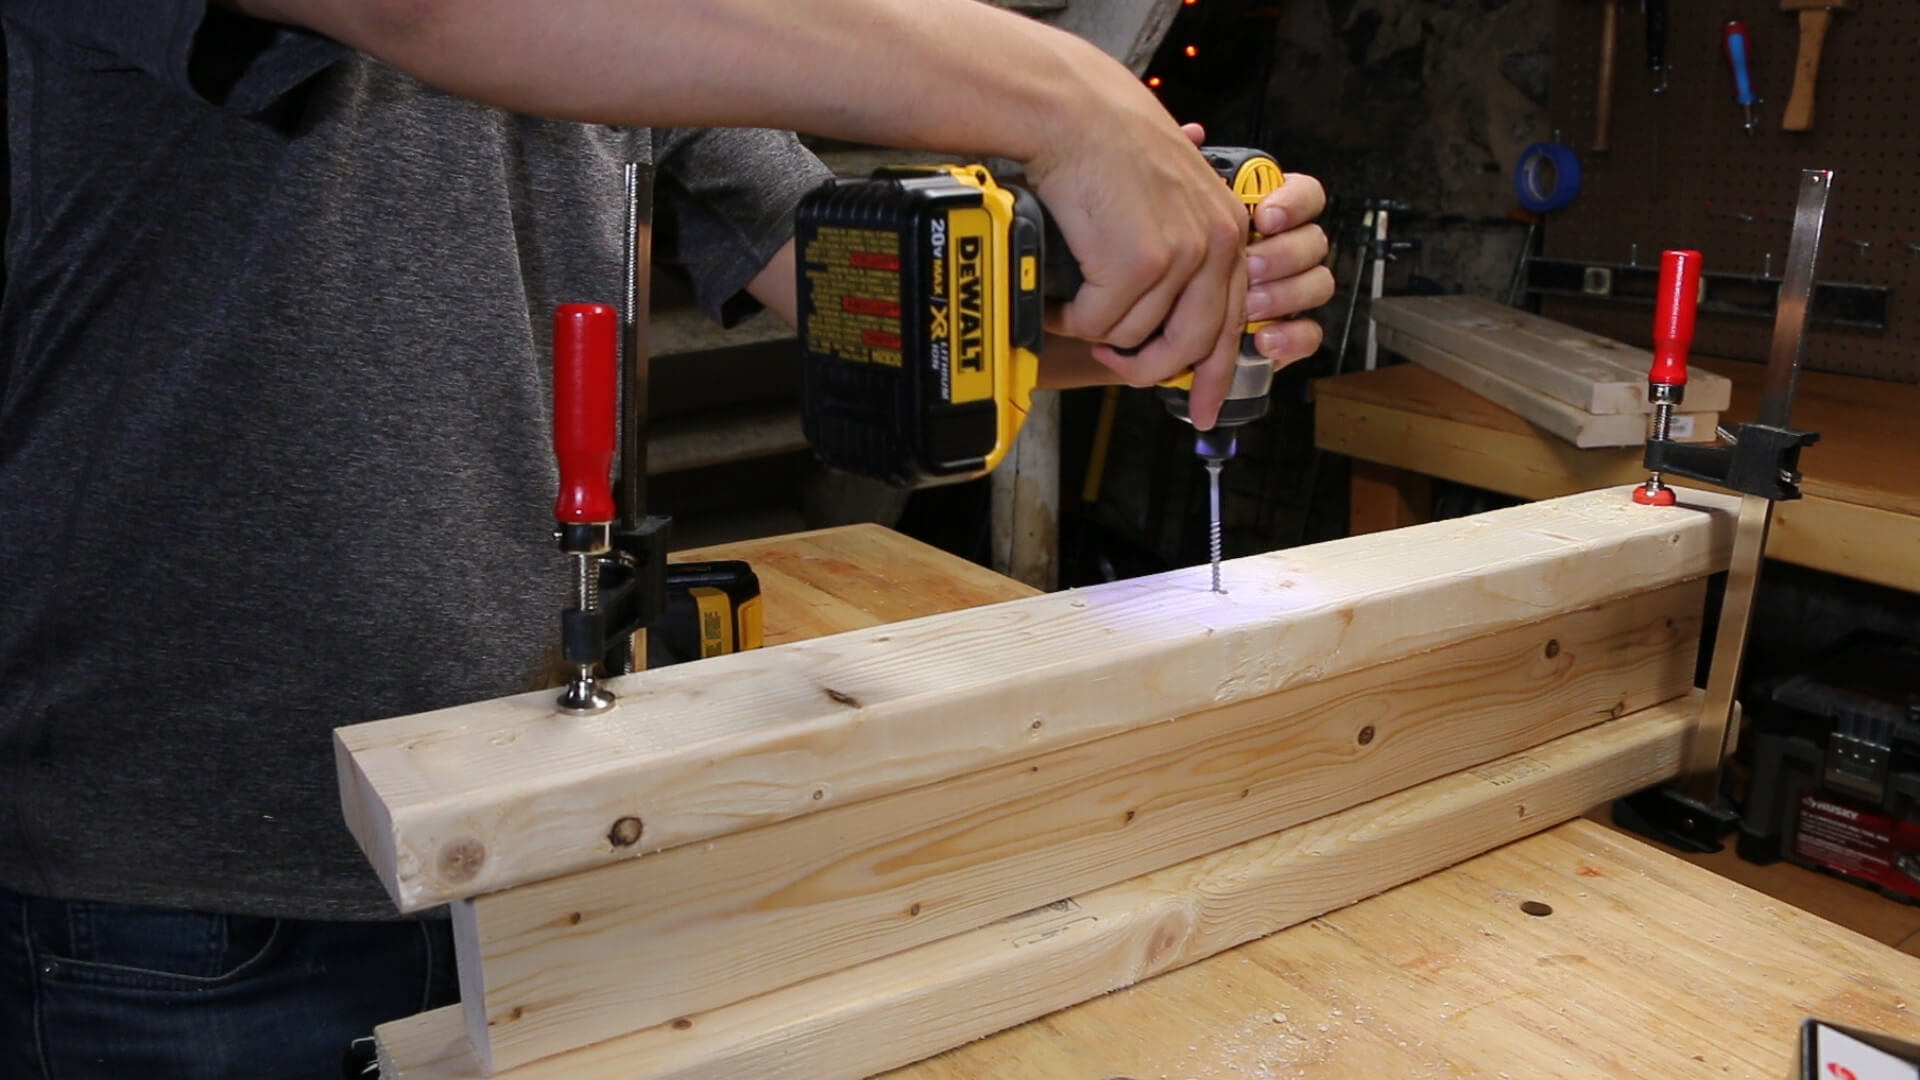
Step two: Assemble I-beams for the sawhorses
Use two of the 32″ boards for the top and bottoms of the sawhorse I-beam and use a 30″ board for the middle. Use a square to line up the middle board so that it is centered and about 1″ shy of the end on both sides. Check that both ends are centered since your board might not be 100% straight. In that scenario, line it up the best that you can. Clamp down the I-beam and pre-drill 3 holes on the top board with your countersink bit and then add the screws with your impact driver. Repeat this process for the bottom of the I-beam after flipping it over.

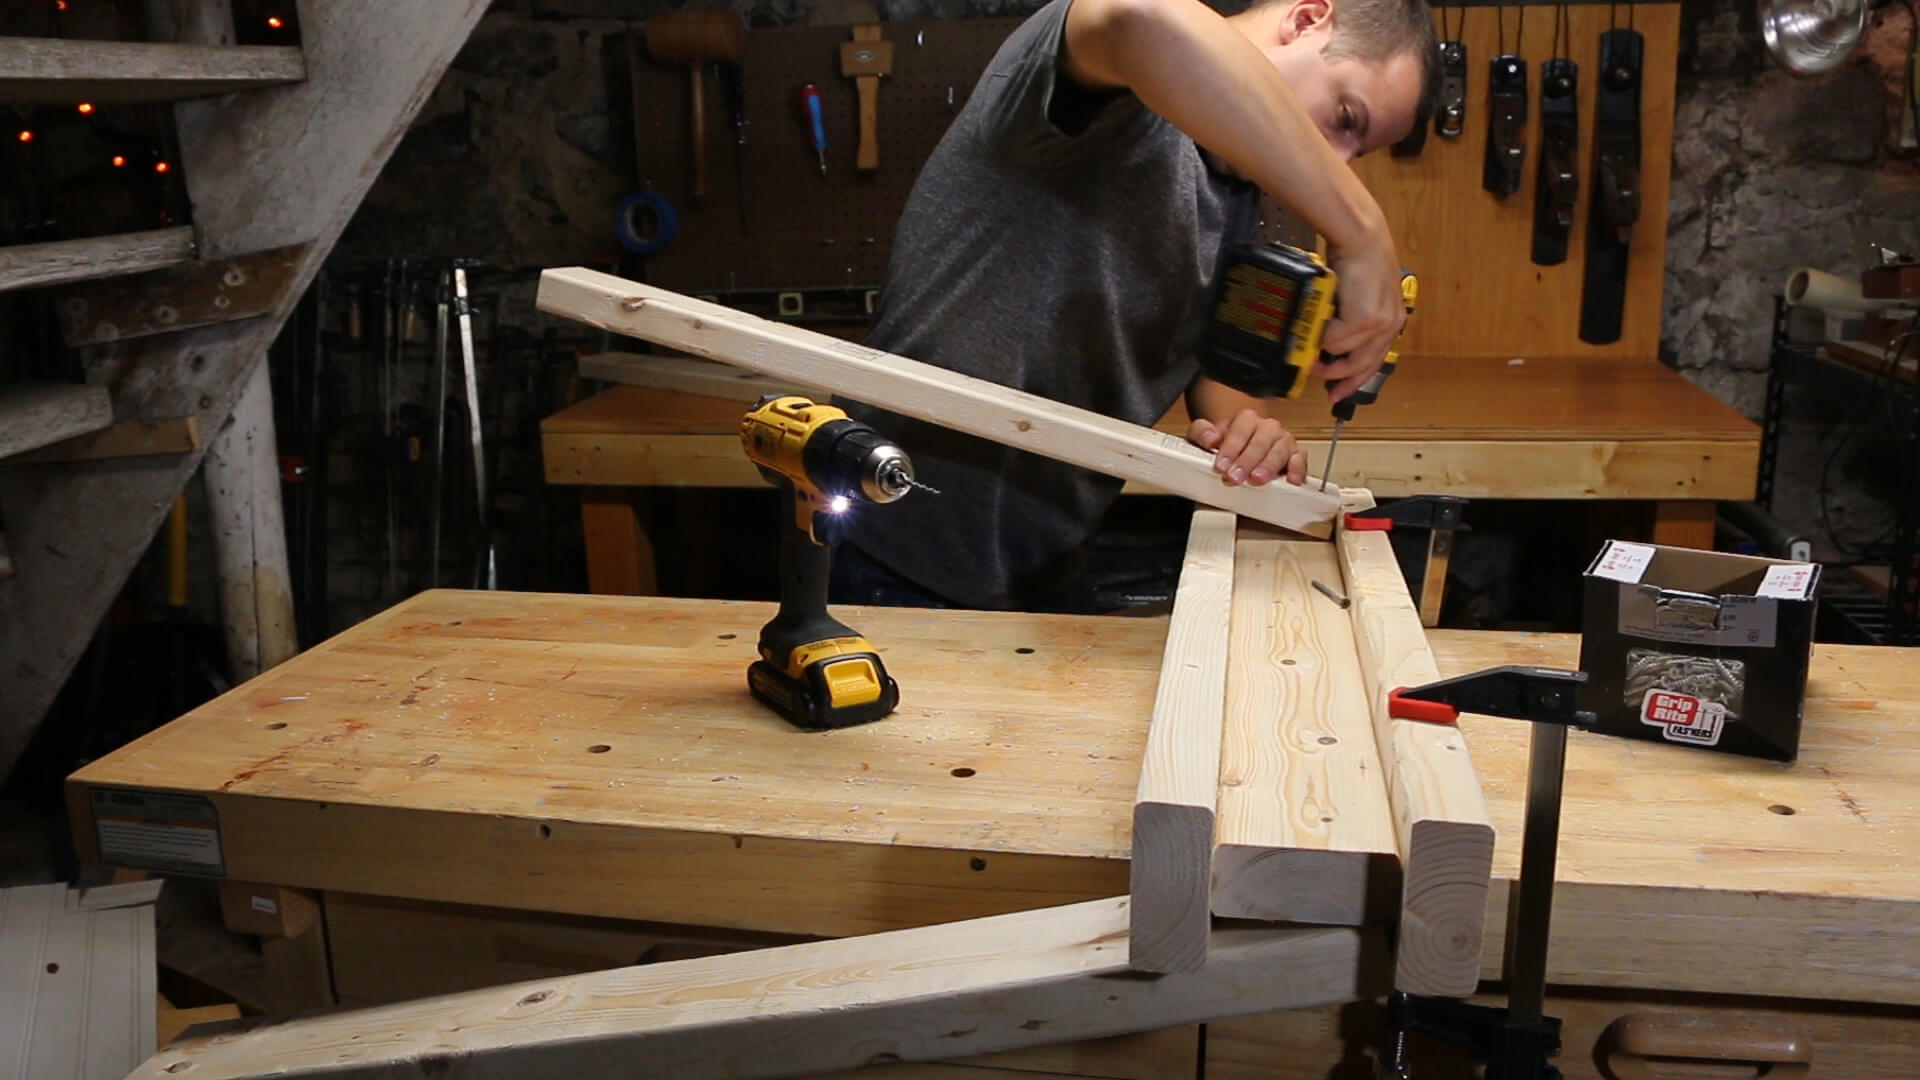
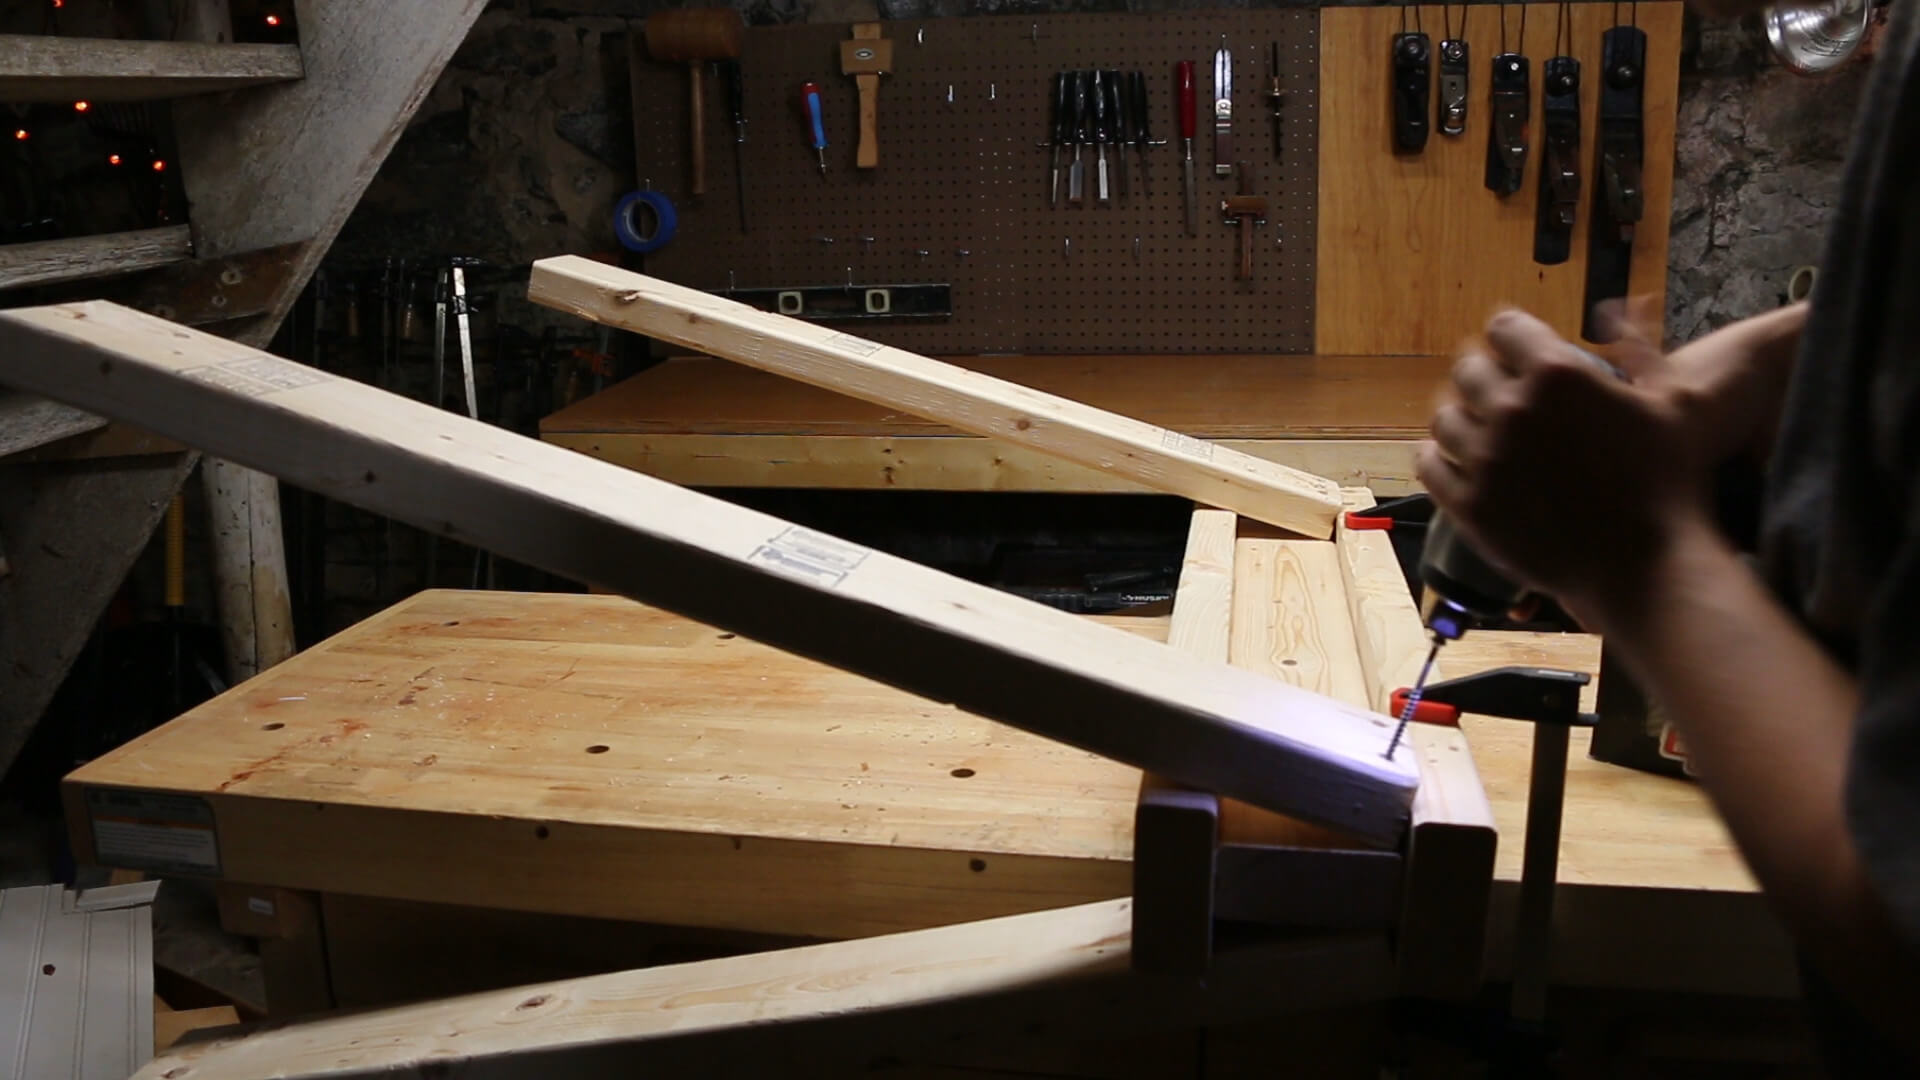
Step Three: Attach legs
Pre-drill 2 holes about half an inch from the edge at the top of each leg. I found that it was easiest to just do these all at once, so line up all 8 legs to make your pair of sawhorses. Clamping your I-beams to a solid workbench will help in this process. Then hold down each leg so that its top edge is flush against the top nook on the I-beam. Also make sure that it is lined up with the center board. Put in two screws to hold the board in place, then drill two additional pilot holes at an angle so that the screw will bite into the ‘meat’ of the I-beam, rather than the small gap. Once you’ve put in these screws you are all done!
If you’d like more stability for your sawhorses, you can cut bevels on the bottoms of each leg so that they will sit flush on the floor. Since I have an ancient and uneven basement floor, this wasn’t an option for me.

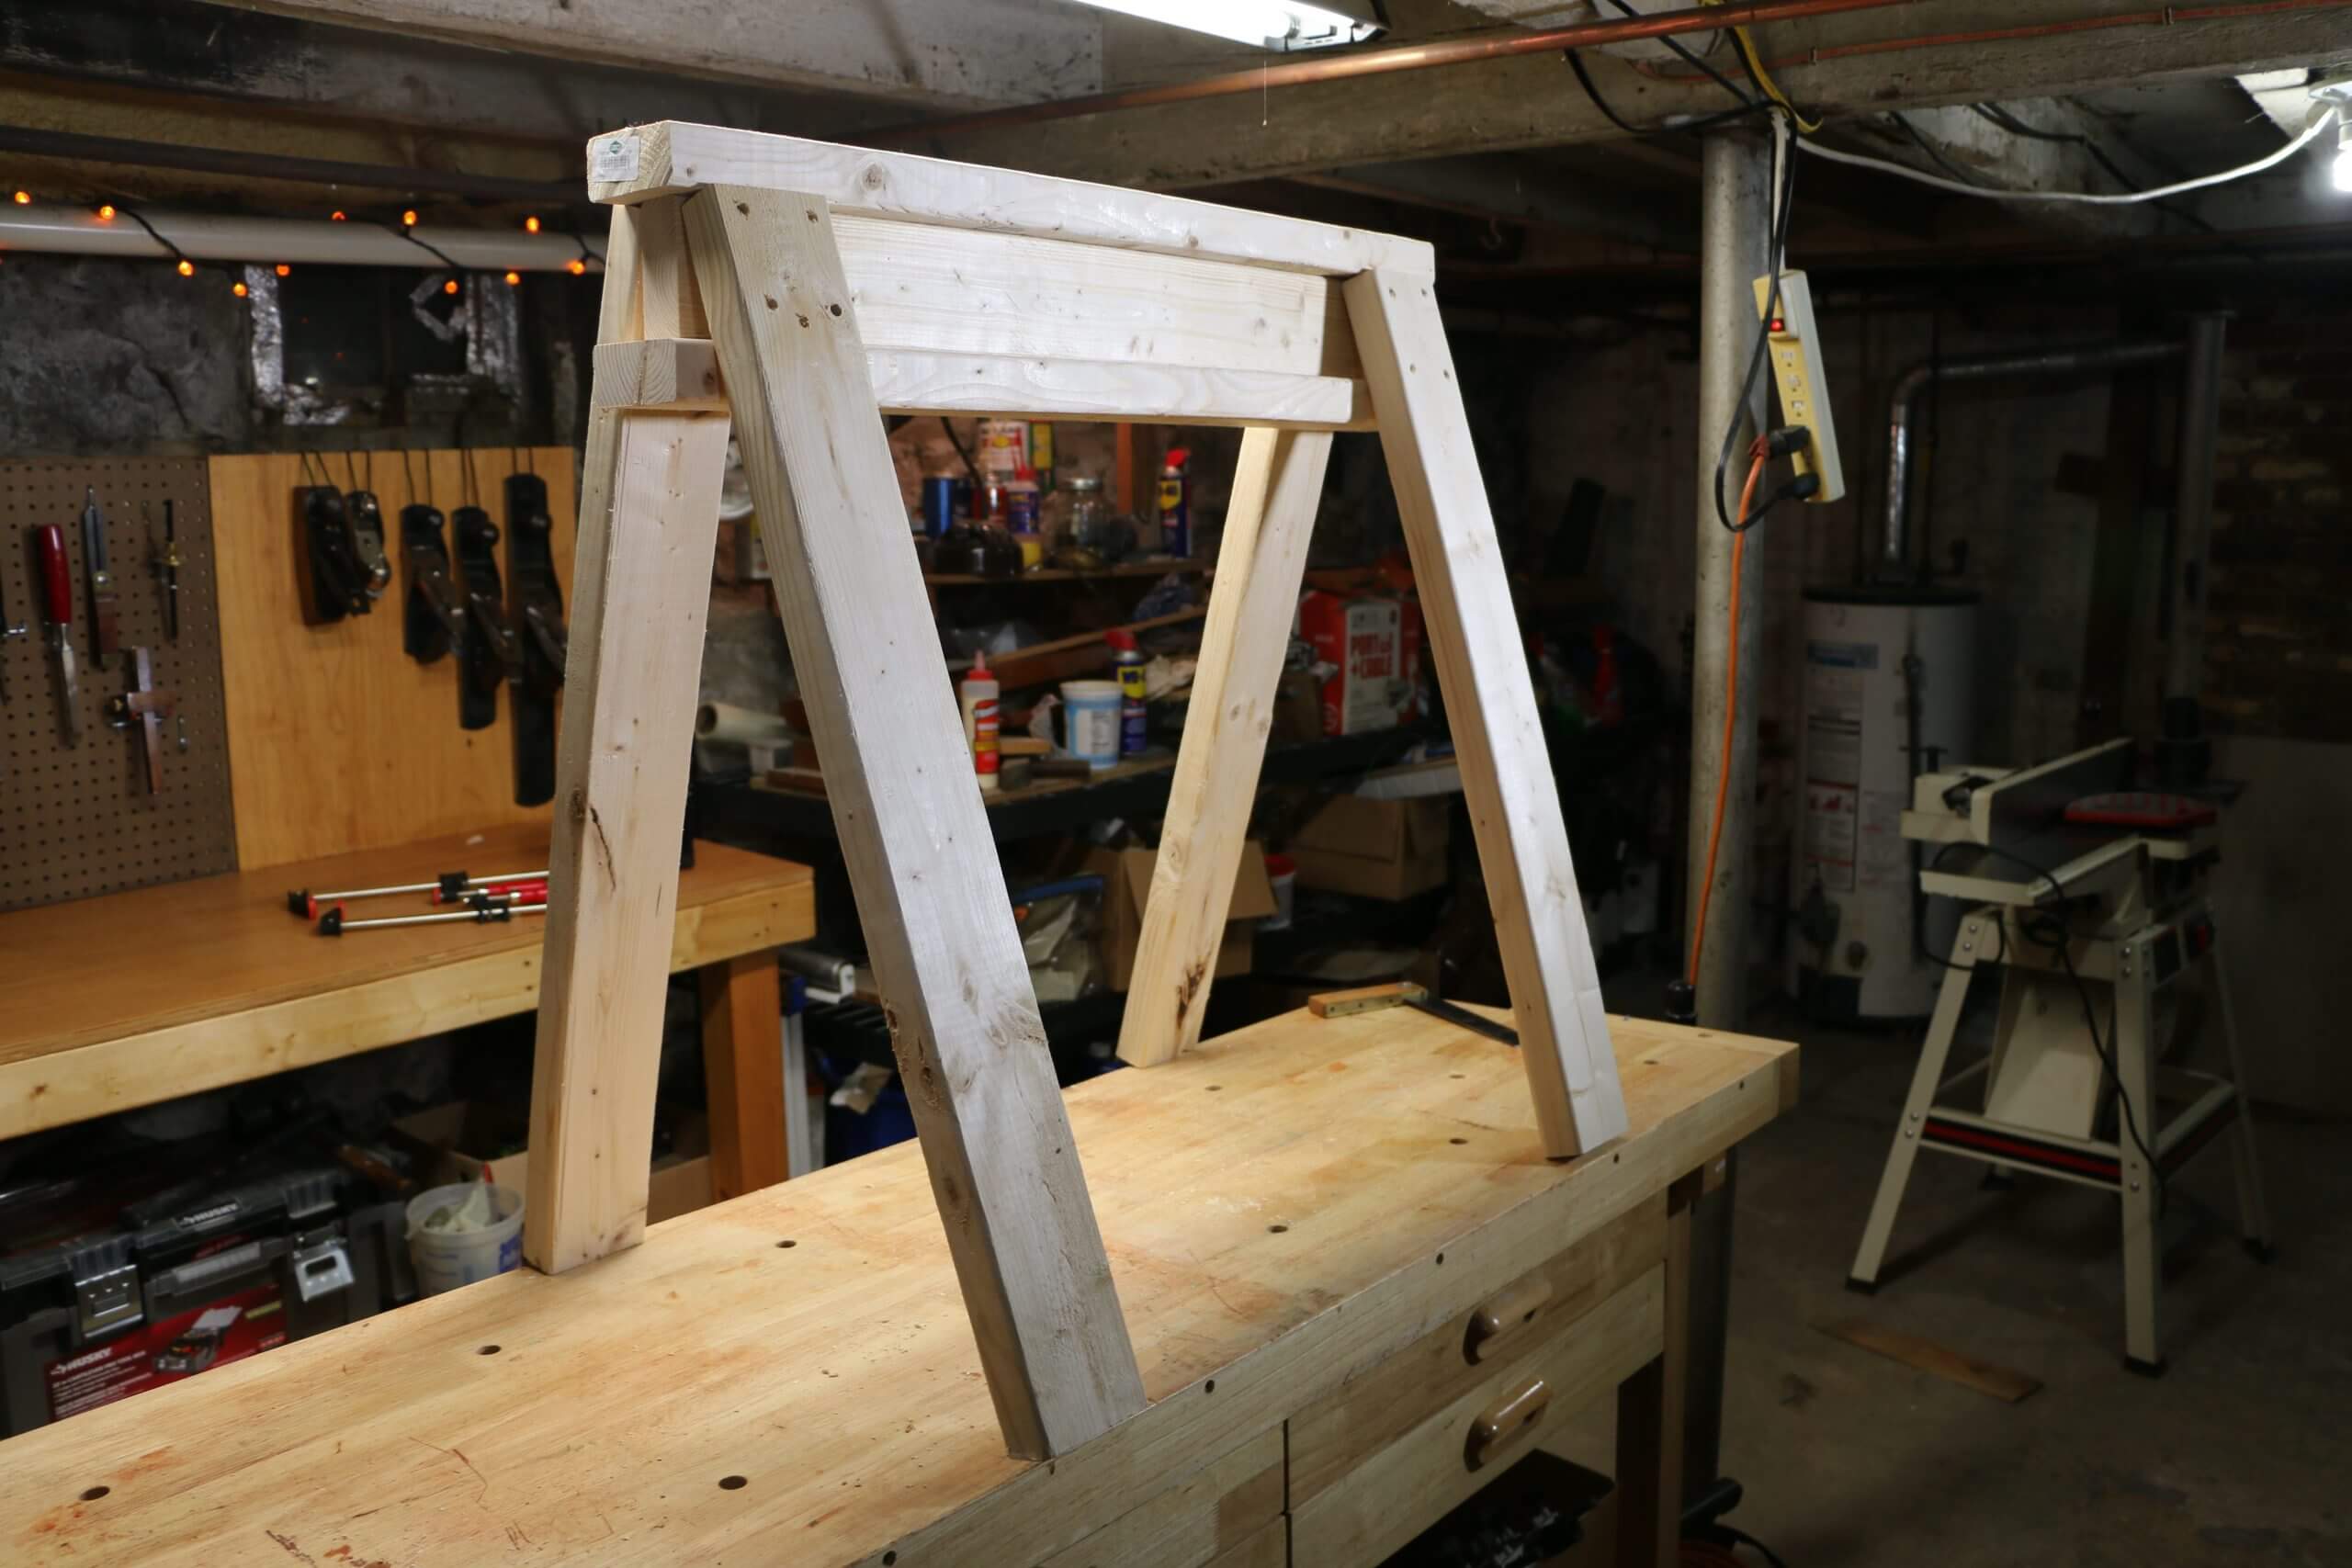
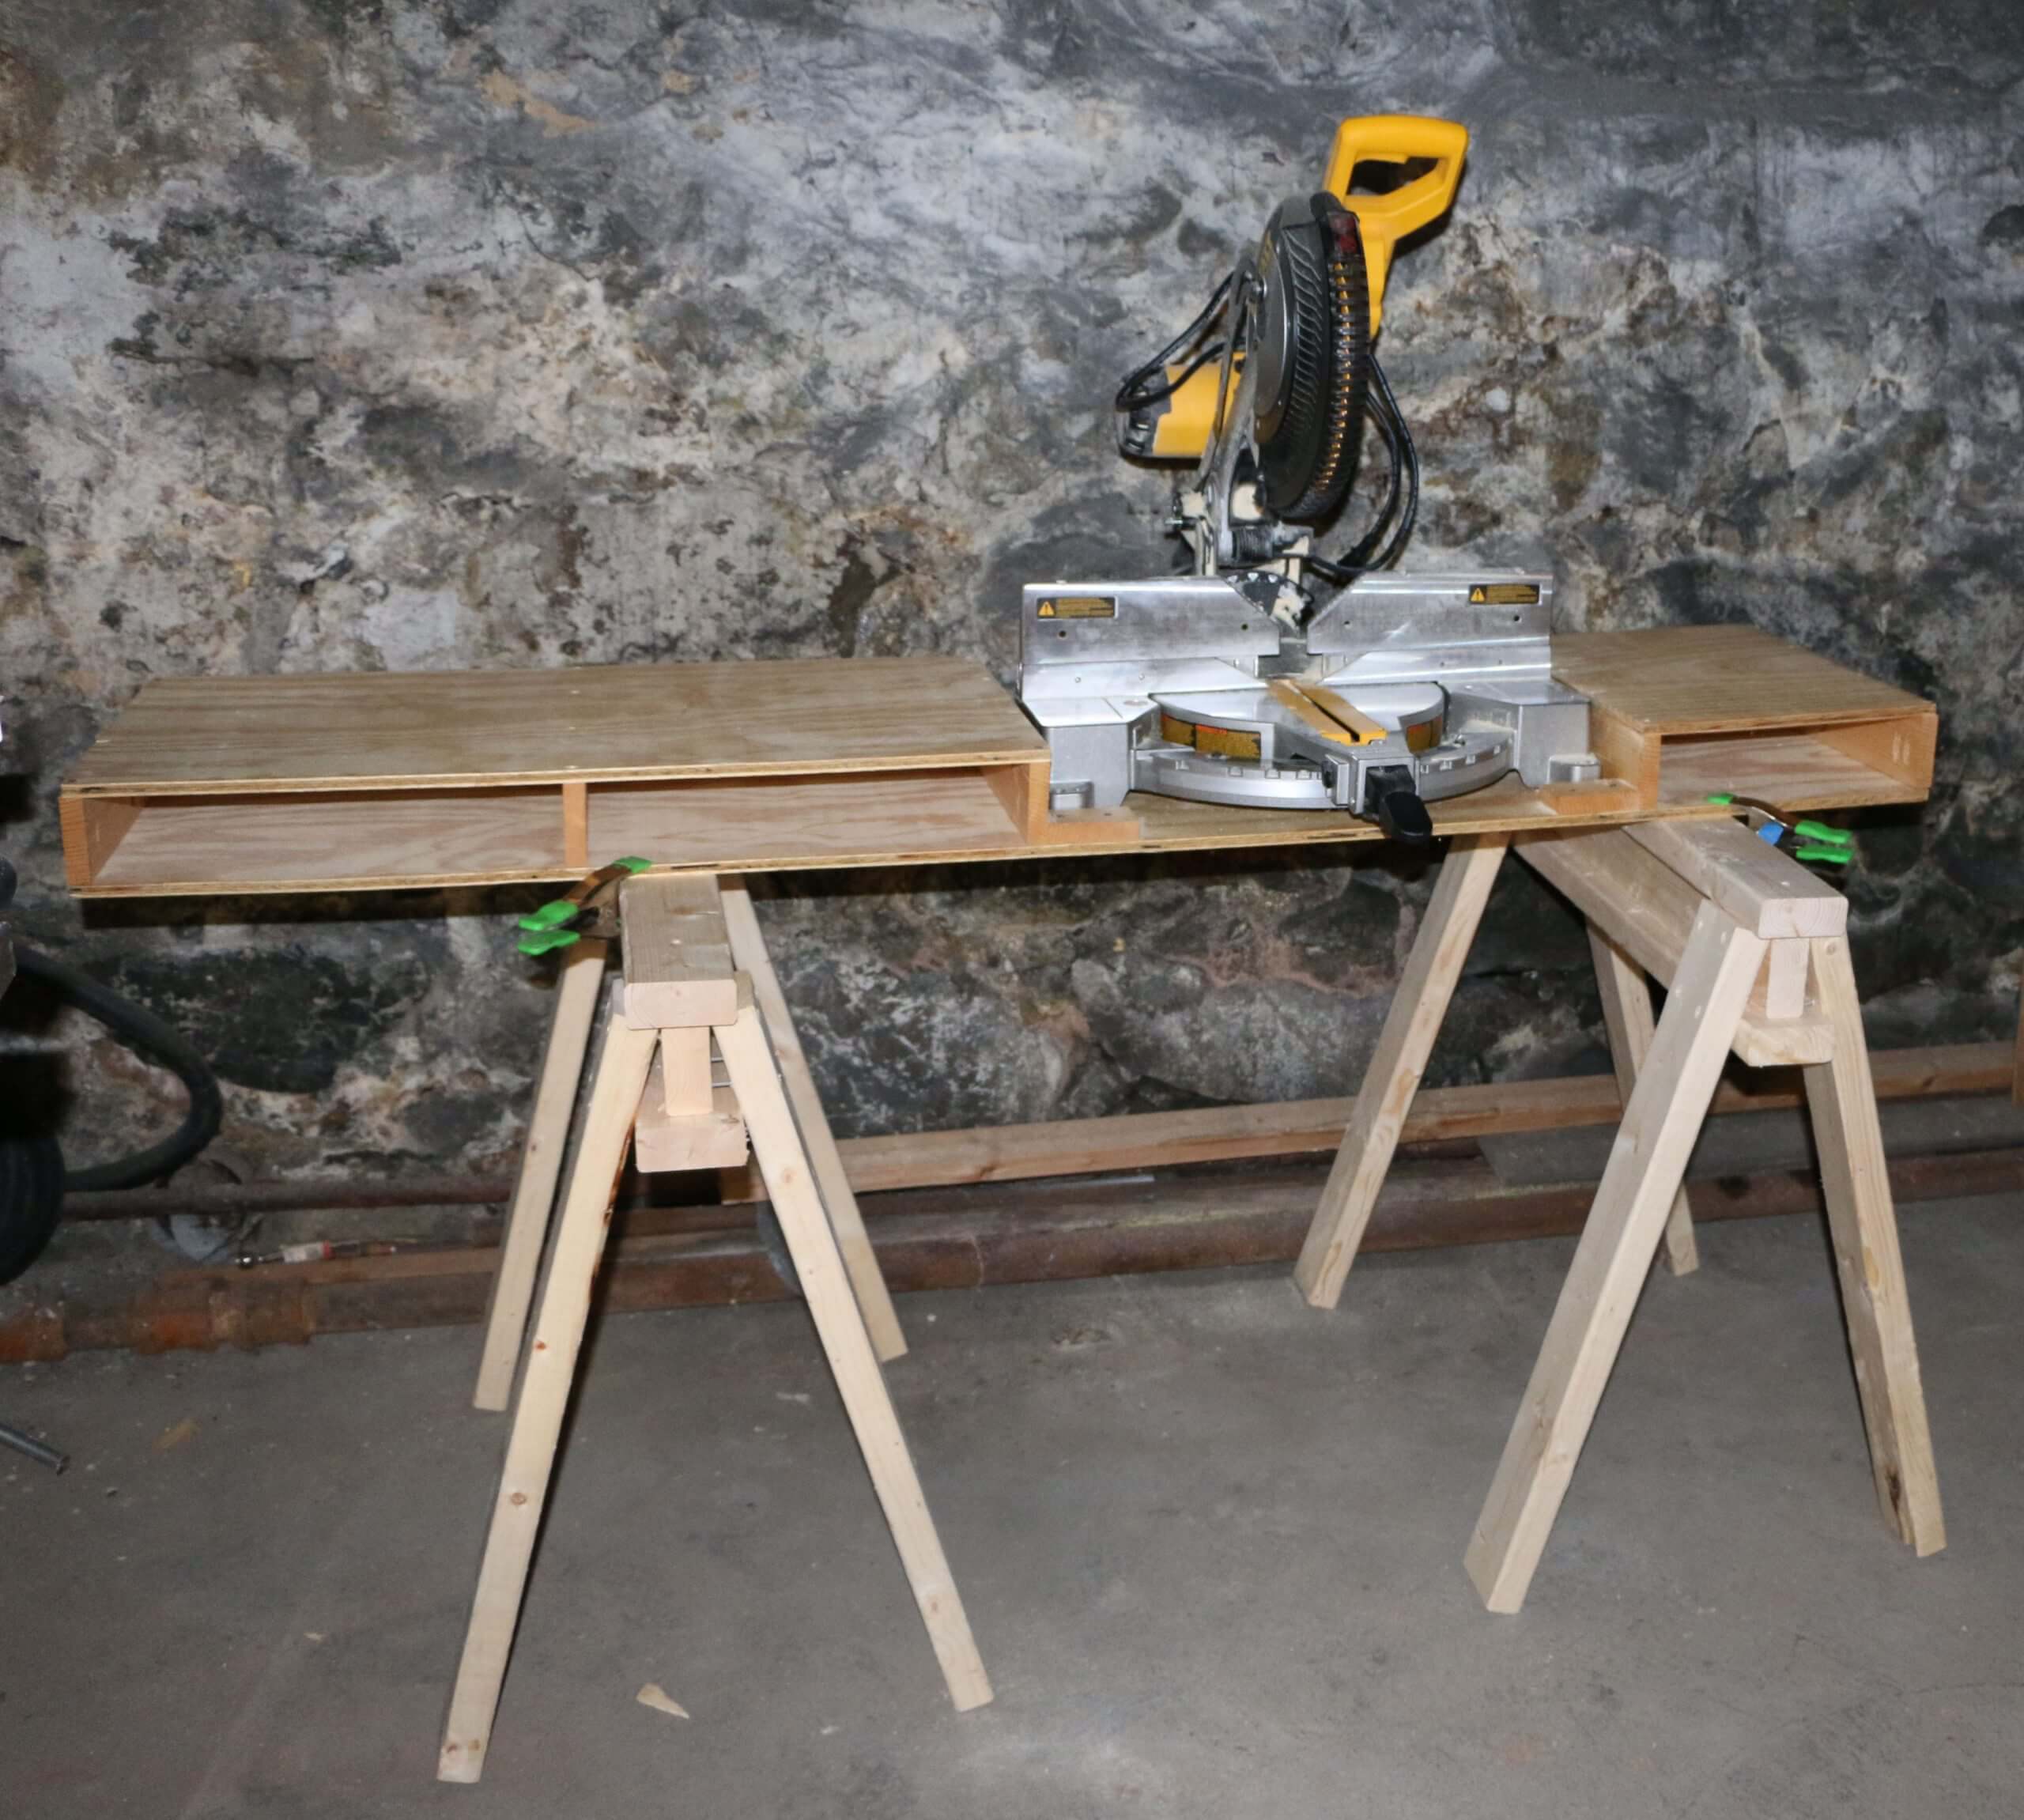
Finished!
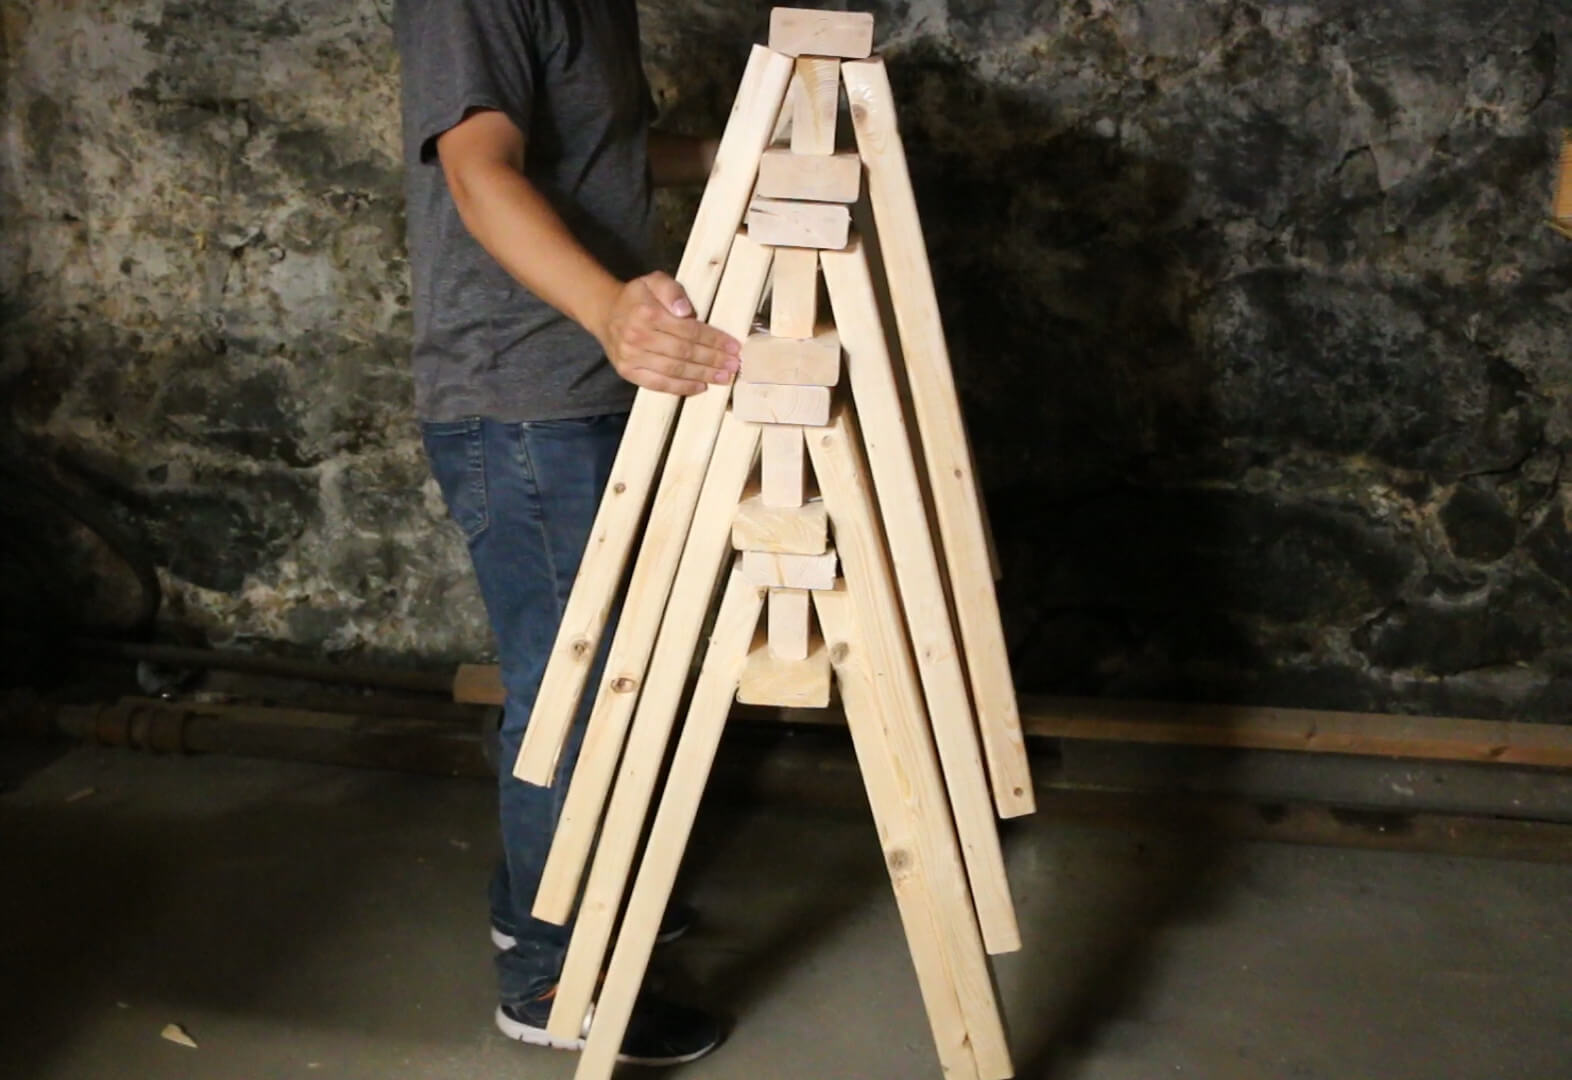
These sawhorses are very versatile and are great to create tables and storage space on the fly or make a home for your new miter saw table! When not in use, the sawhorses can be stacked away for easier storage.
Elizabeth Perdue
Thanks for your clear written and illustrated and video instructions.
If I need my sawhorses to be 33″ tall, how long do my cut legs need to be?