
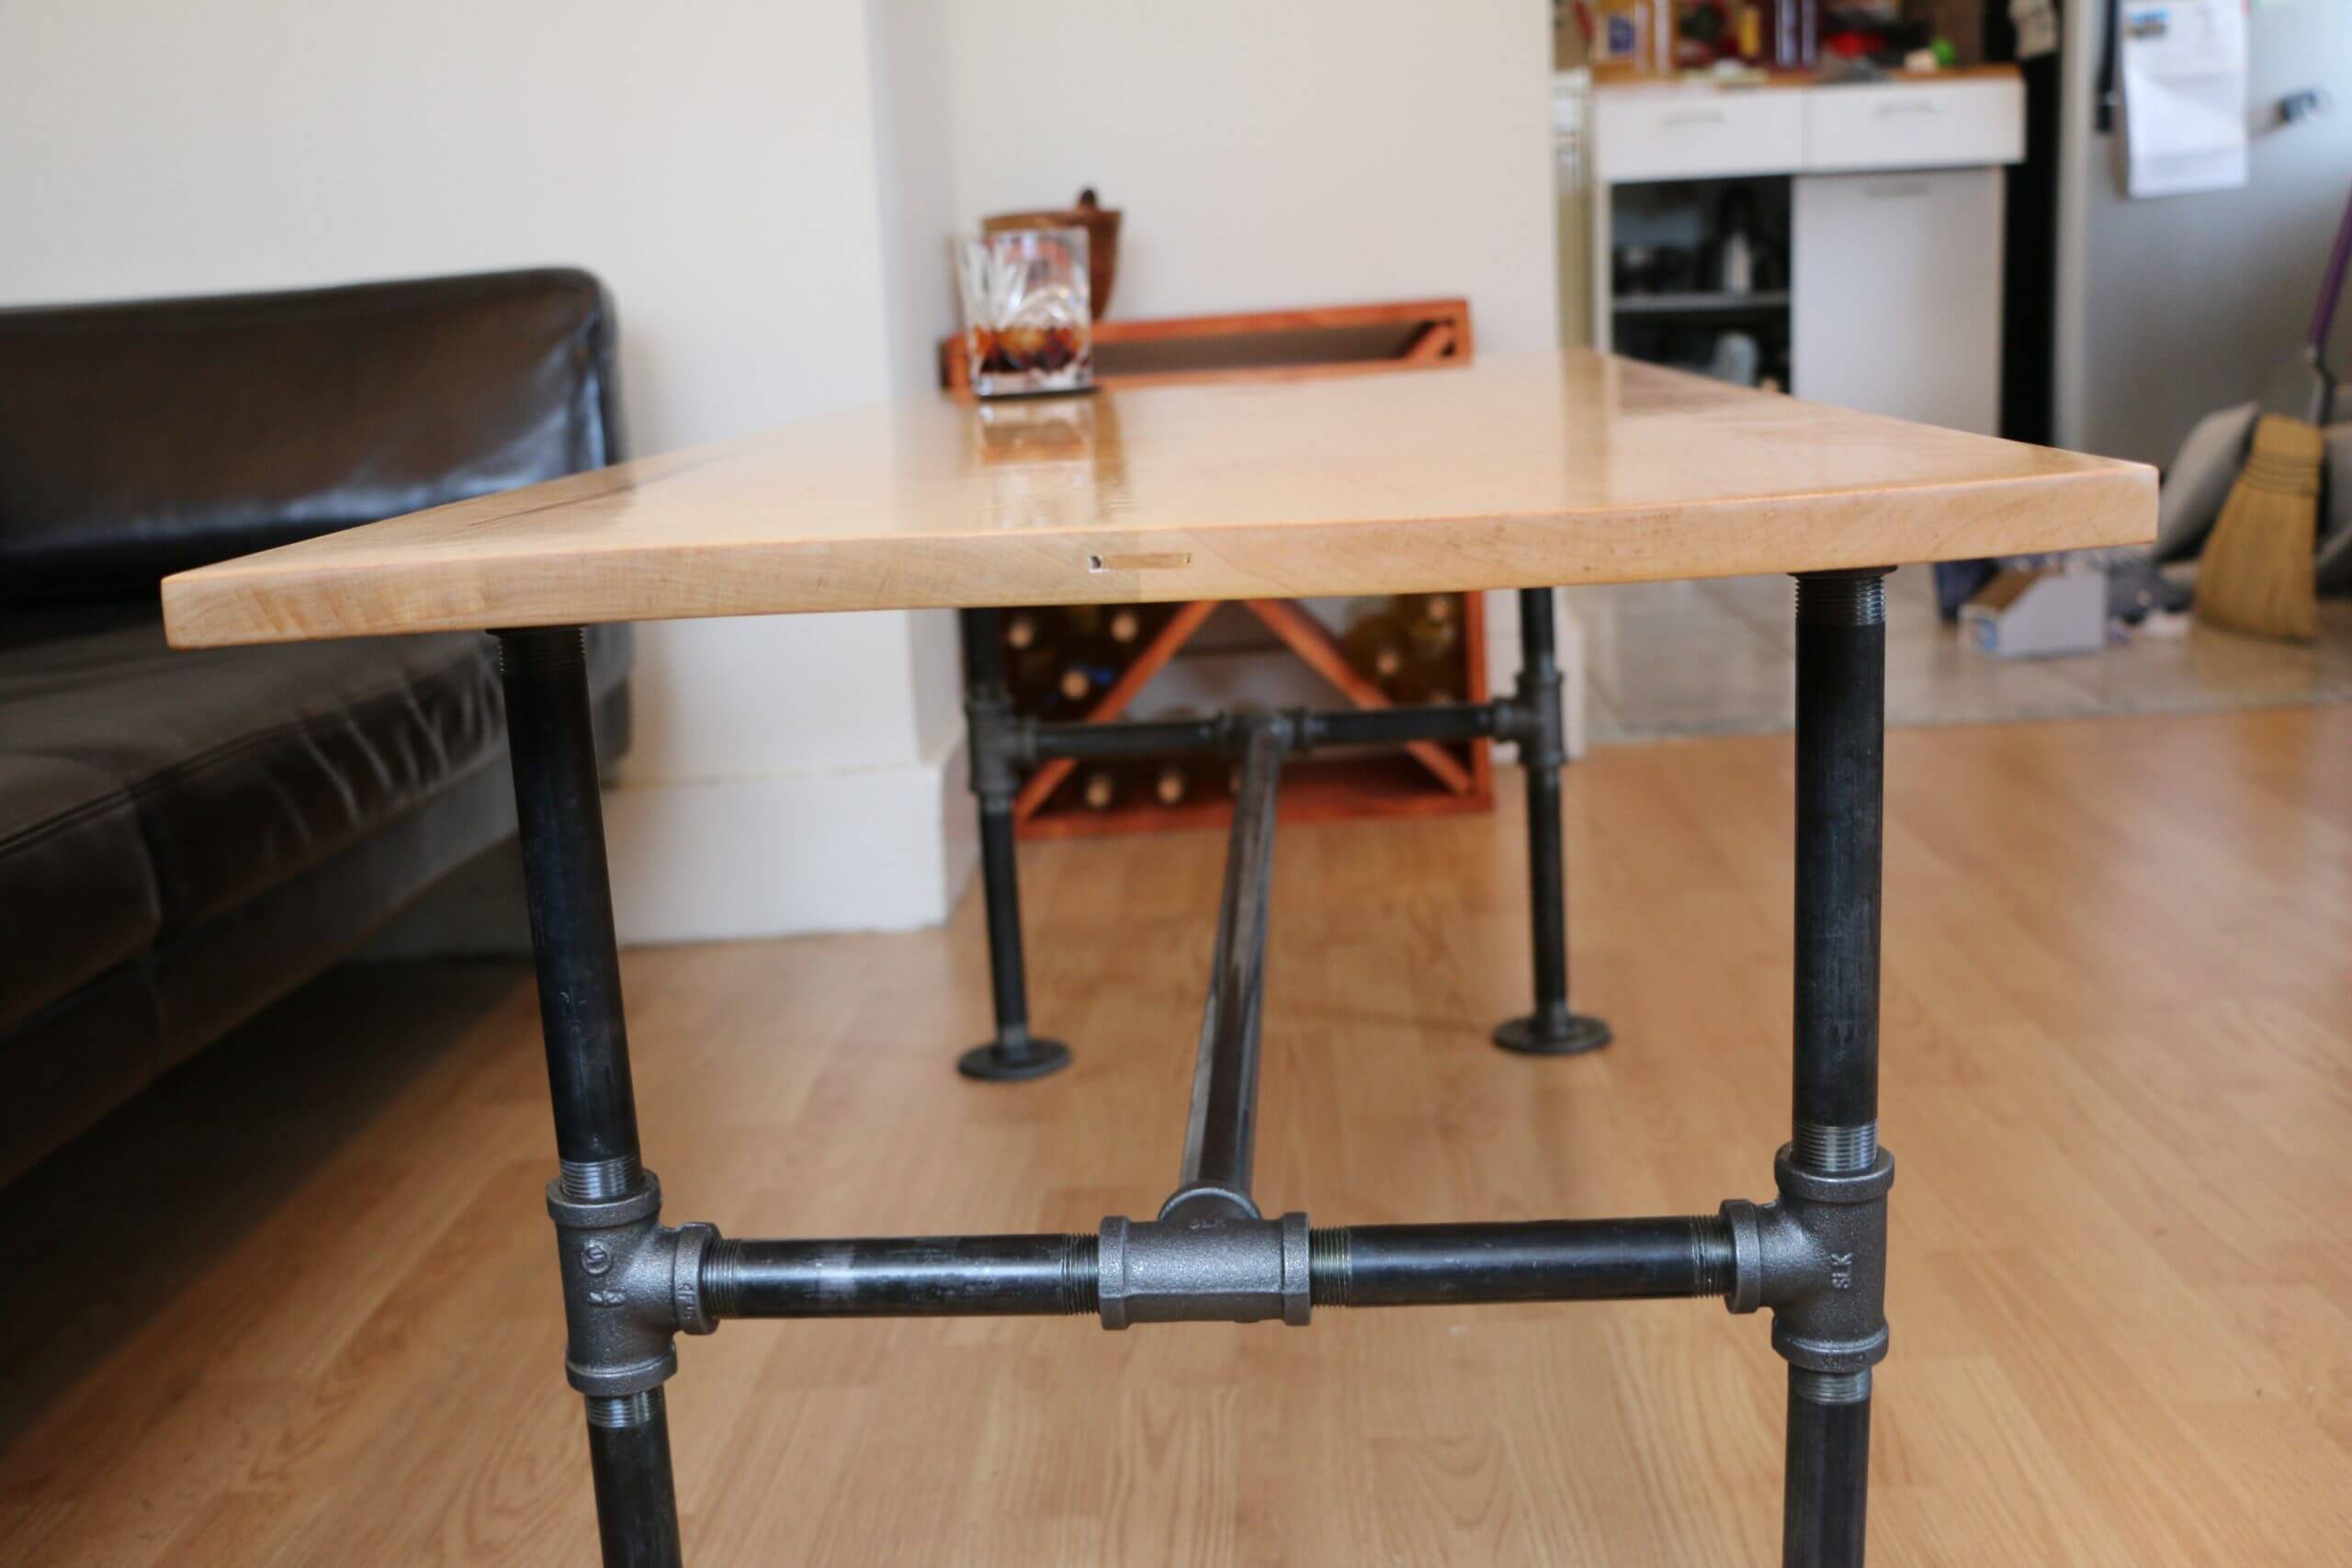
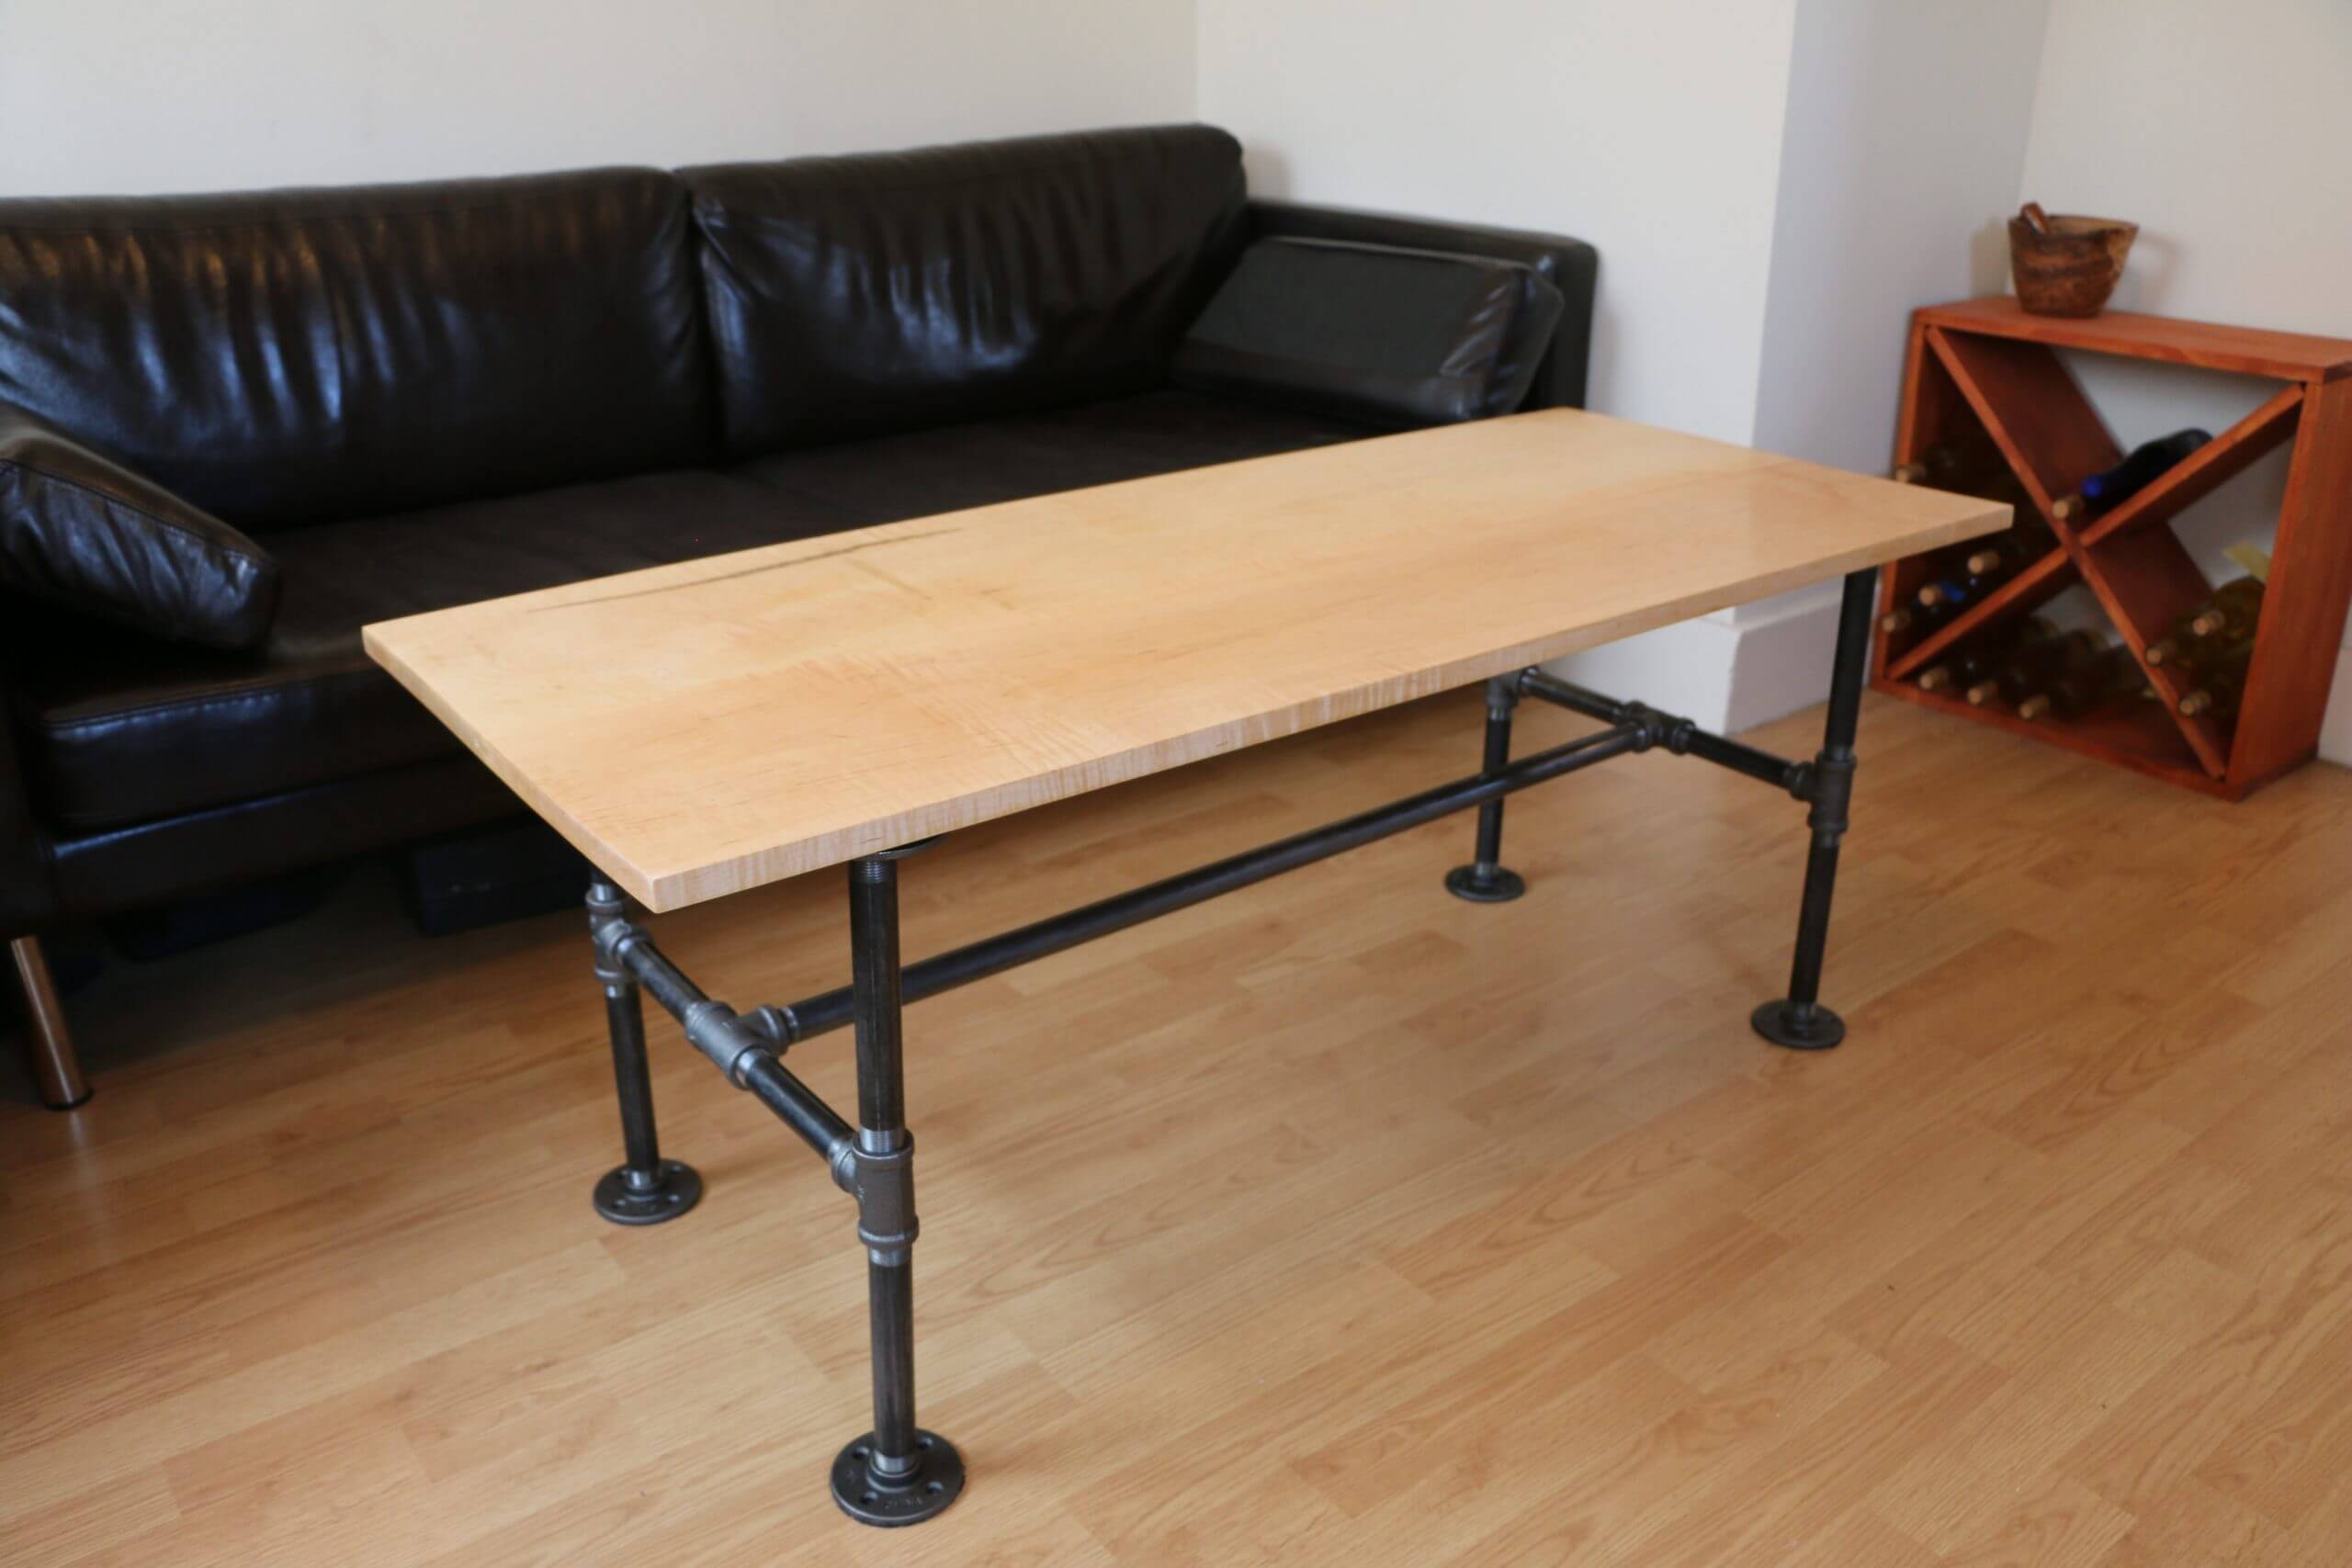
This modern pipe leg coffee table build is functional and will add to your living room decor and requires a minimal amount of tools. This build has a modern industrial look using black pipes from your local hardware store. You can use reclaimed/rougher wood instead of hardwood if you are looking for a more industrial and less modern style.
Tools:
Circular saw / Table saw
Biscuit jointer (optional )
Jointer (optional)
Materials:
boards for the wood table top (finished dimensions were 3/4″ thick, ~20 inches wide by 4′ long)
wood biscuits or dowels
screws #10 x 3/4 (to screw pipes into table bottom)
Razor blade
Finish of your choice. I used boiled linseed oil & gloss polyurethane
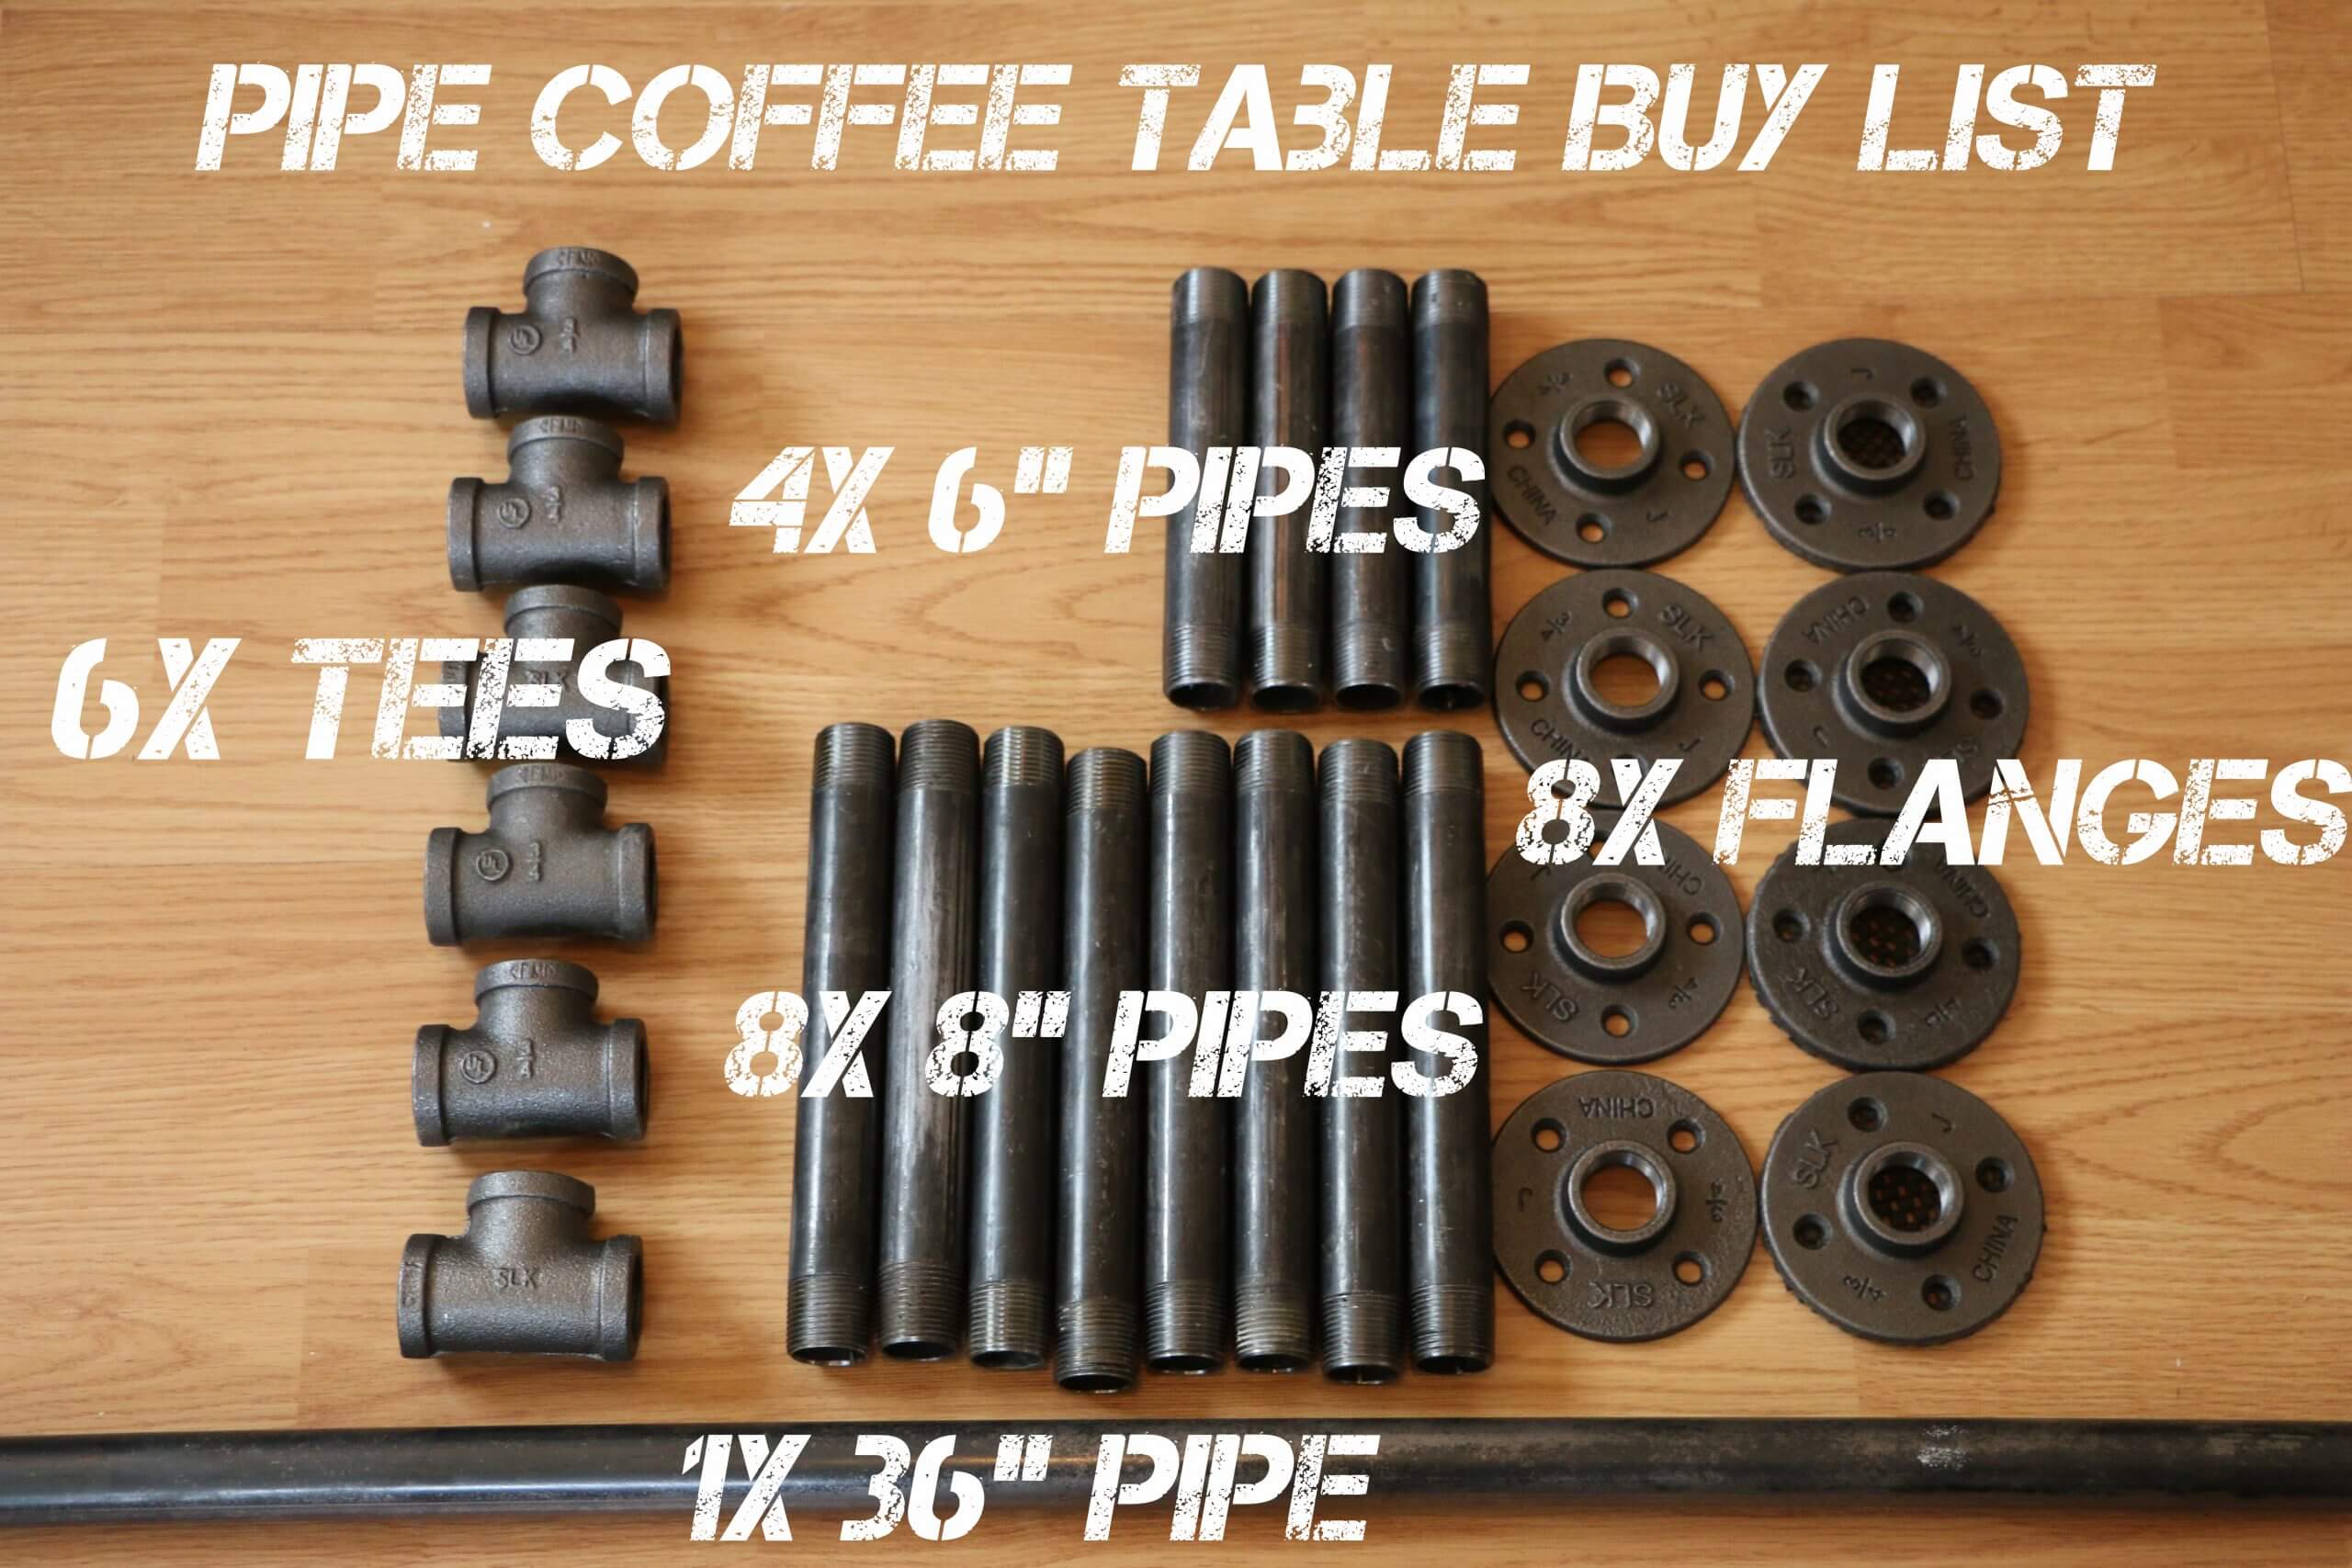
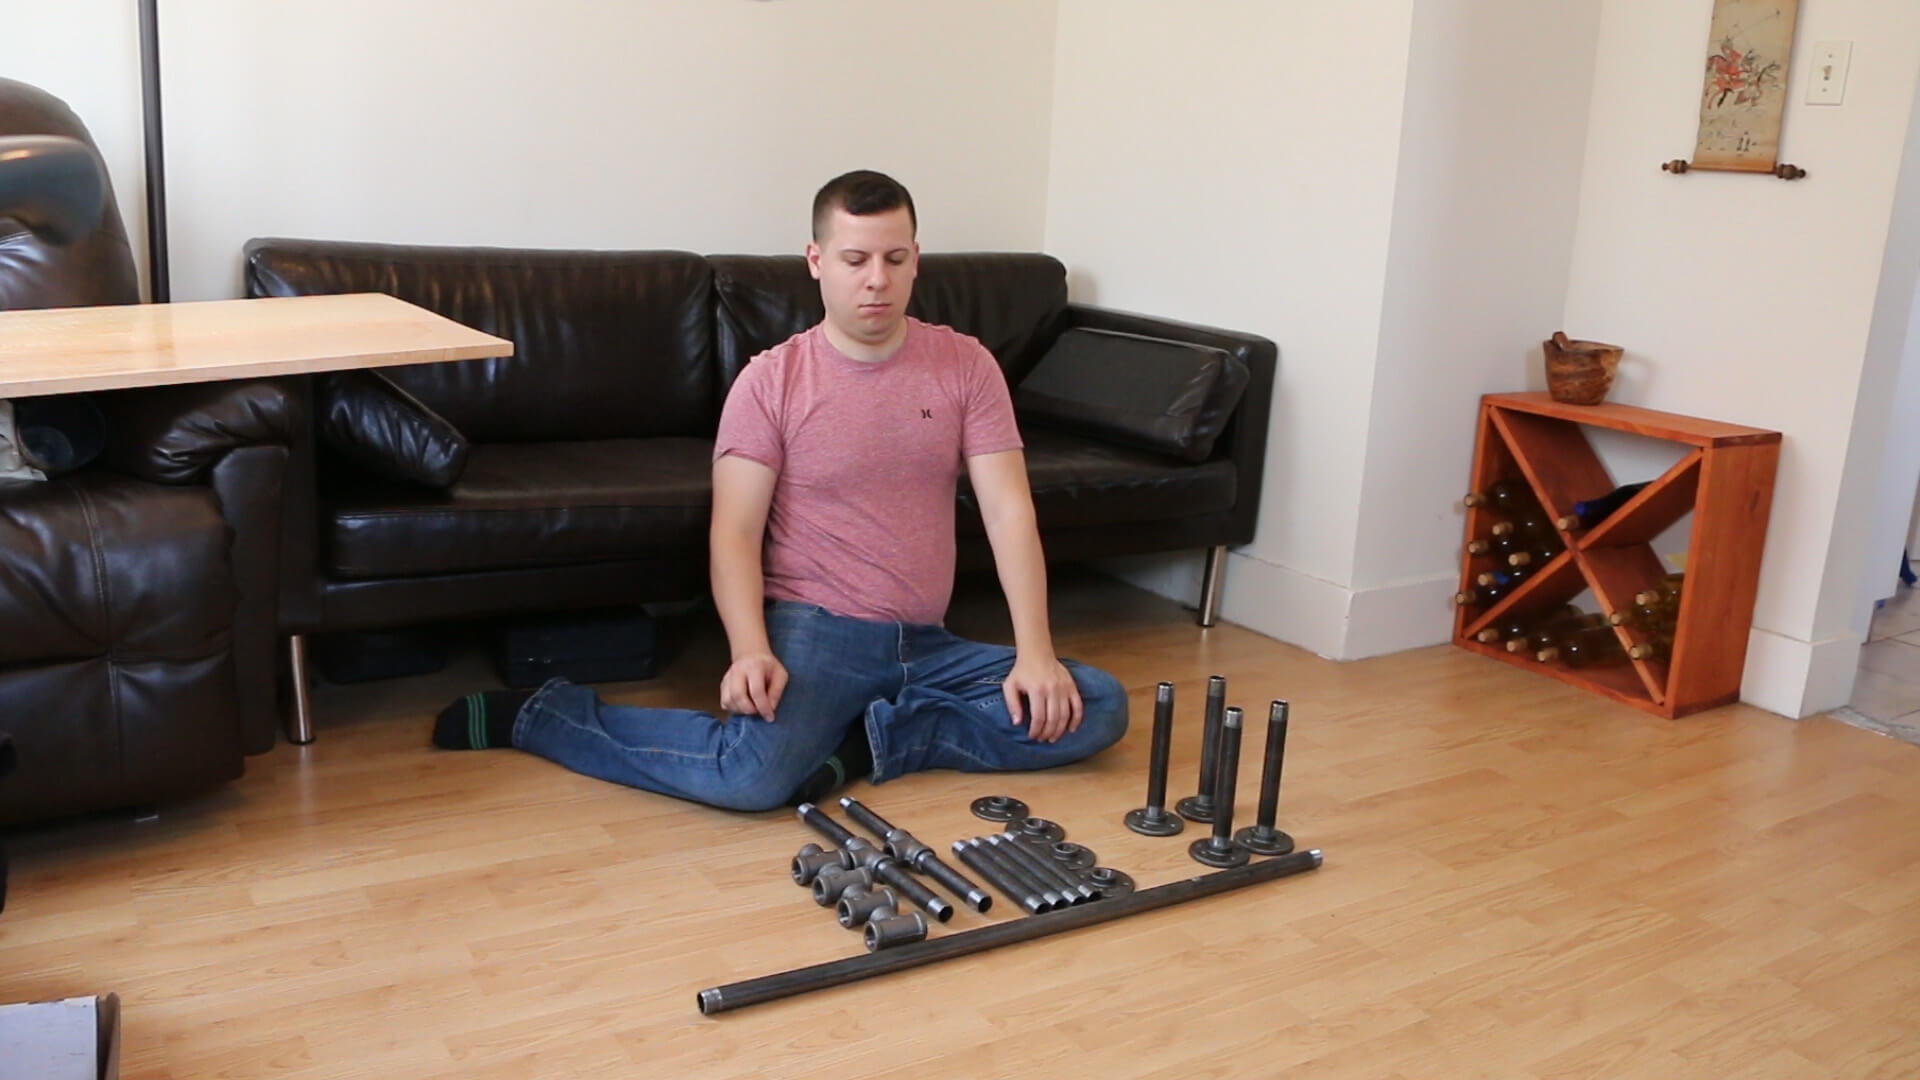
Metal pipe pieces for legs:
(8) 3/4″ black pipe flange
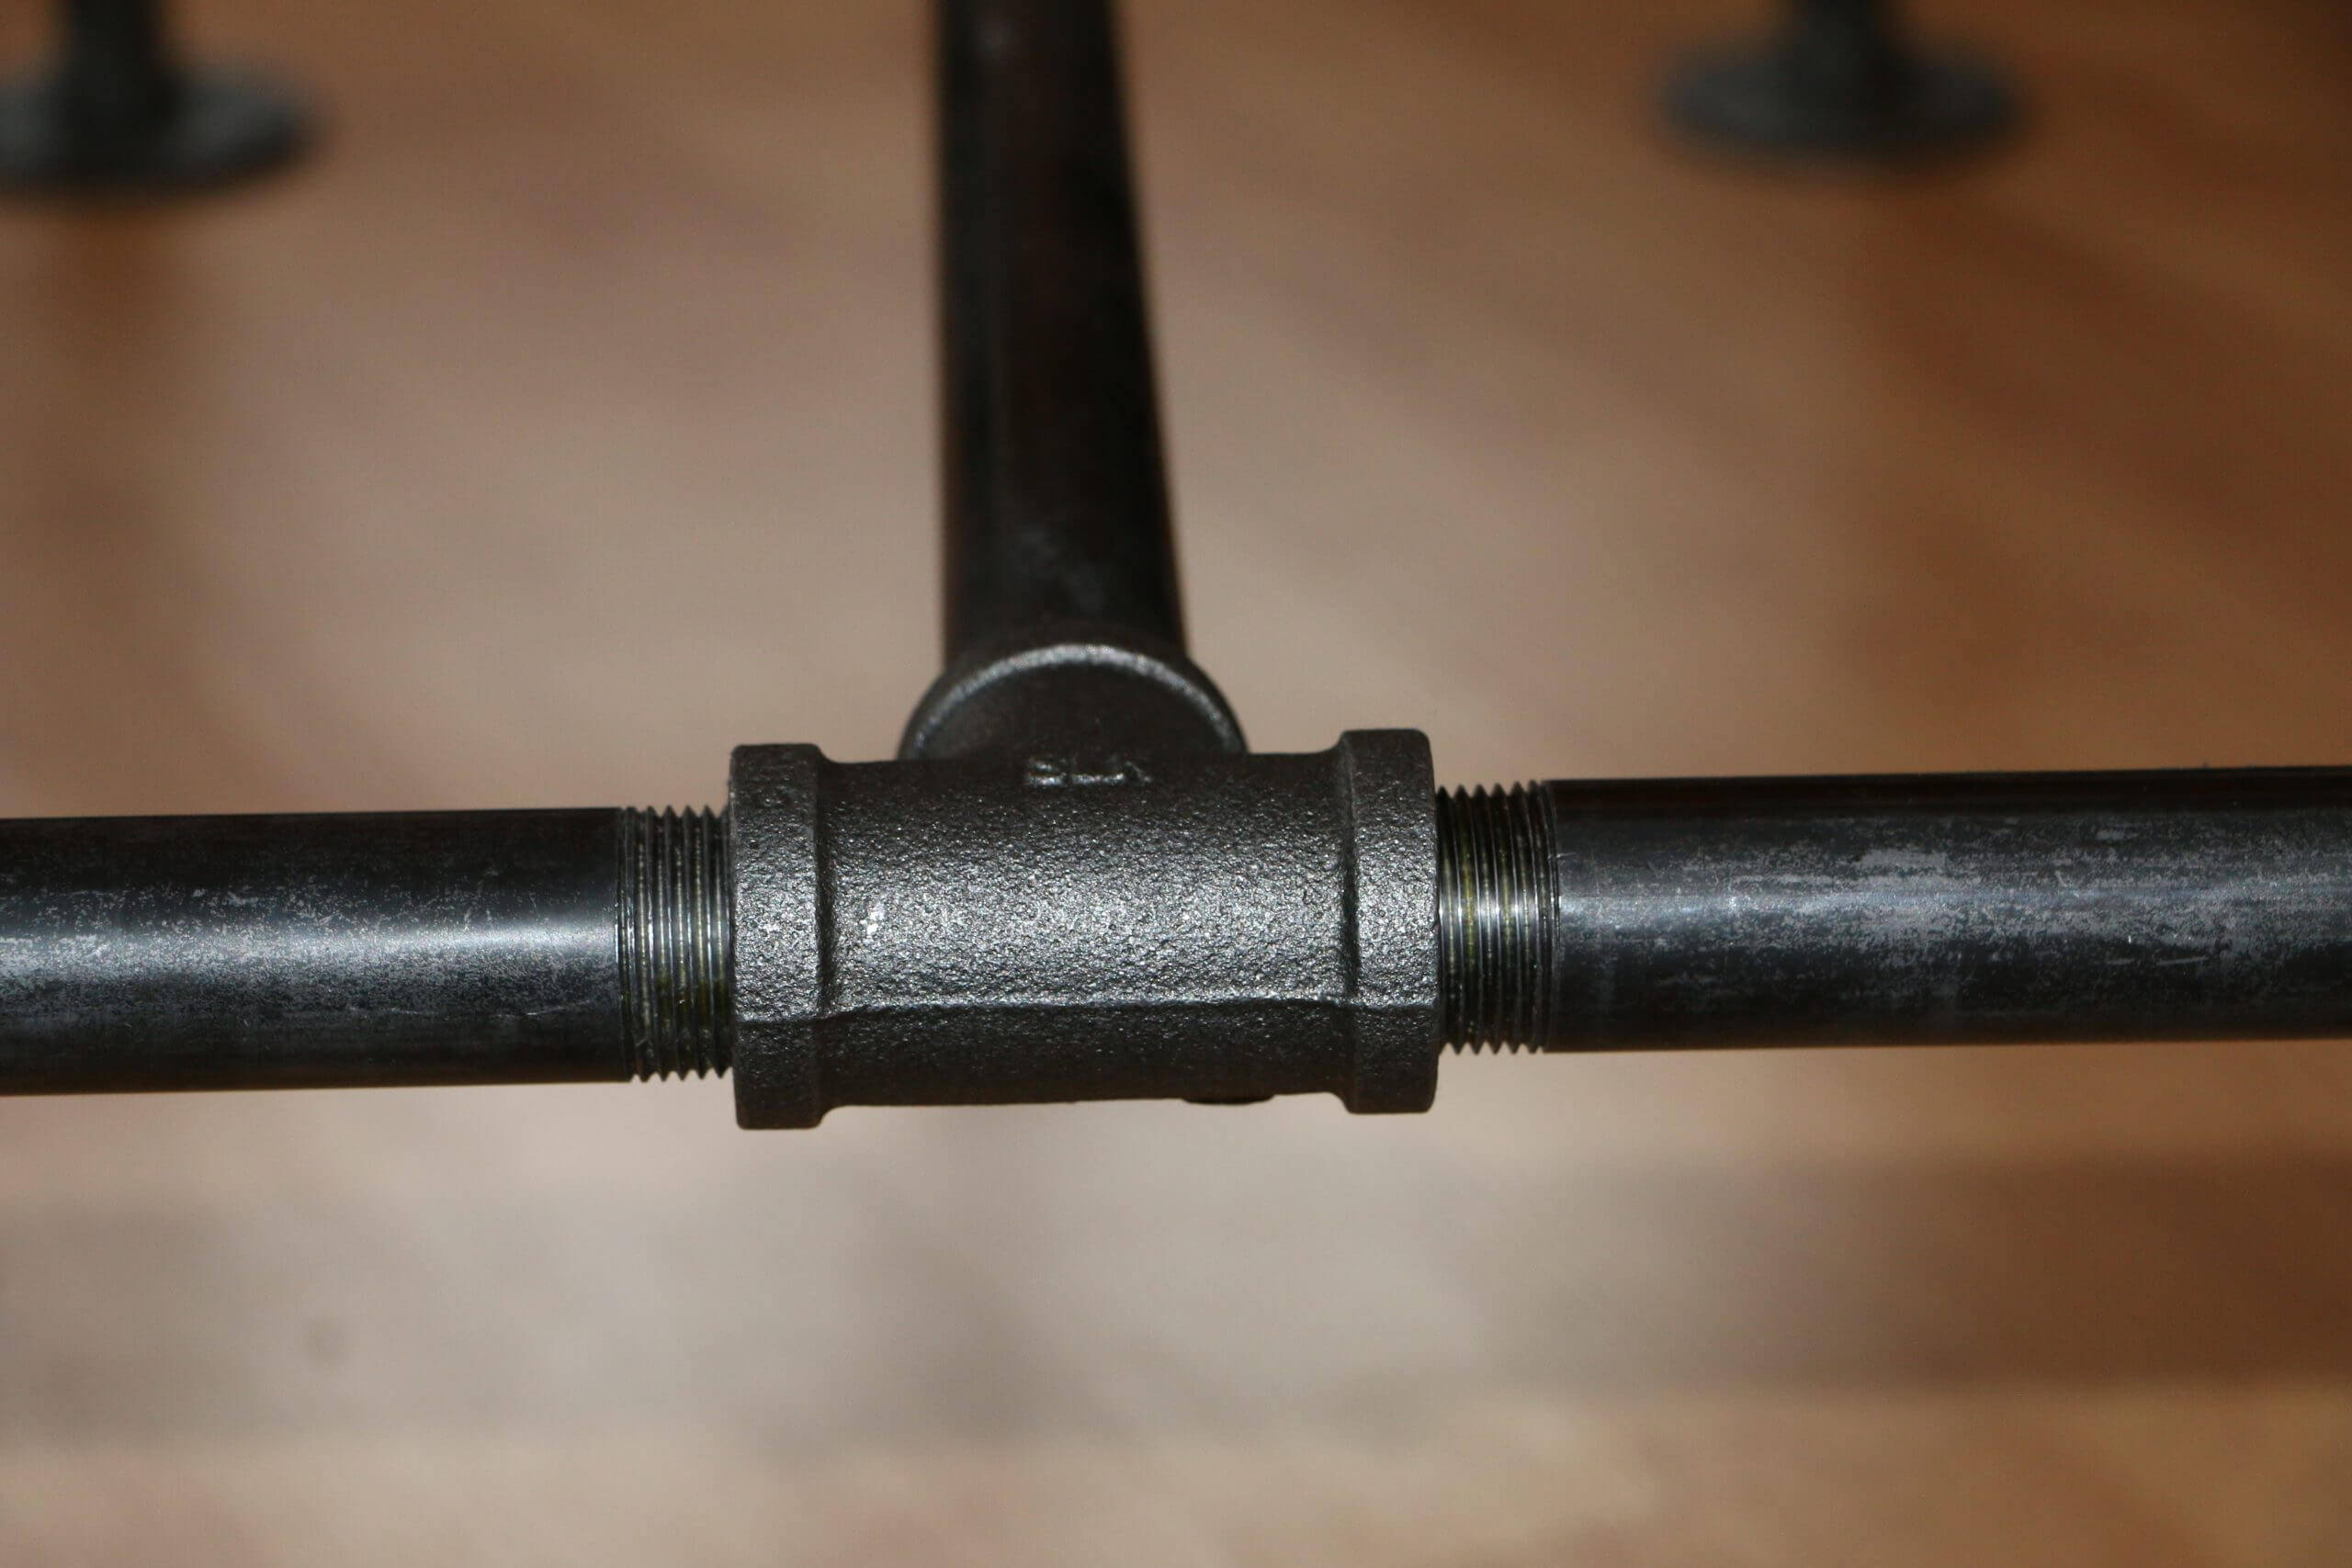
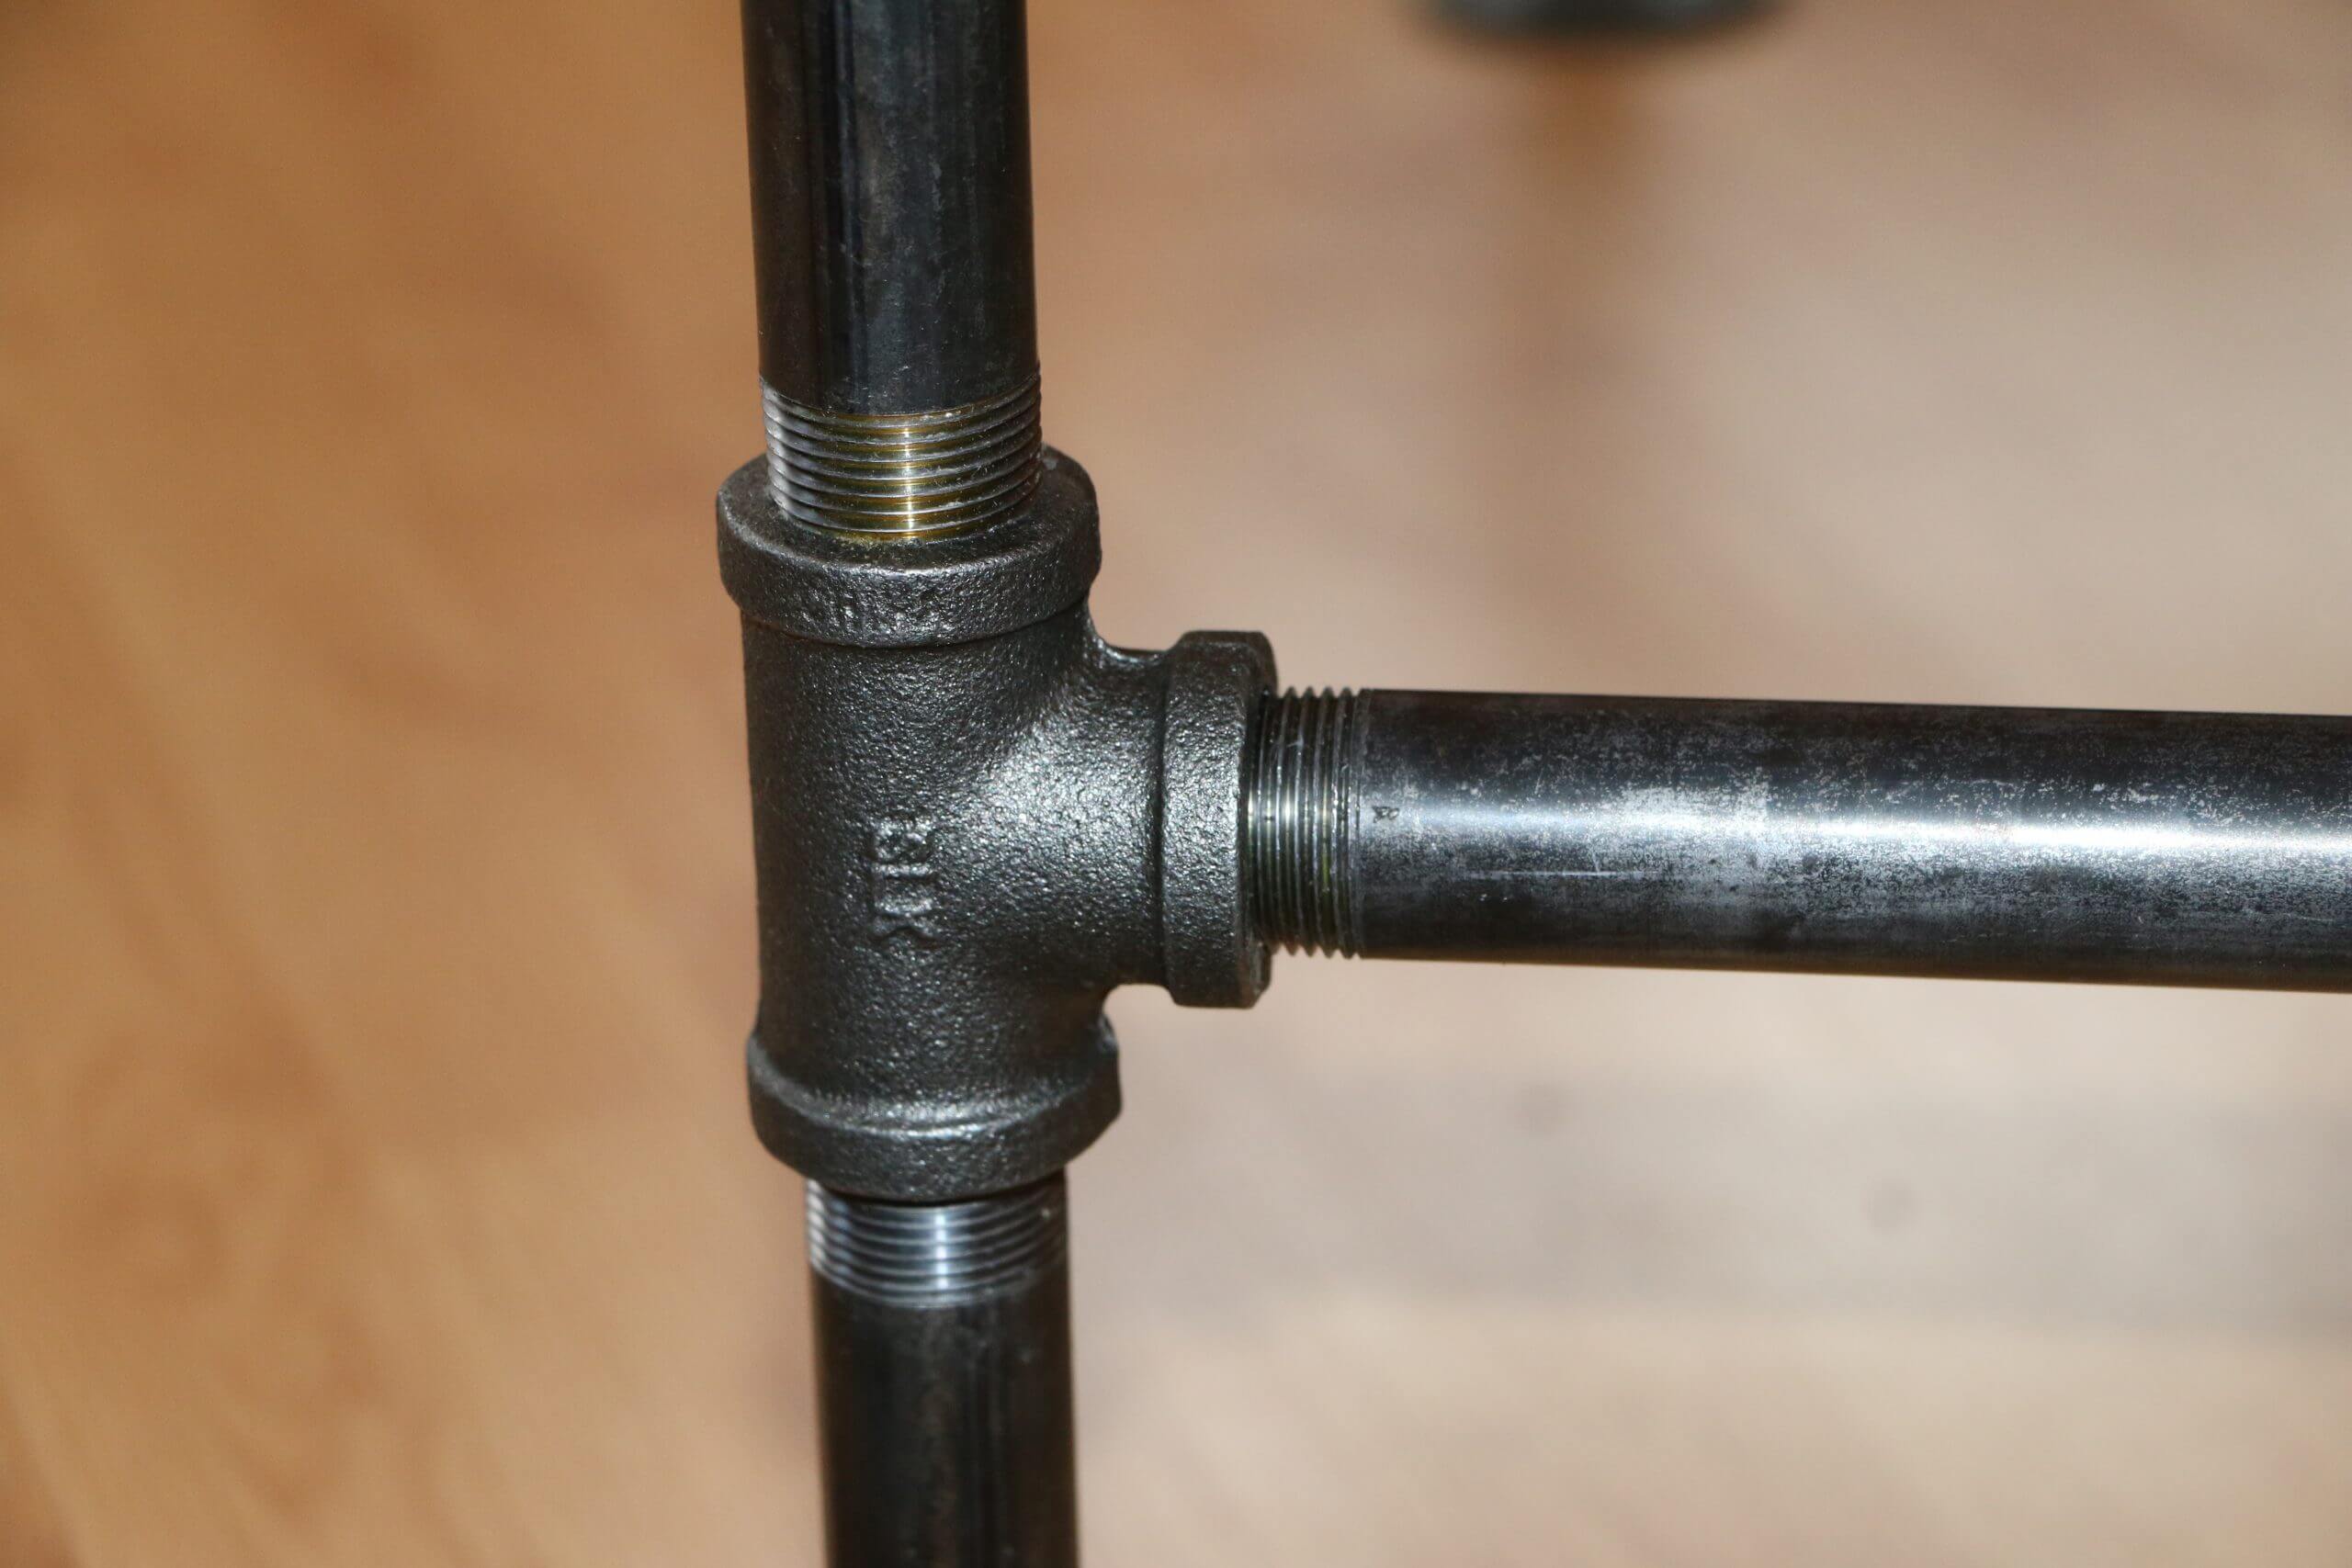
(6) 3/4″ black pipe tee
(1) 3/4″ black pipe 36″ length
(8) 3/4″ black pipe 8″ length (for the legs)
(4) 3/4″ black pipe 6″ length (for the cross supports)
**Shop around – prices can vary considerably from store to store.
Step 1: Select Your Lumber & Pipes
You can find domestic and exotic hardwoods at a specialty lumber shop. See an example here. You are looking for lumber that is at least ‘S3S’, which means surfaced on three sides. This means that the board has been planed flat (2 sides) and jointed on one side. This lets you complete the final side using just a table saw. If you have a jointer and a planer, you can go with the less expensive rough lumber.
Select boards that are straight, flat, and have a nice grain pattern. You want the most attractive grain pattern to be towards the middle of the board, which will be the top of the coffee table. Also, if you don’t have a jointer, you should make sure that your board has been surfaced so that at least one edge is a true 90 degrees.
When I started this build, I did not have my jointer in the shop. Also, I wanted to use wide boards, so my 6″ jointer wouldn’t have been much of a help either way! That made selecting the proper boards much more important. I ended up using tiger maple boards that were about 11 inches wide. It is more expensive to buy wide boards, so you can save money by jointing smaller ones.
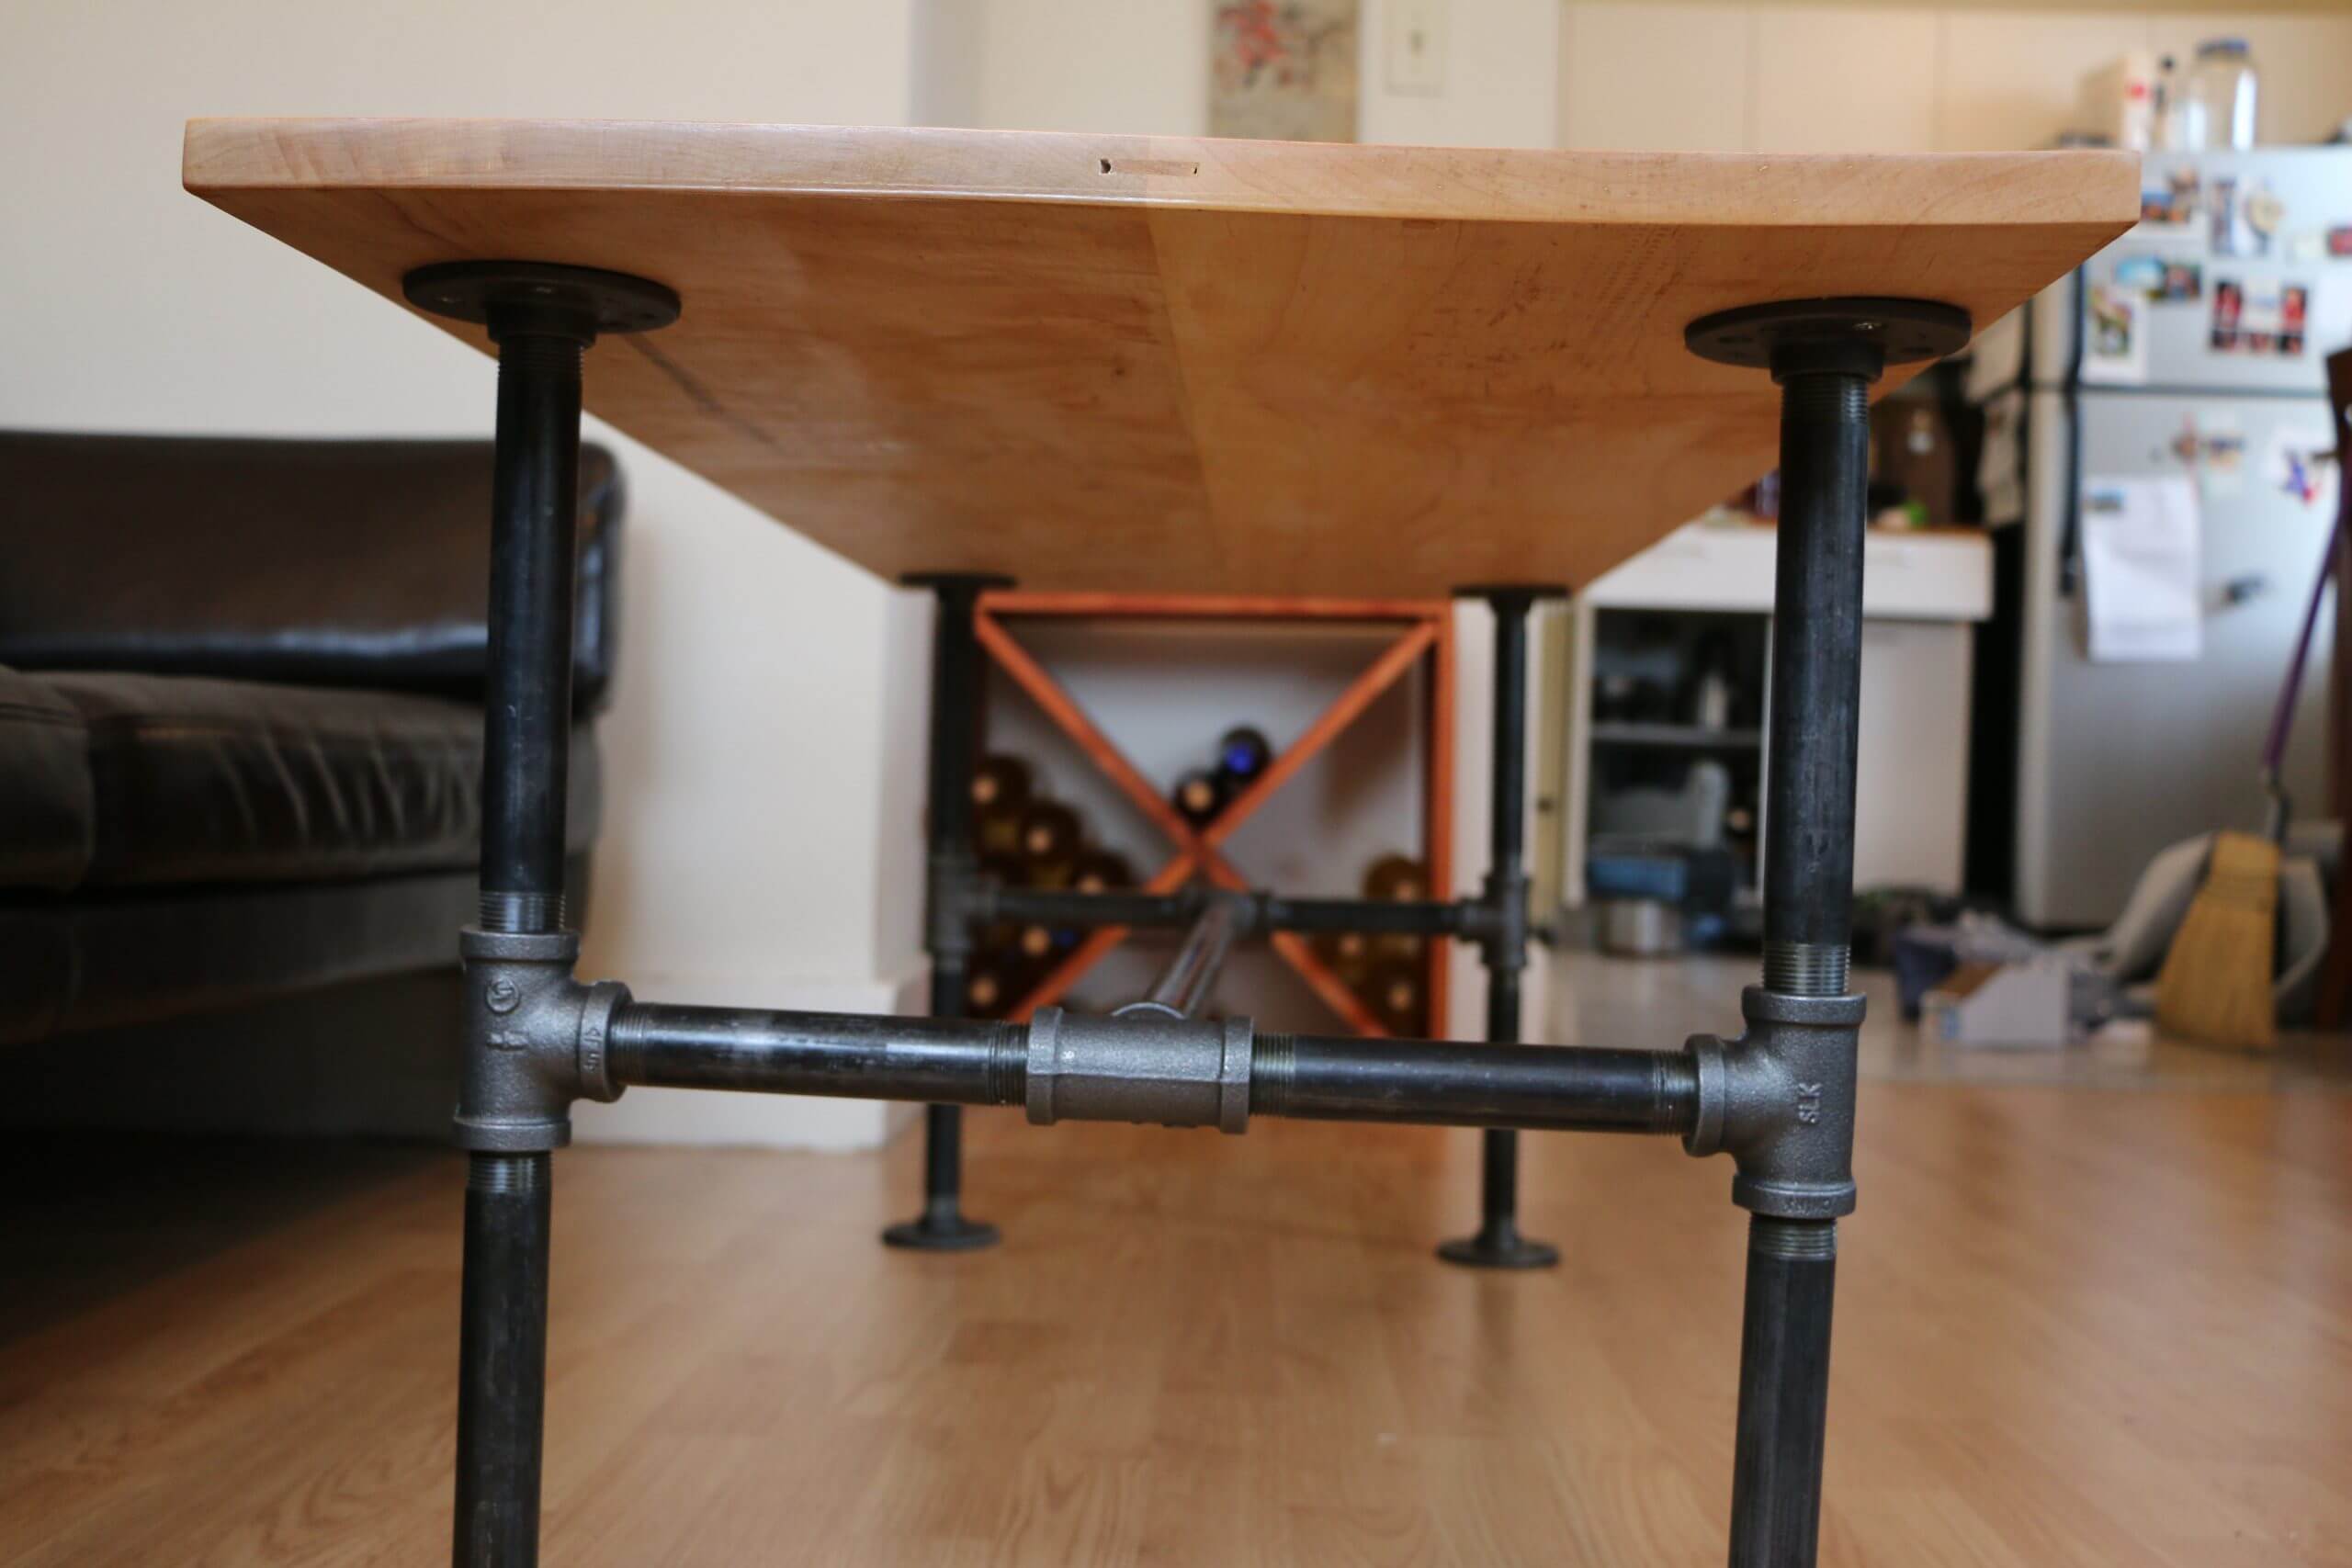
Determine your dimensions, coffee tables are typically between 16 and 18 inches tall. (Note that my plans result in a table that is ~20 inches tall, you can alter this by using different length pipes for the feet). You can customize your modern coffee table by measuring the height of your sofa, from the floor to the top of the cushion that you sit on. By matching these up, if you want to kick back and put your feet up, the table doubles as an ottoman. Also, the pipe support bar under the table serves as a secondary footrest.
I strongly recommend you plan out the dimensions of the top of your modern coffee table taking into consideration the lengths of pipes and fittings available. For example, the height of your table will be the height of two flanges, the length of two pipes that are X inches long, plus the length of one tee plus the thickness of your wooden top. Also, since the pipes are threaded, each one will recess about 1/2″ so you’d need to subtract that for each connection, which is 4 or 2 inches in this case.
The width of your pipes will be the with of two tees, plus the height of one tee, plus the length of two pipes that are X inches long, plus the width of about one flange minus about 2″ for the 4 connections. It takes a little while to get used to, so this is why it really helps to try fitting the pipes together in the store with a tape measure to make sure that everything will line up how you’d expect.
The above pipes are suitable for a coffee table that is about 20″ wide, 4′ long and 20″ high. Make sure to modify based on what size you’d like your table to be! Customize!
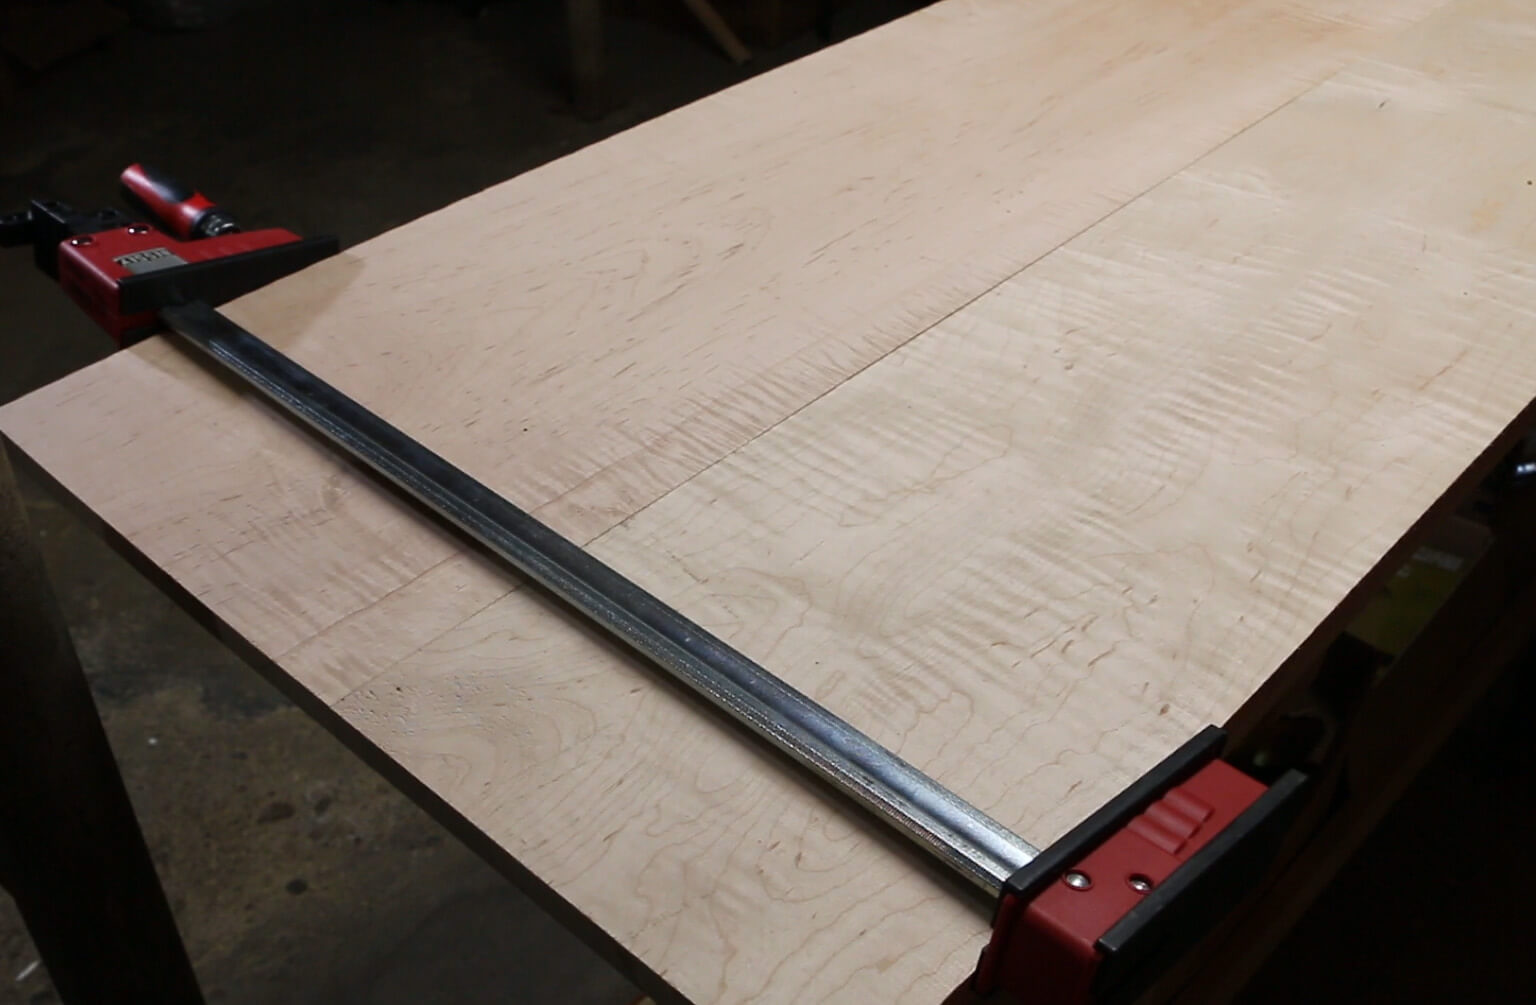
Step 2: Glue-up the Modern Coffee Table Top
I used a biscuit joiner which works great for table top glue ups. However, this is optional as you can use a kreg jig here or just butt joint glue these pieces together. I have a table I made over 10 years ago that was butt jointed and it hasn’t shown any signs of coming apart.
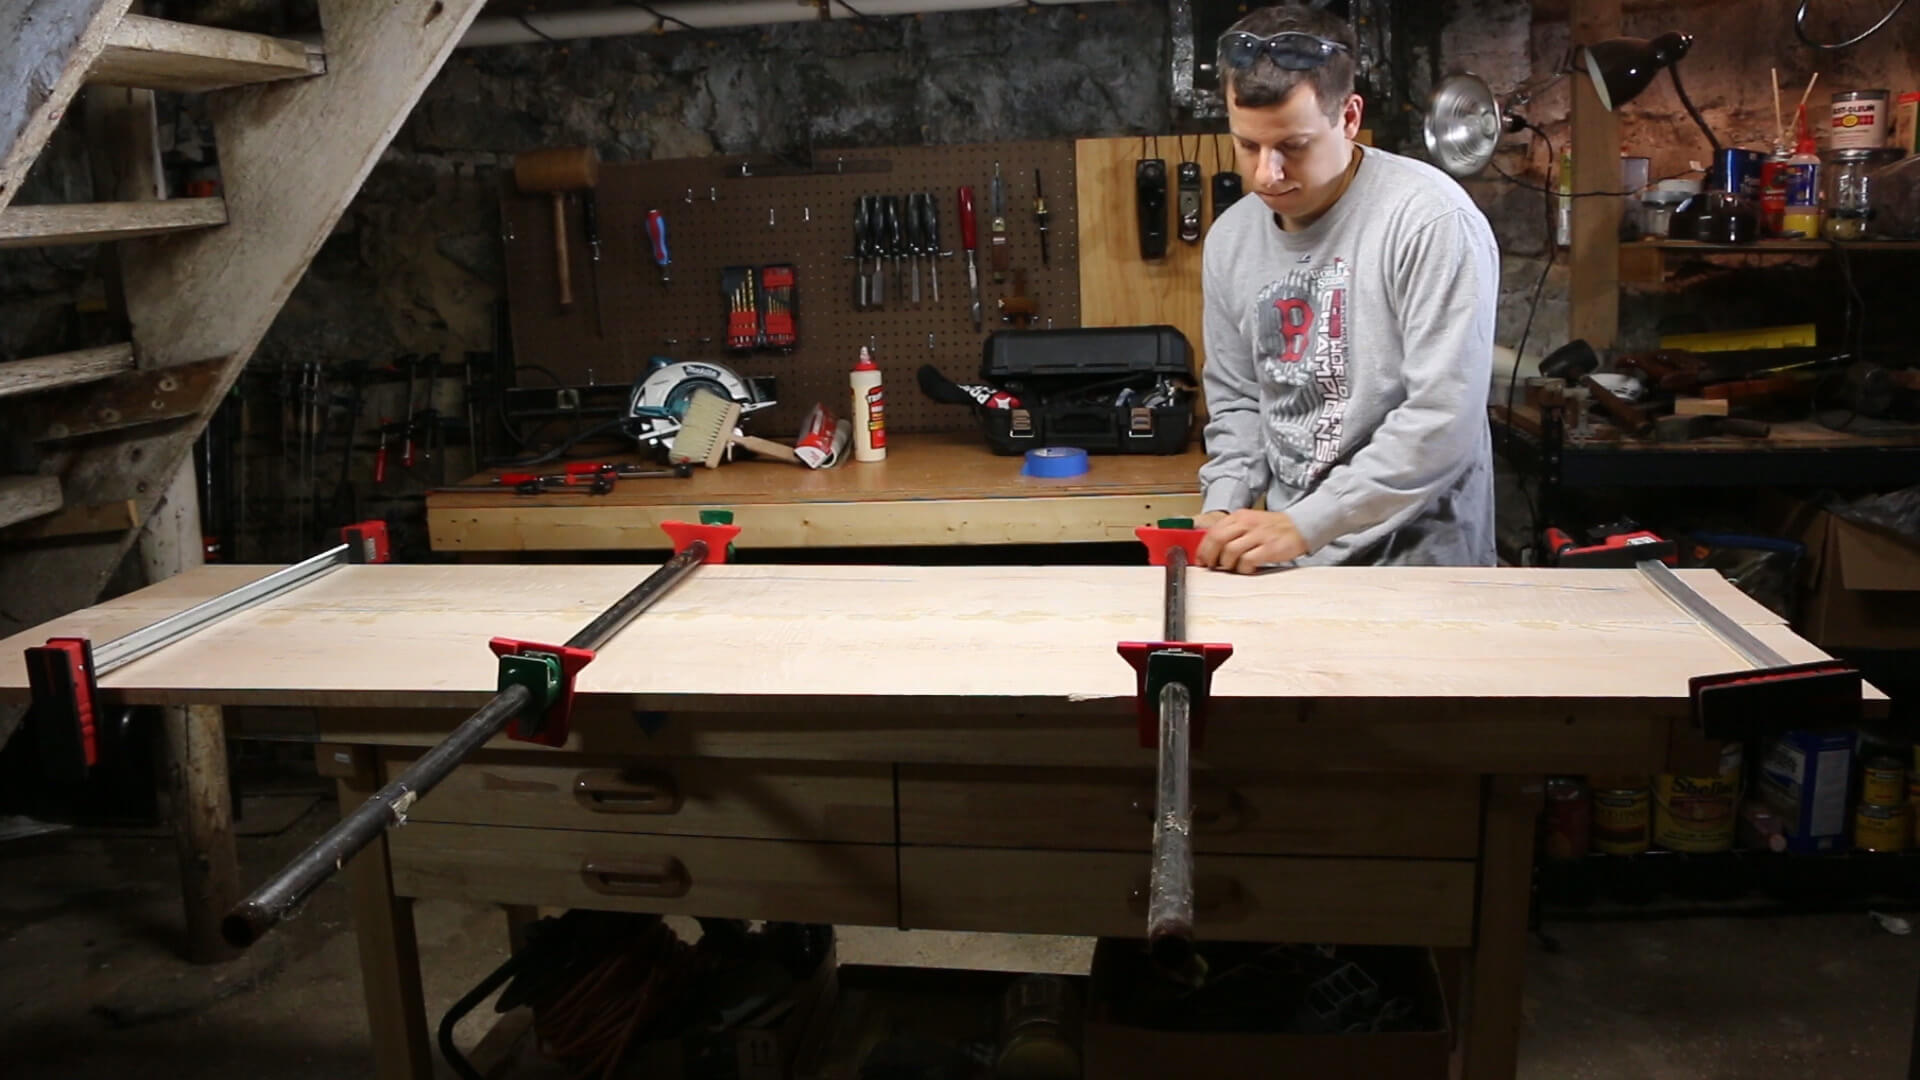
First, lay down some wax paper so that you don’t end up gluing your boards to your workbench! Then, apply a thin layer of glue evenly to both surfaces and clamp the boards together. The more clamps here the better, you really want to have solid, even pressure. Glue squeeze out is good! Clean off the excess with a damp rag. Put lots of weight on the modern coffee table top so you end up with a very flat surface. This will save a significant amount of sanding time.
Step 3: Sand and apply finish
Sand the surface using your orbital sander and sides of the top using 150, 180, 220, 320 grit sandpaper. Make sure that all scratches have been sanded down before proceeding to the next grit. I also used some small pieces of sandpaper to very slightly round over the edges so that they were no longer sharp. Add your finish of choice. For this project, I added a couple of coats of linseed oil followed by several coats of gloss polyurethane. Gloss looks wonderful with figured wood like tiger maple.
Step 4: Clean the Pipes, Apply Sealant & Glue on Floor Protectors
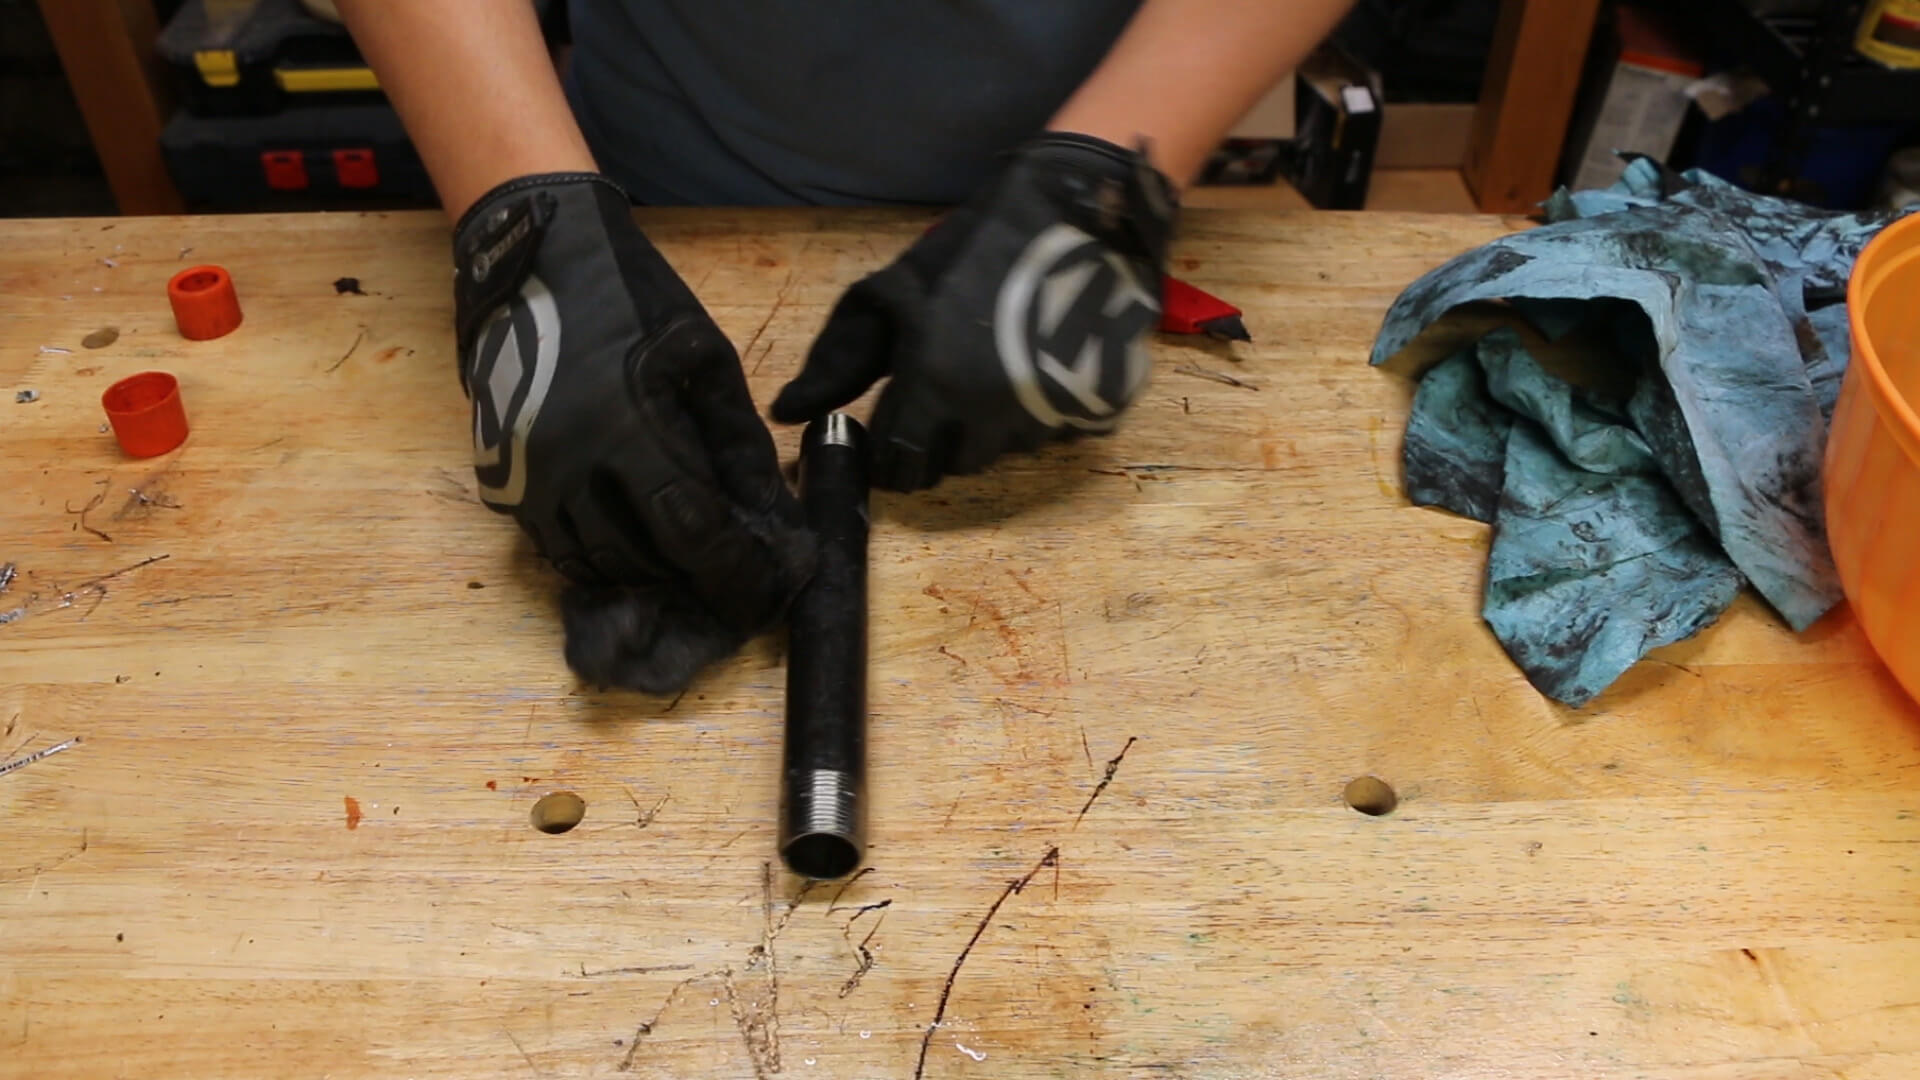
Spray the straight pipes with WD40 and use a razor to scrape off the labels and black gunk. Wipe down with a rag. This will clean the pipes so that the gunk doesn’t rub off on you. Then, use your 0000 Steel wool and load it with Paste wax. Apply the wax to the straight pipes, let it set for about 15 minutes, then buff it off with a clean rag.
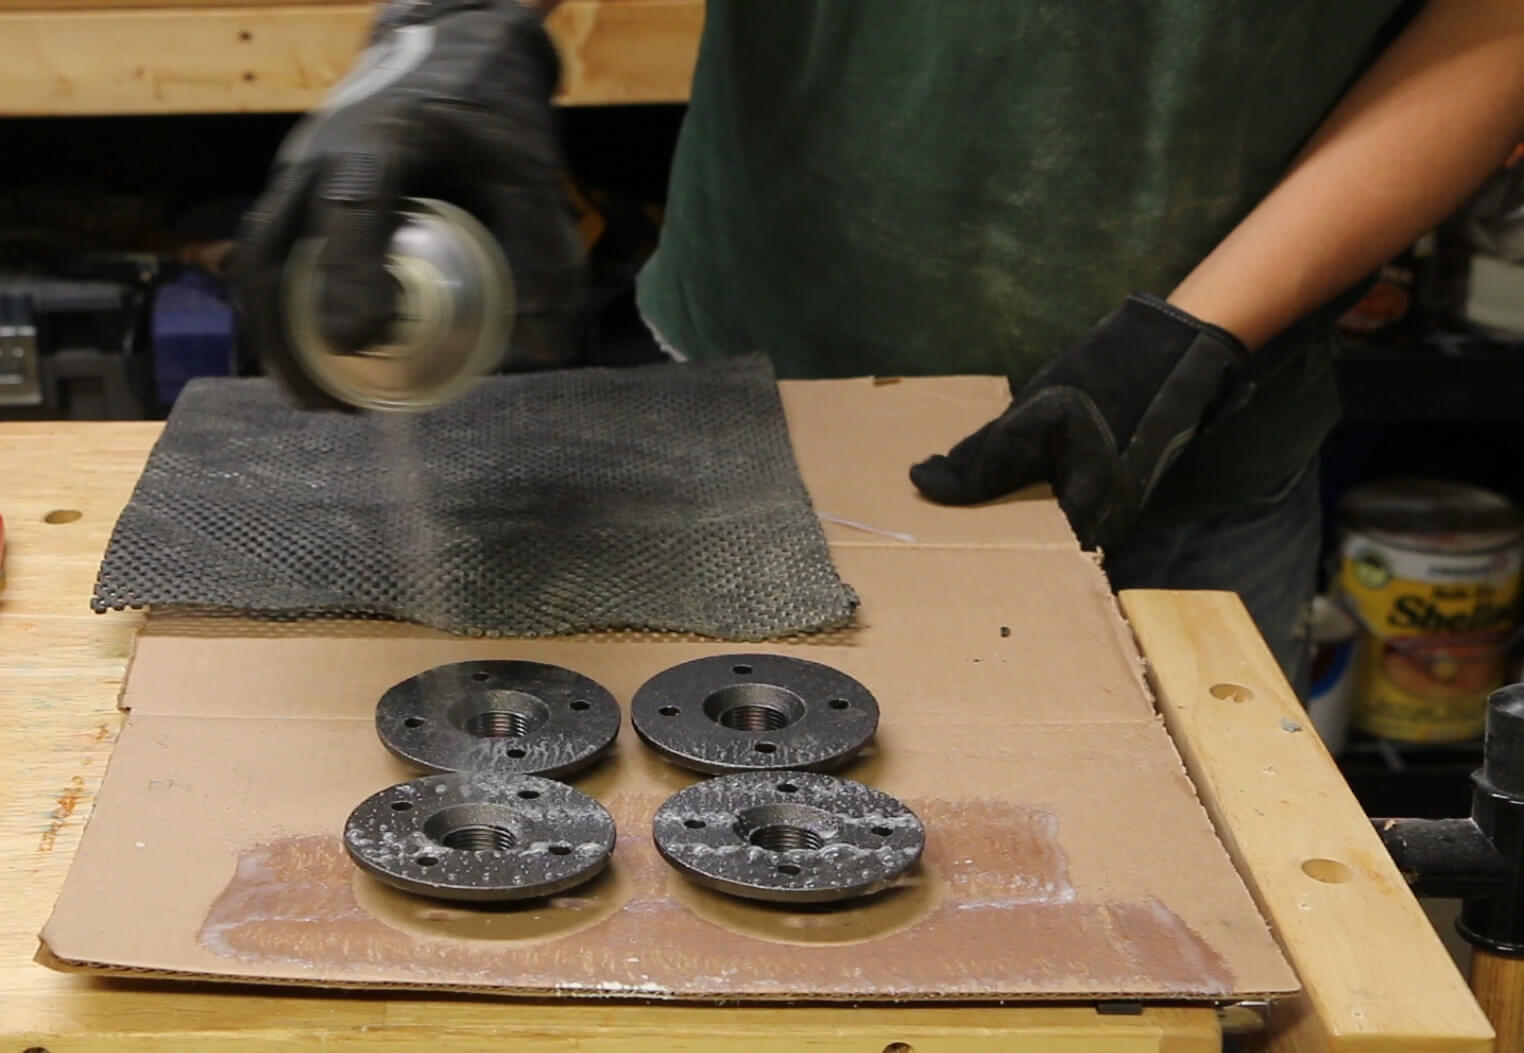
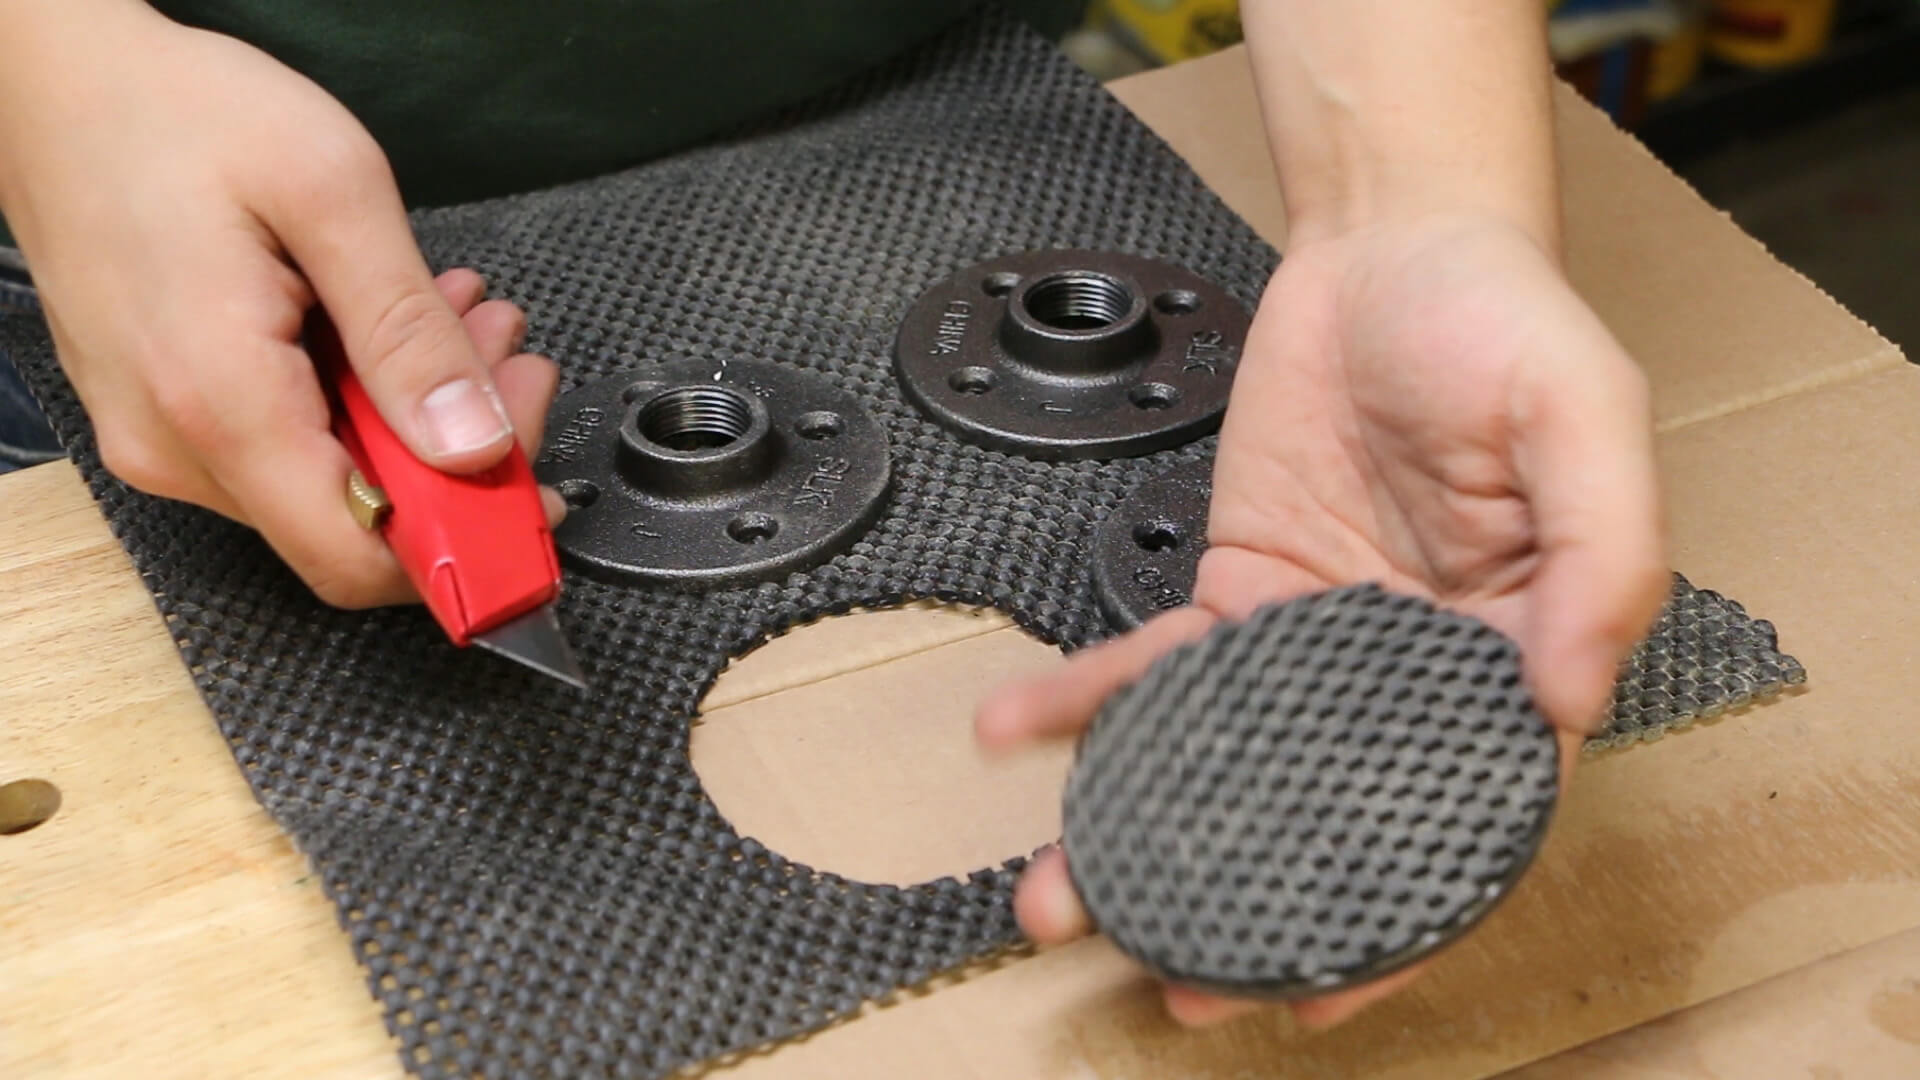
Using spray adhesive, spray the bottoms of four flanges and lay them on top of some No-slip material. Use some weights for better glue contact and let them dry. Then, cut them out with a razor. These will not only help protect your floors from getting scratched by the iron, but it will also make your modern coffee table less likely to slide around.
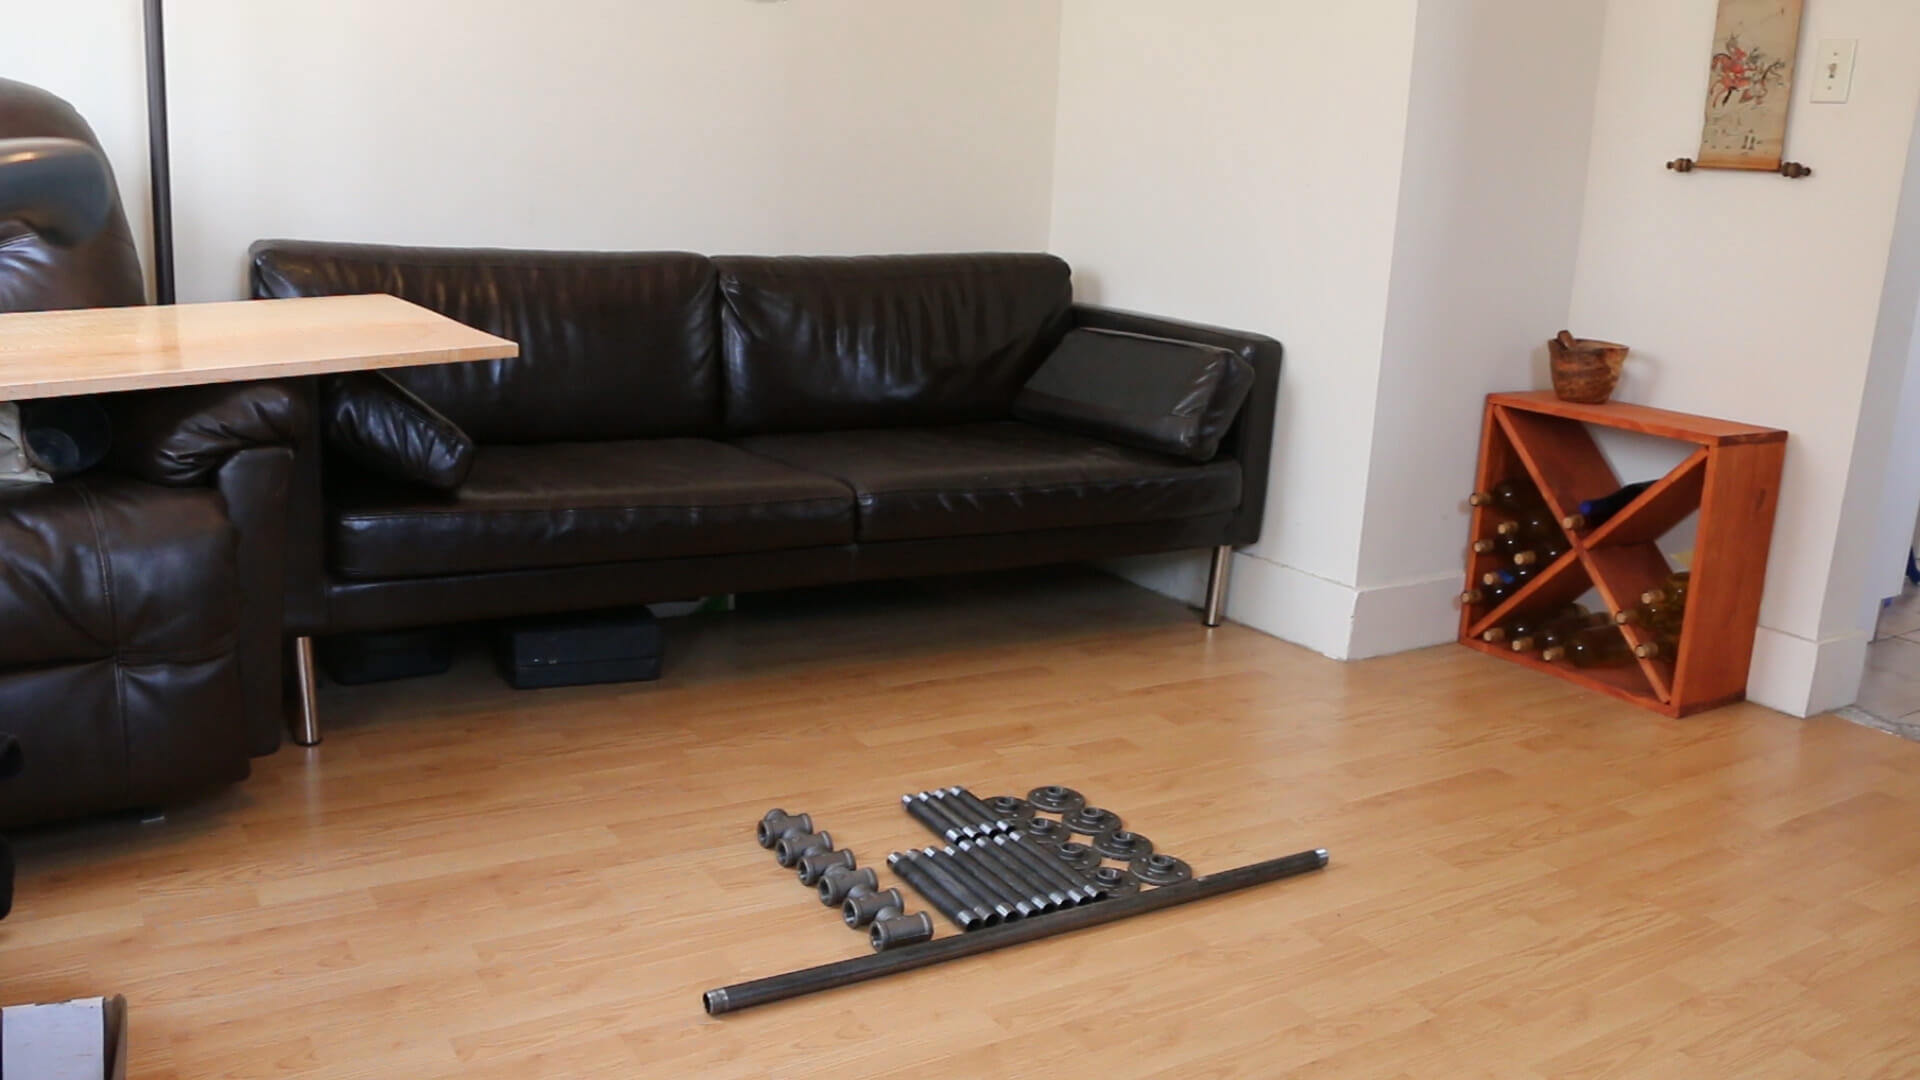
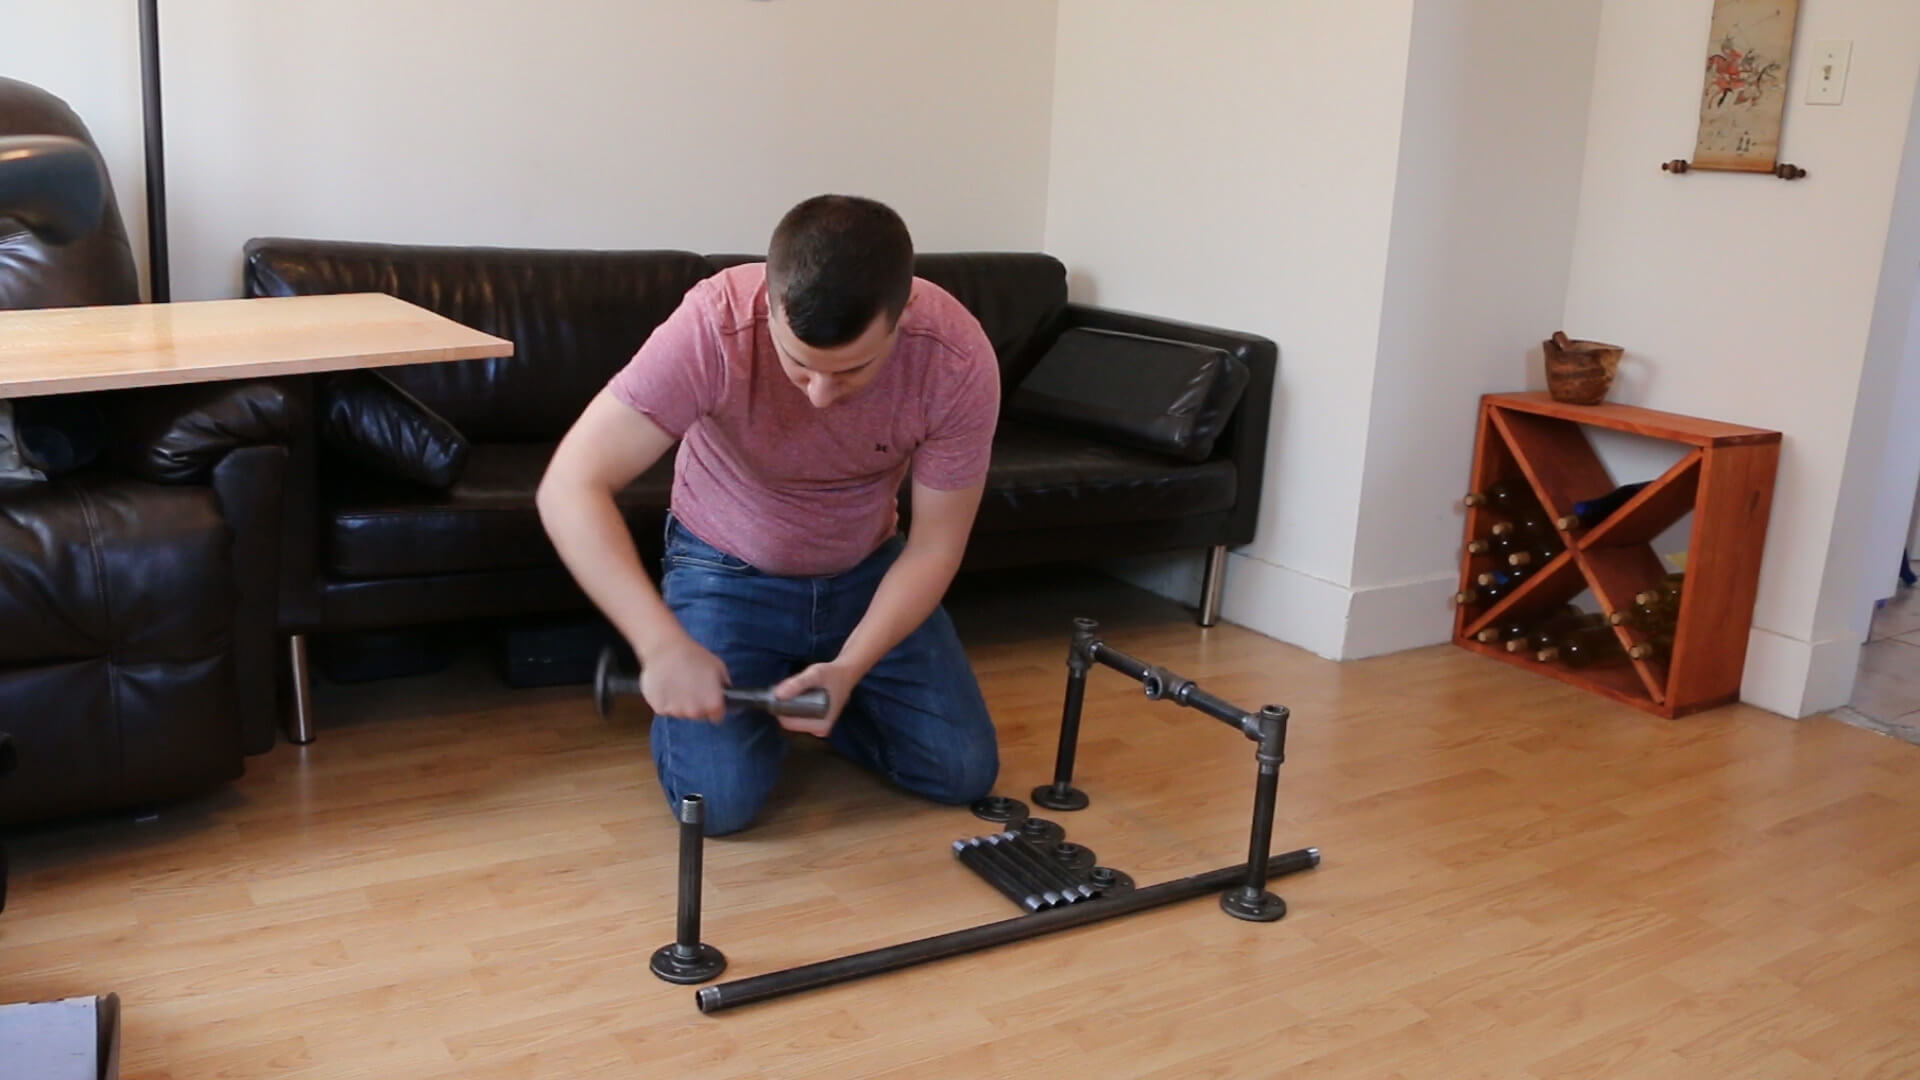
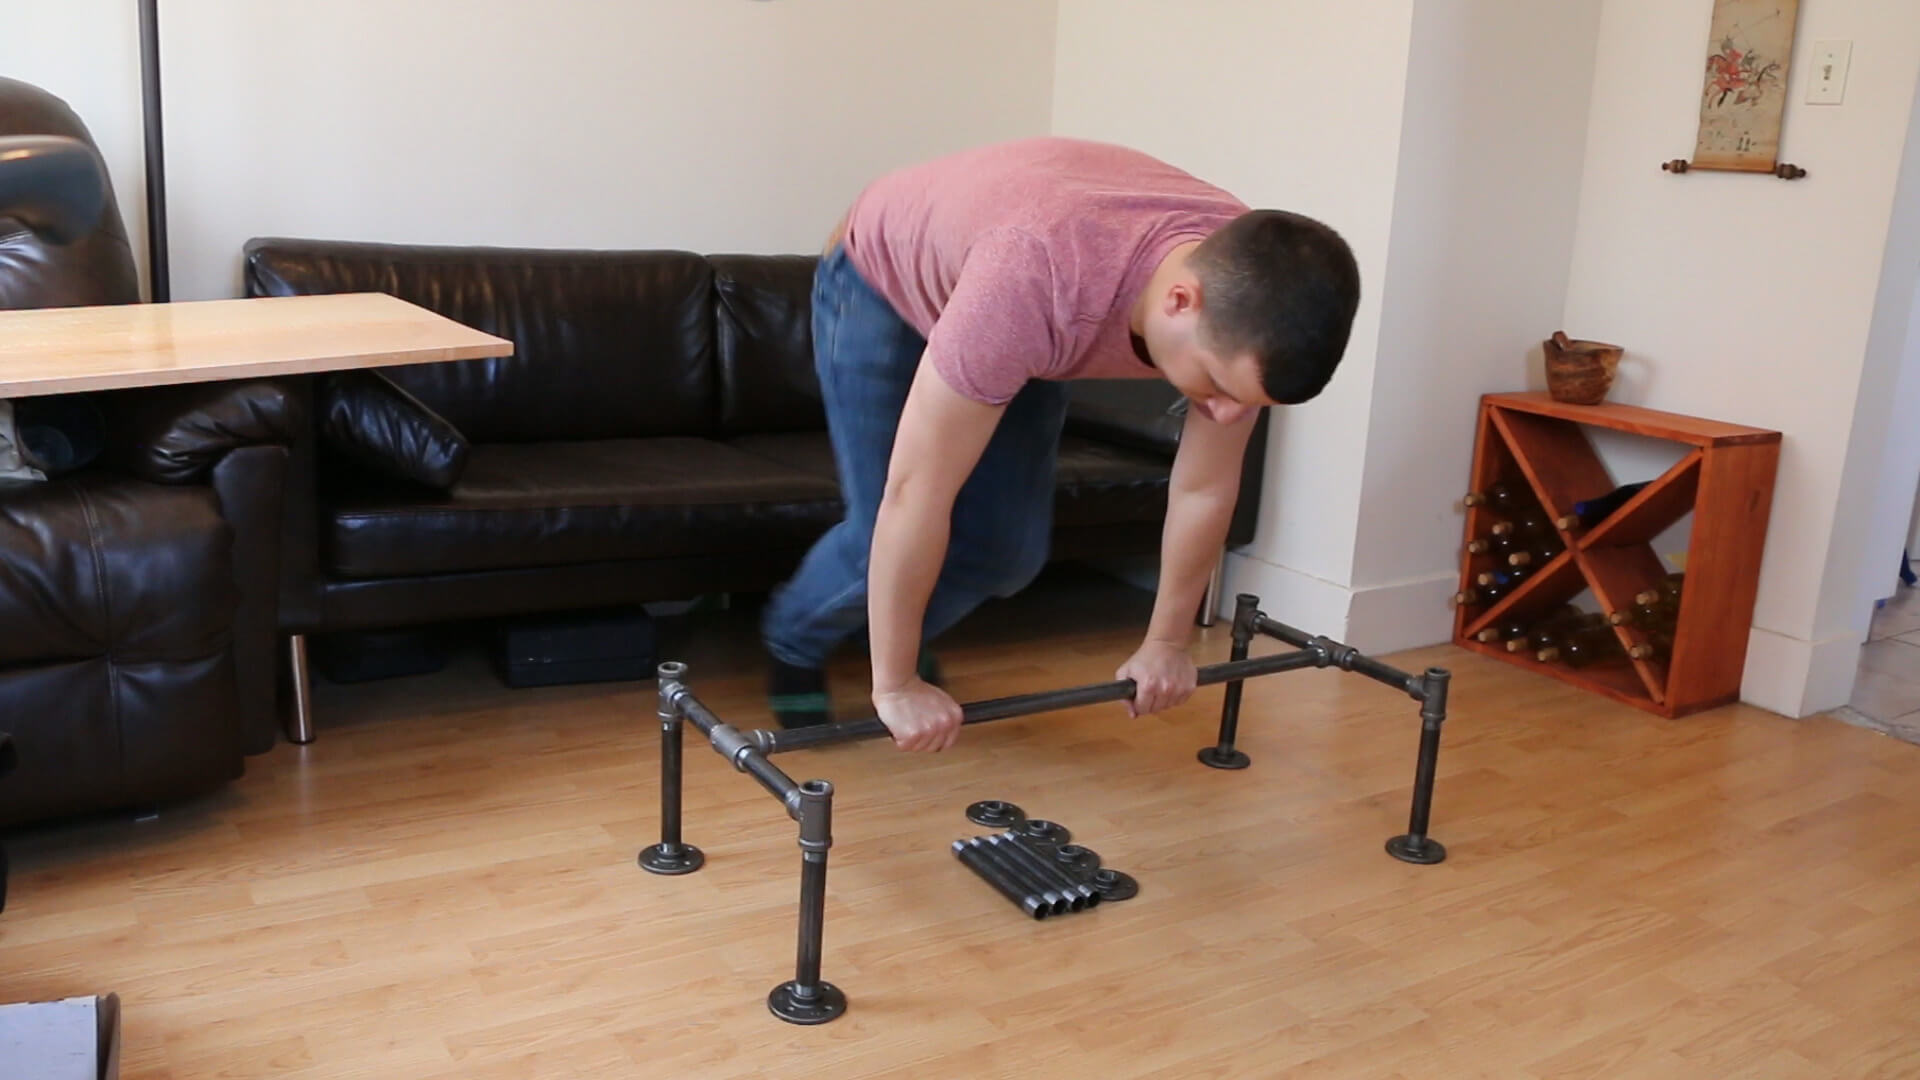
Step 5: Assemble
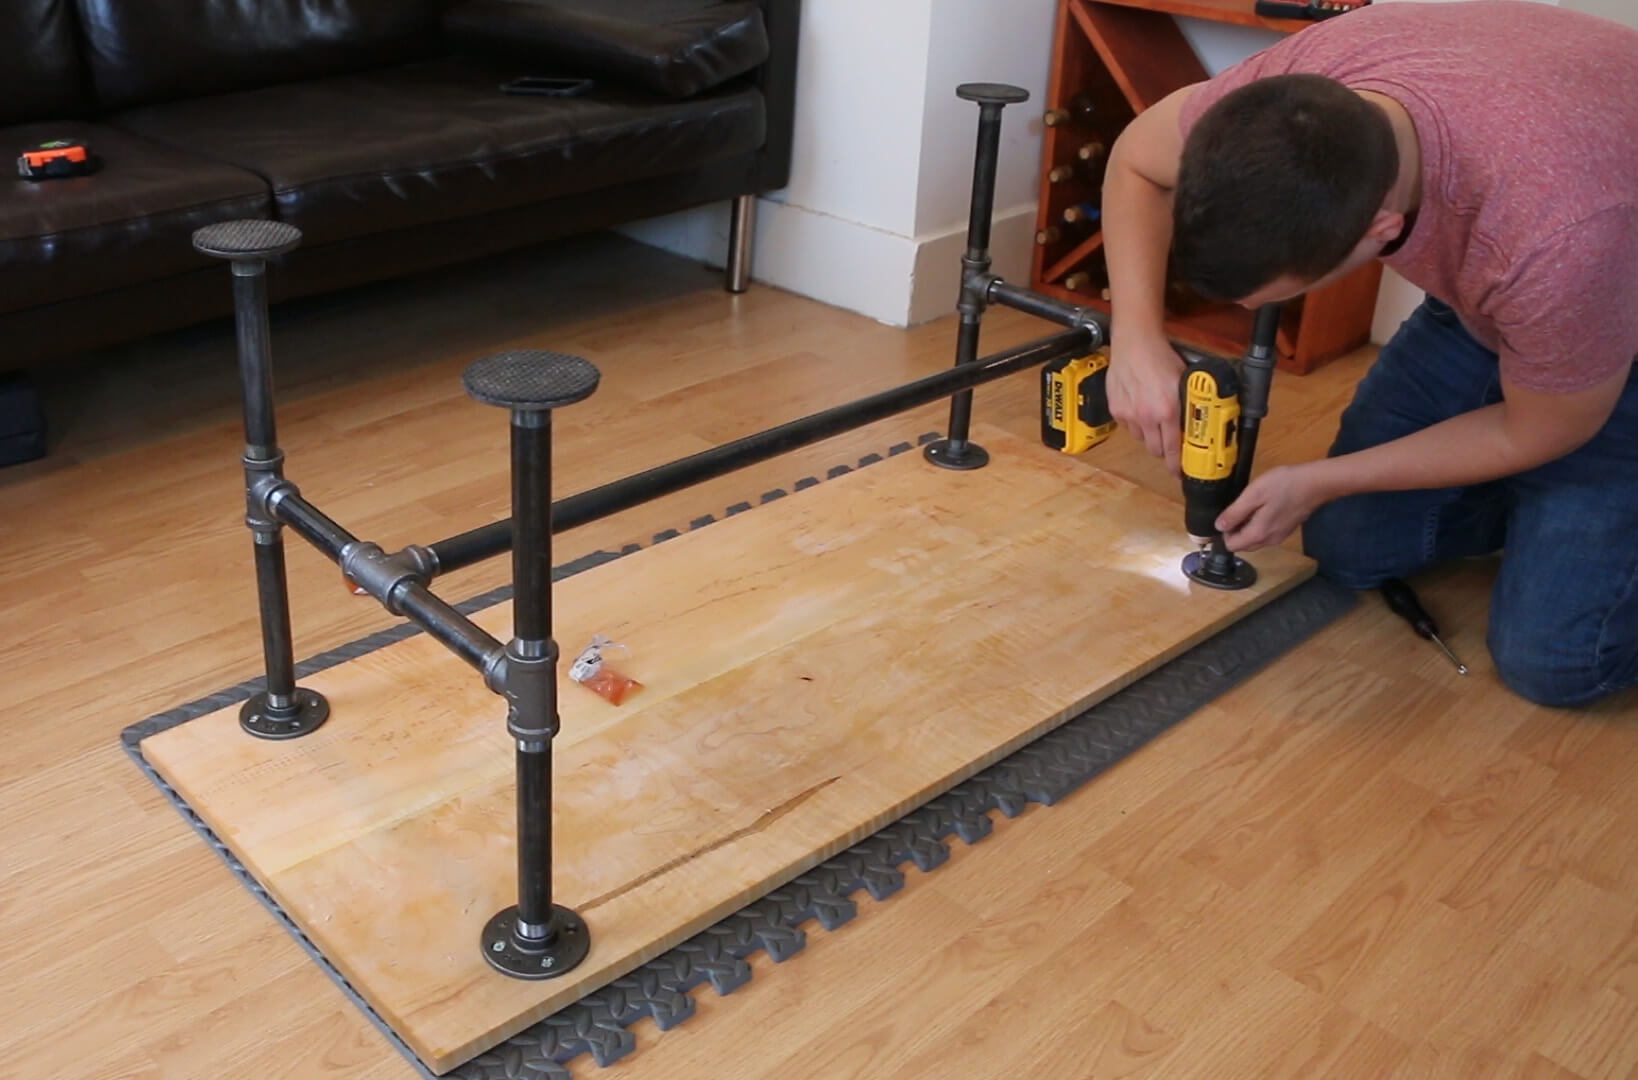
With all of your pipes cleaned, waxed and ready to go, you are ready to start screwing the pieces together. Make sure that the 4 padded flanges are facing the floor.
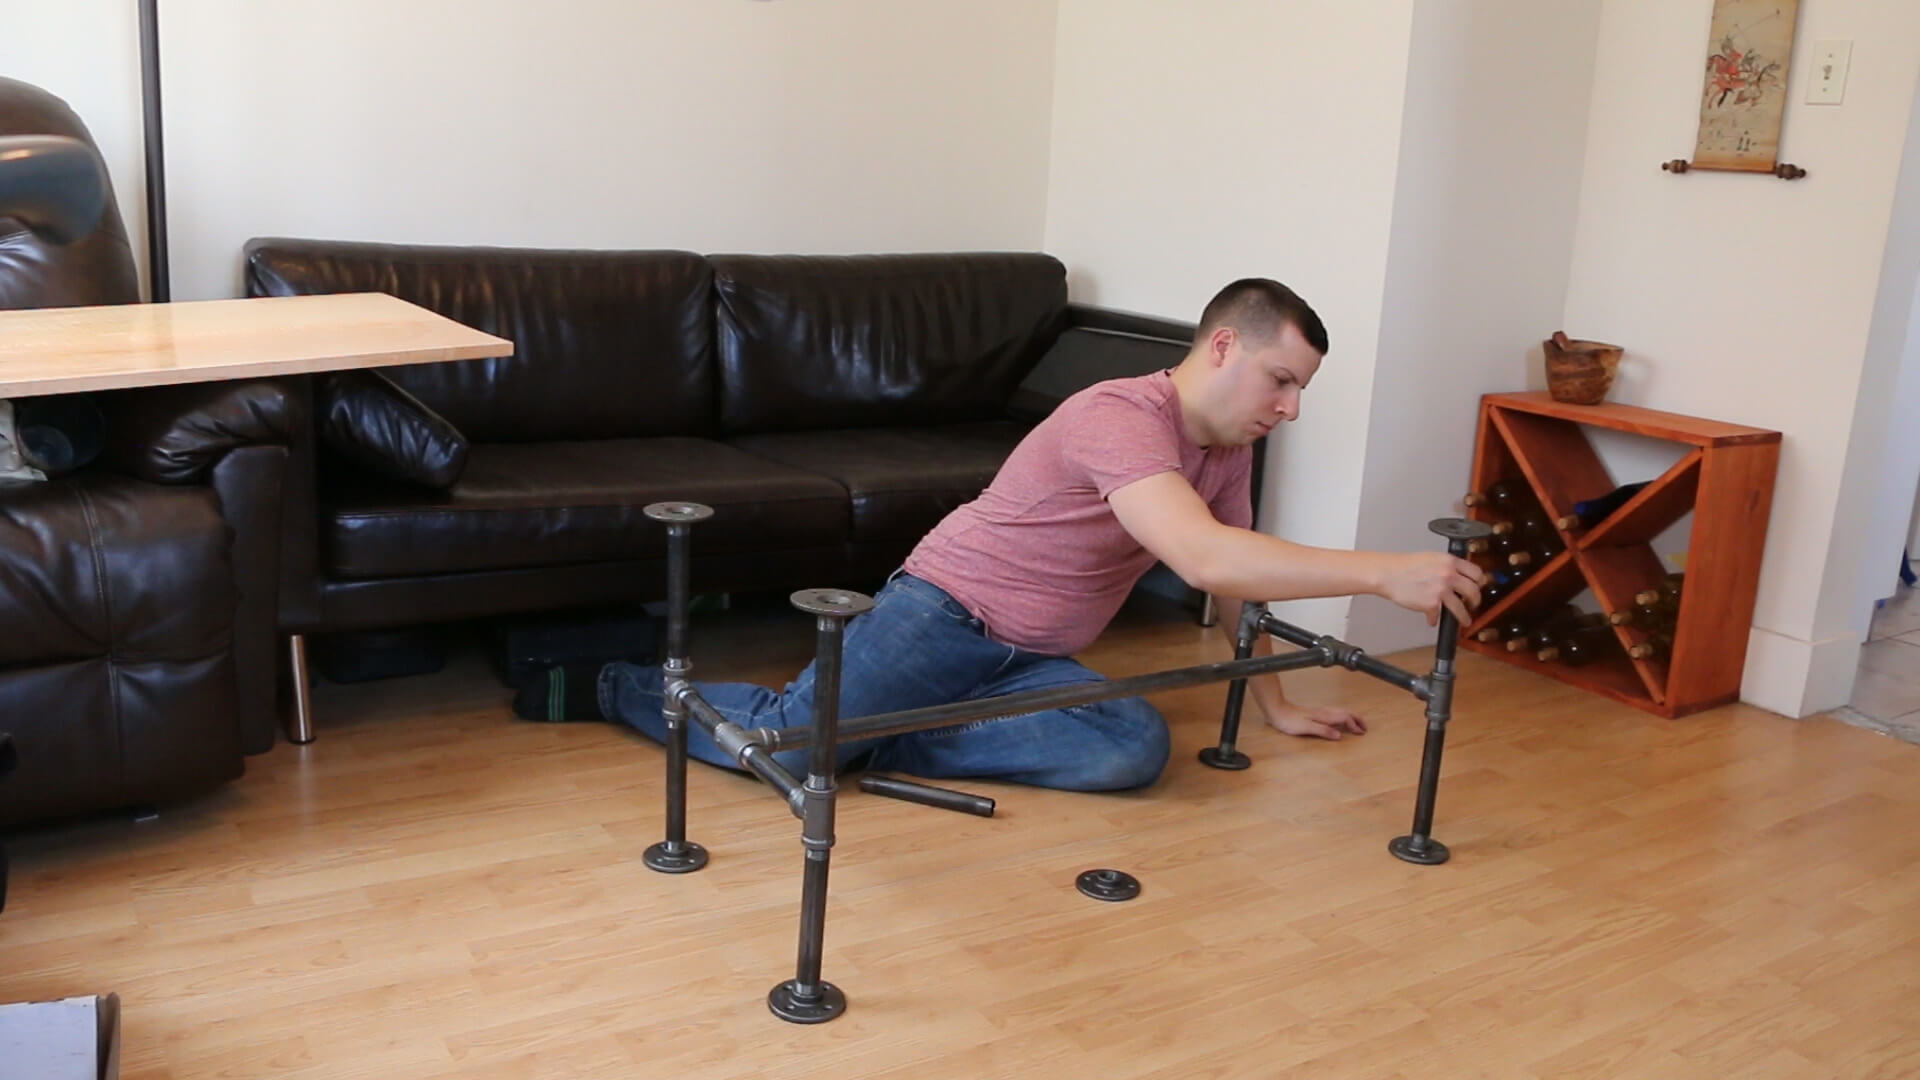
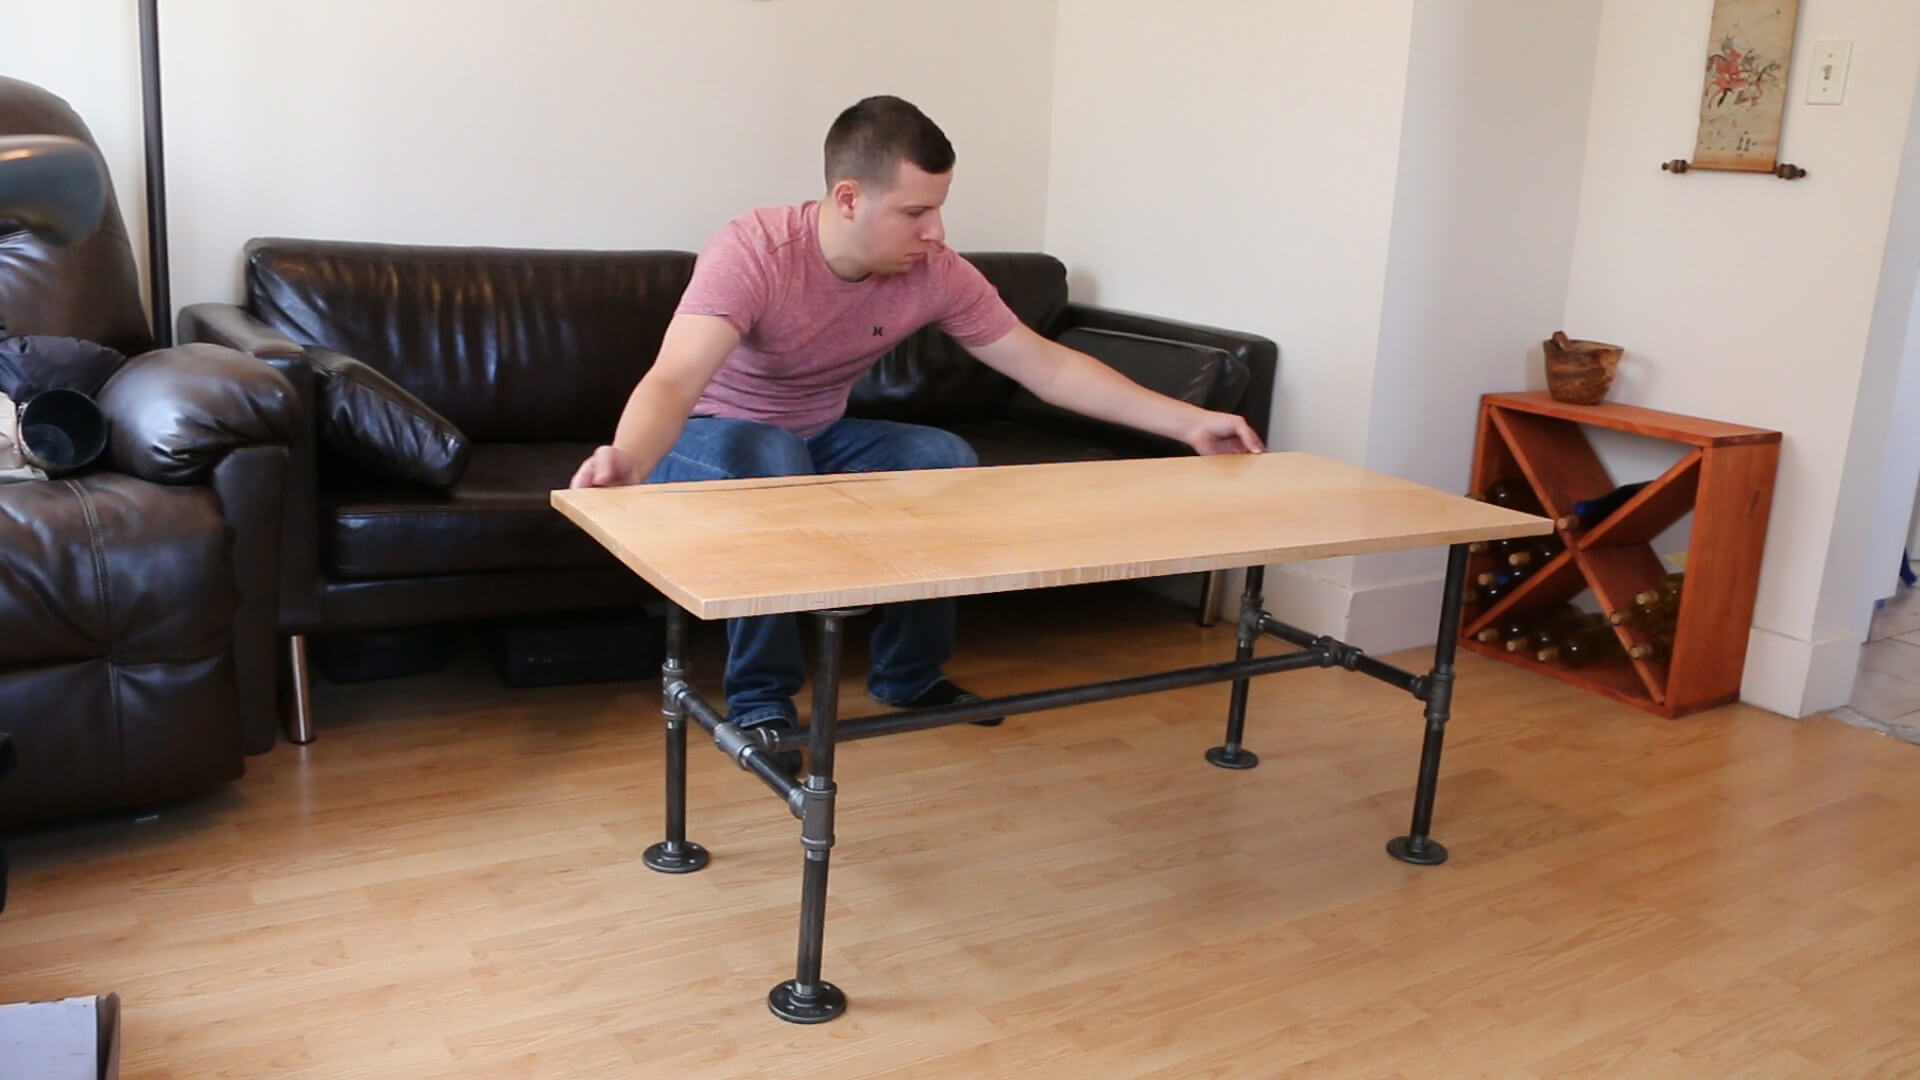
Check your fit and height and once you are satisfied, use your Drill to attach the metal pipe base to the table top using 3/4″ woodworking screws.
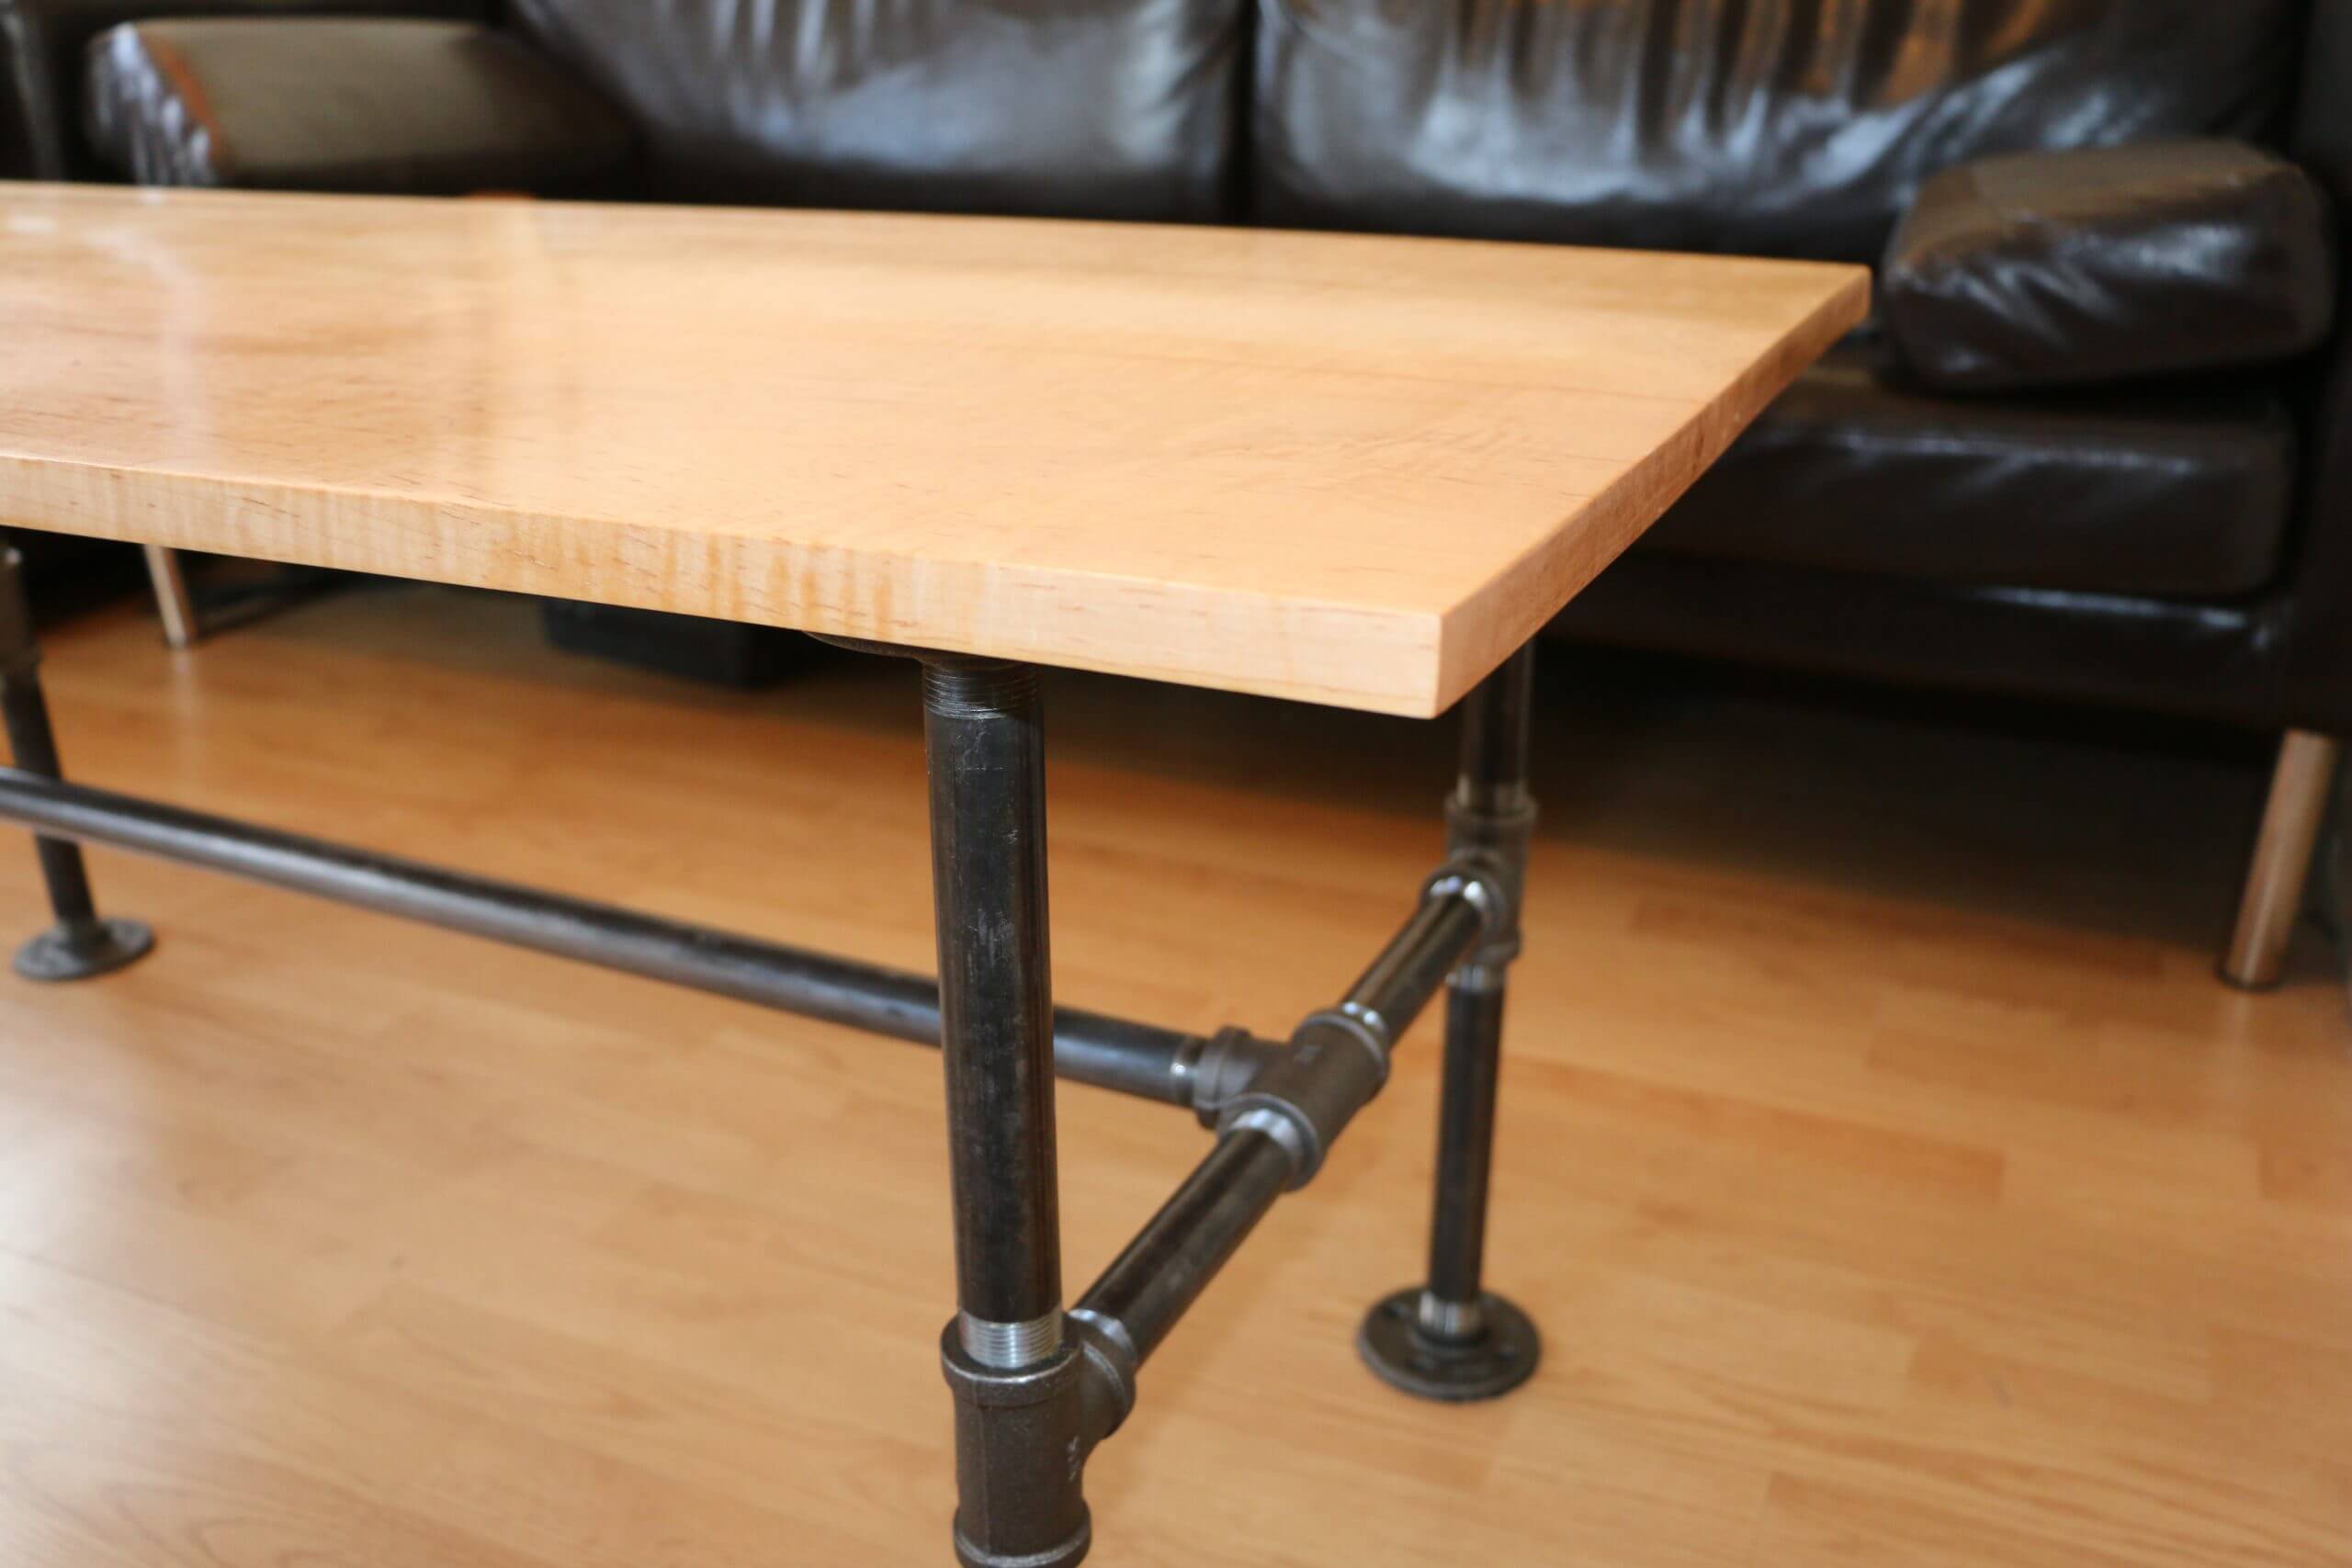
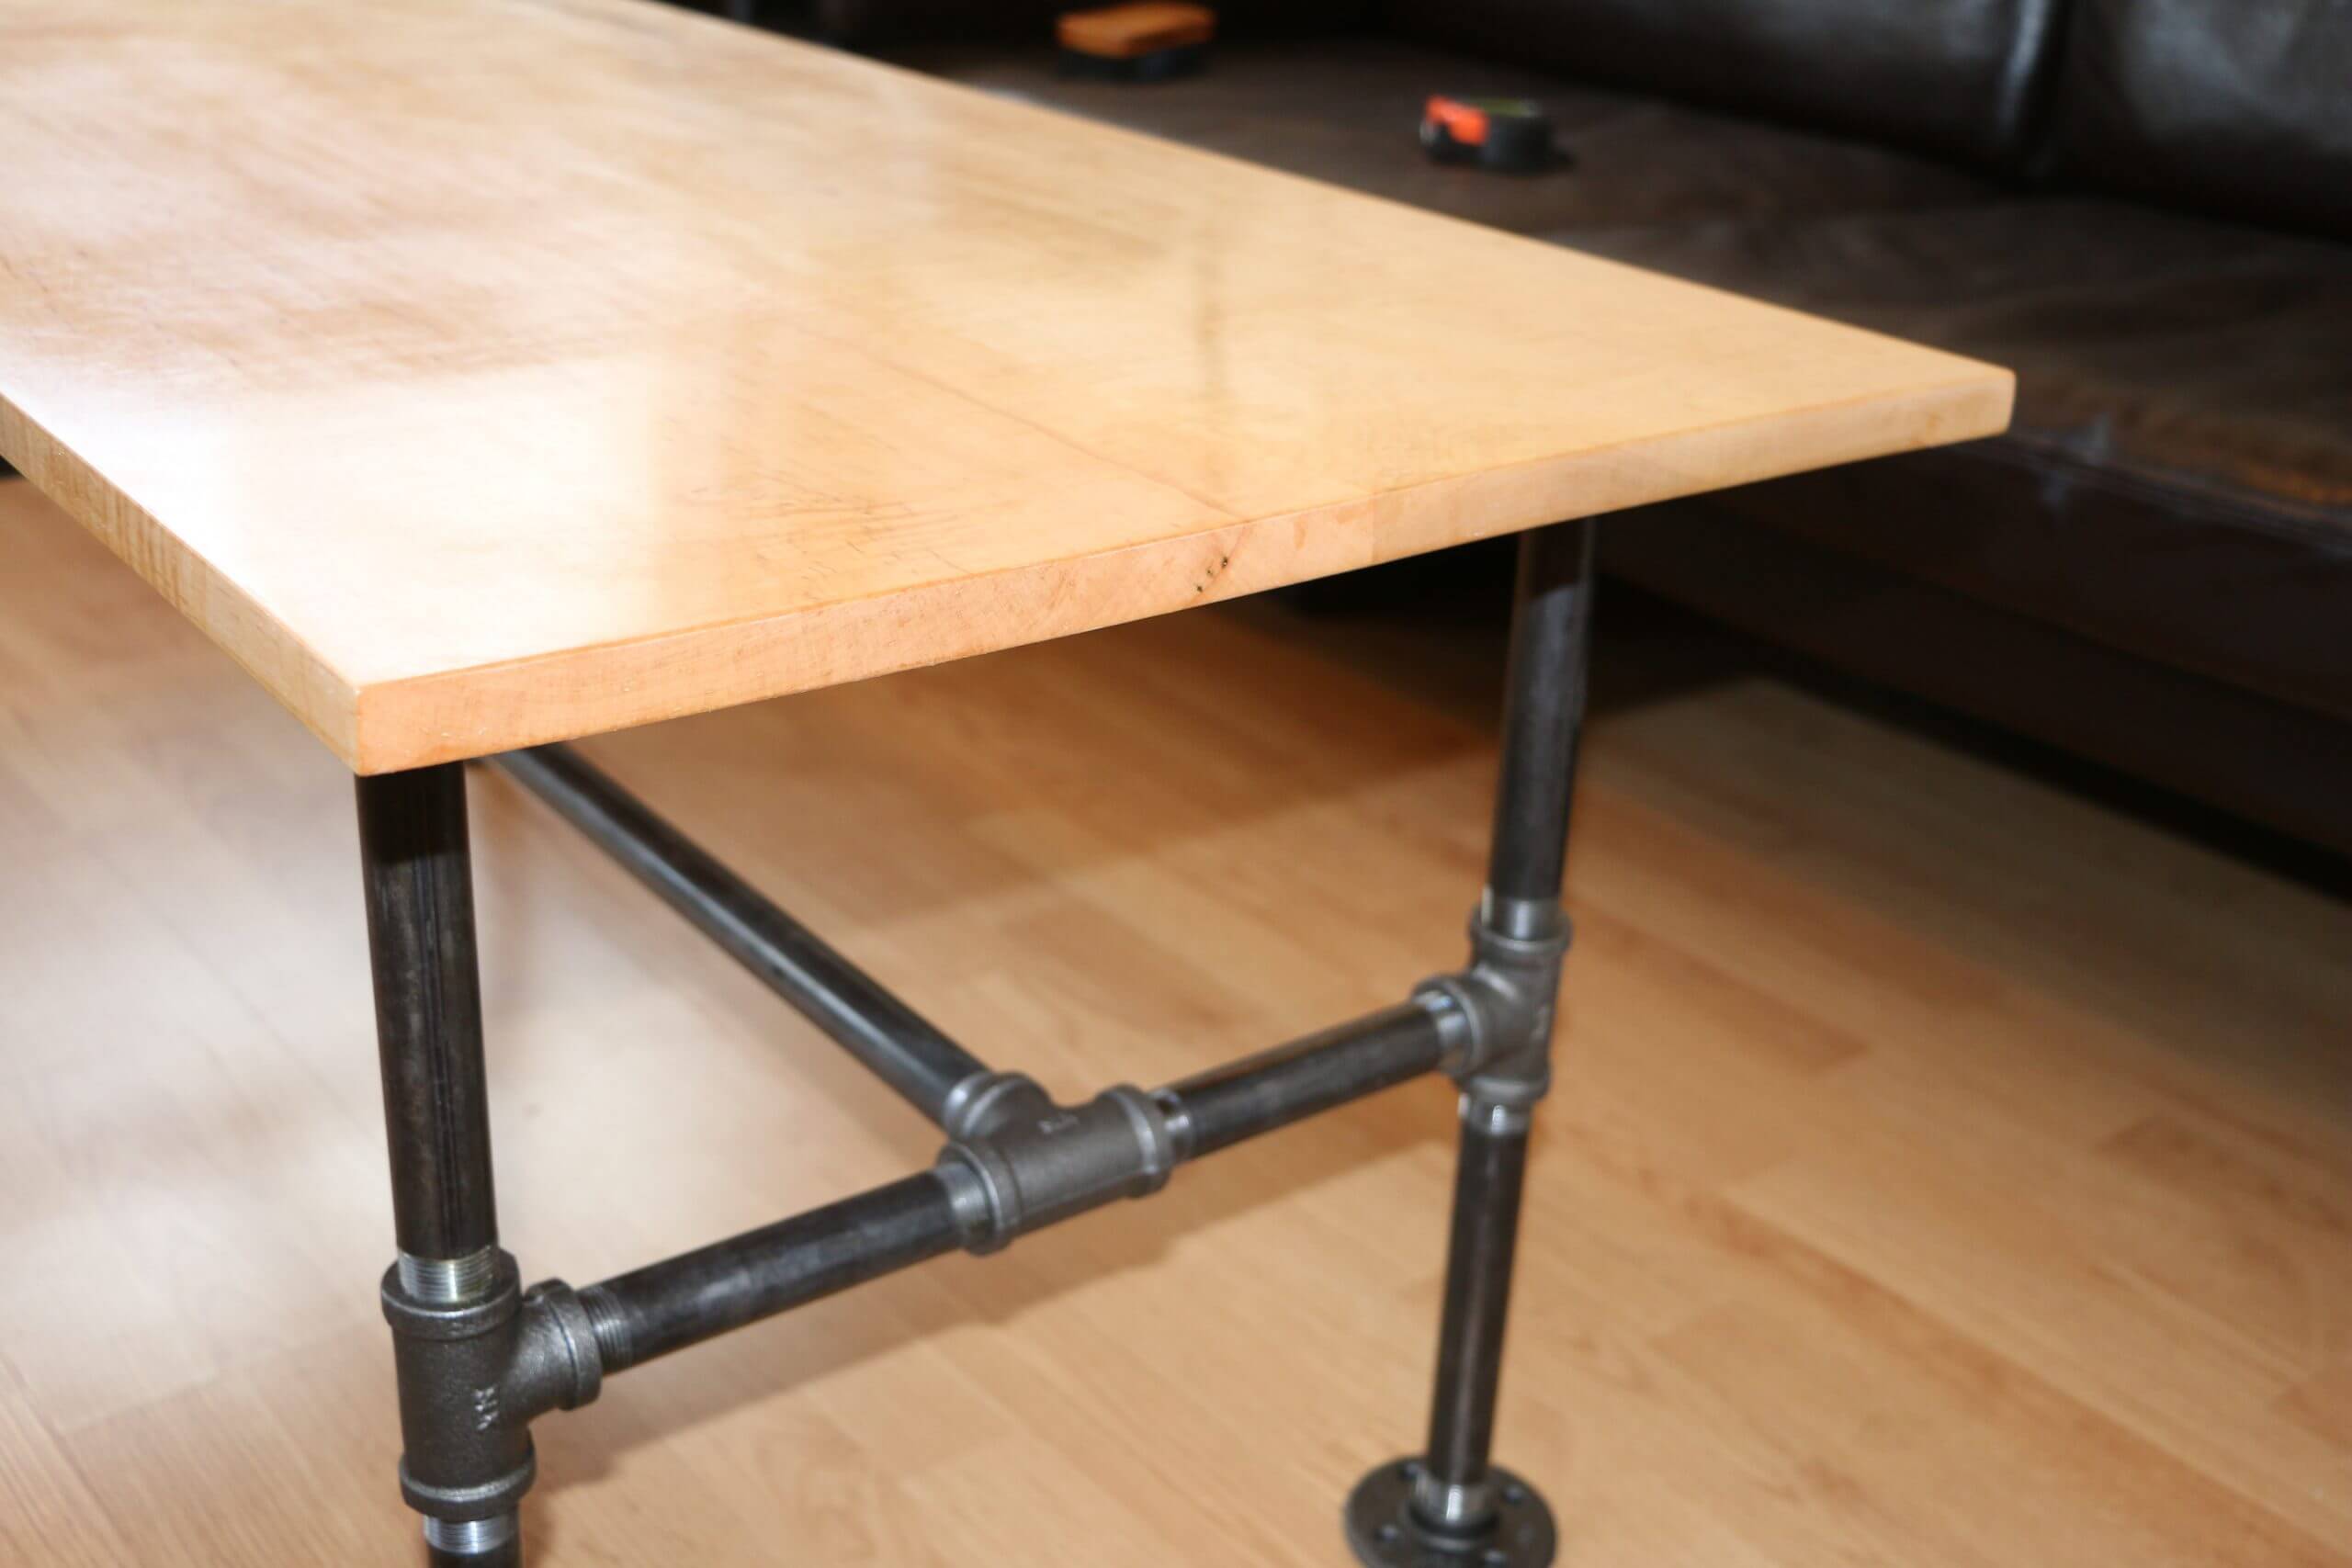
Step 6: Finished!

Leave a Reply