The Viking Chair
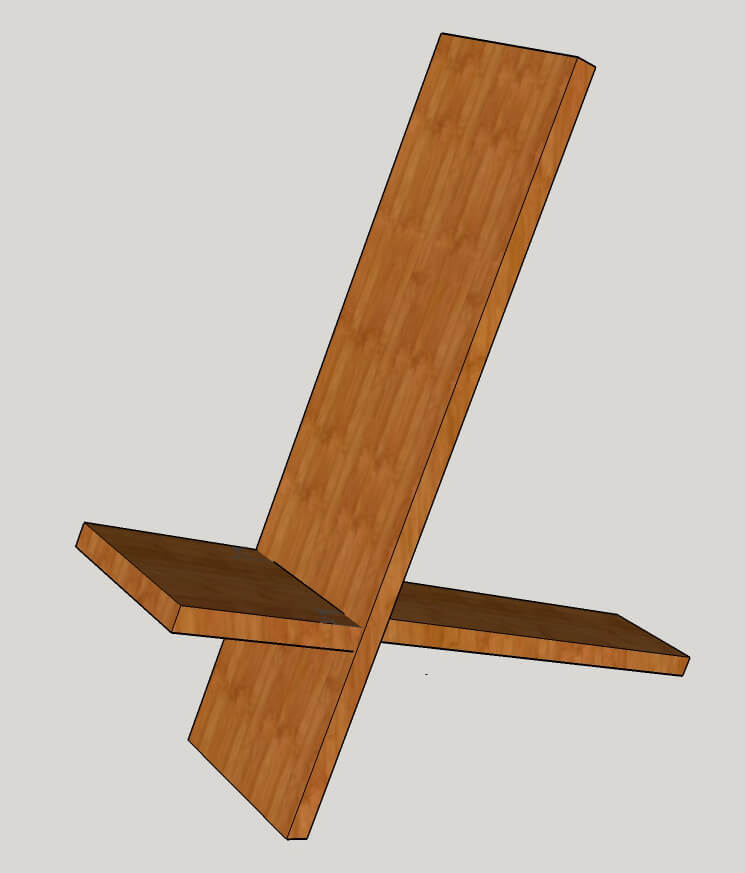
The viking chair is really a fun project that is cheap, easy and make great additions alongside a campfire. They are also known as bog, plank or stargazer chairs. Due to the angle and length of the back, these chairs really support your neck while you look up at the stars and are surprisingly comfortable!
See my free viking chair plans and my video tutorial below.
Begin!
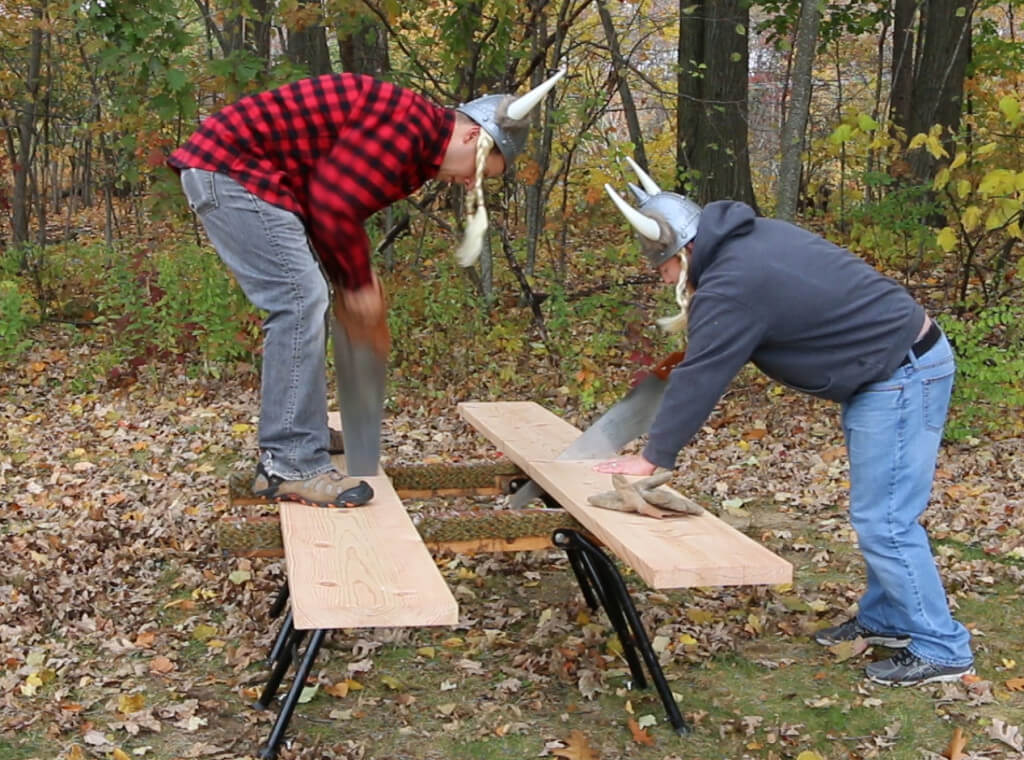
The first step in making a viking chair is to cut your 8 foot boards in half to 4 feet. Use your hand saws here and it really helps if you can put a foot down on the boards so they don’t move around when cutting. If you like to see how to build some easy stackable sawhorses, see my DIY video here. For power tools, you can use a jigsaw or circular saw to make this easy cut.
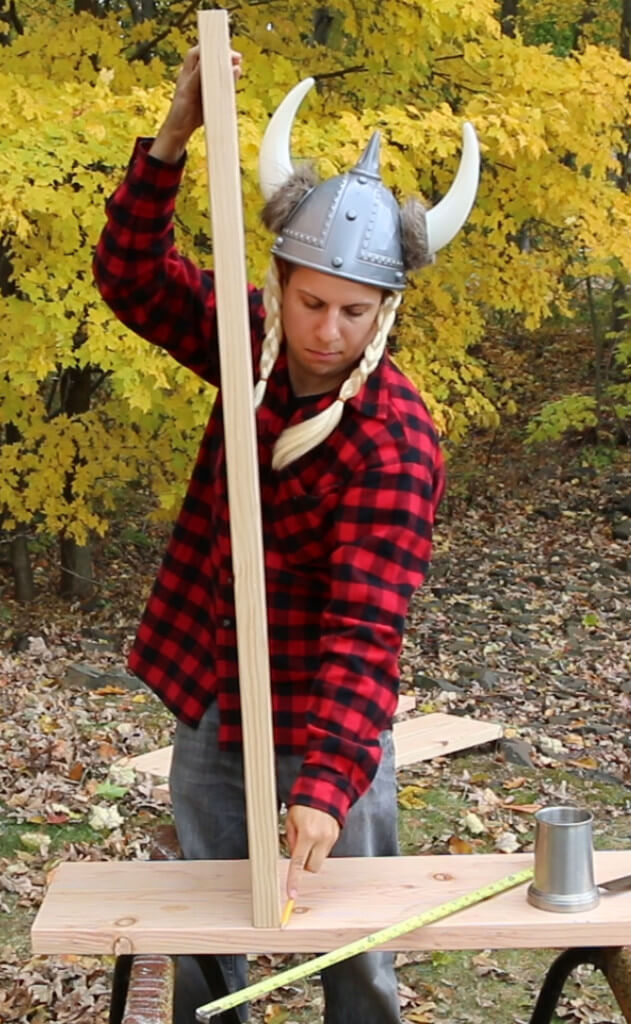
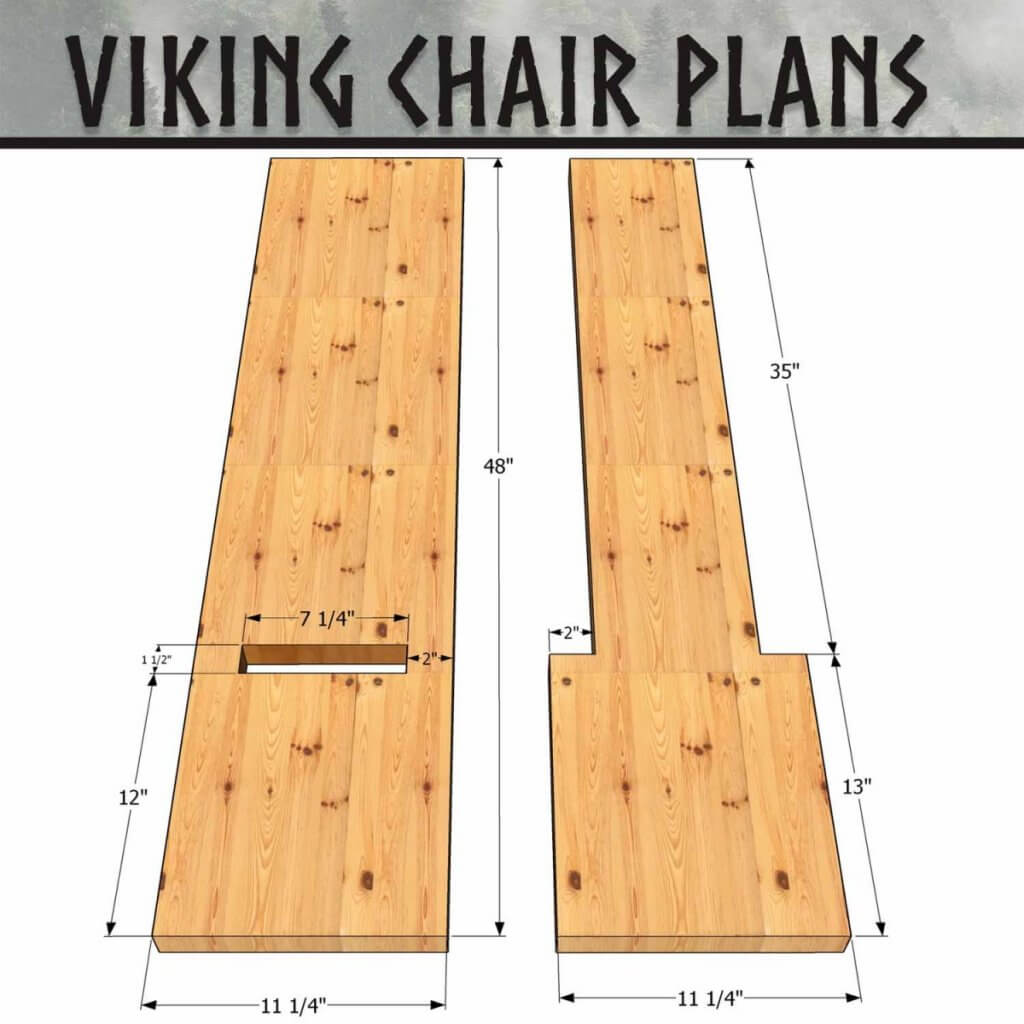
Mark your mortise slot, make the slot about 12″ from the bottom of the board, and 8 inches wide. Measure lines 2 inches in from either side so that your slot is centered. Place the other half of your board standing up over the mortise line and mark again. Now your mortise will be the exact ‘thickness’ of your board for a close fit.
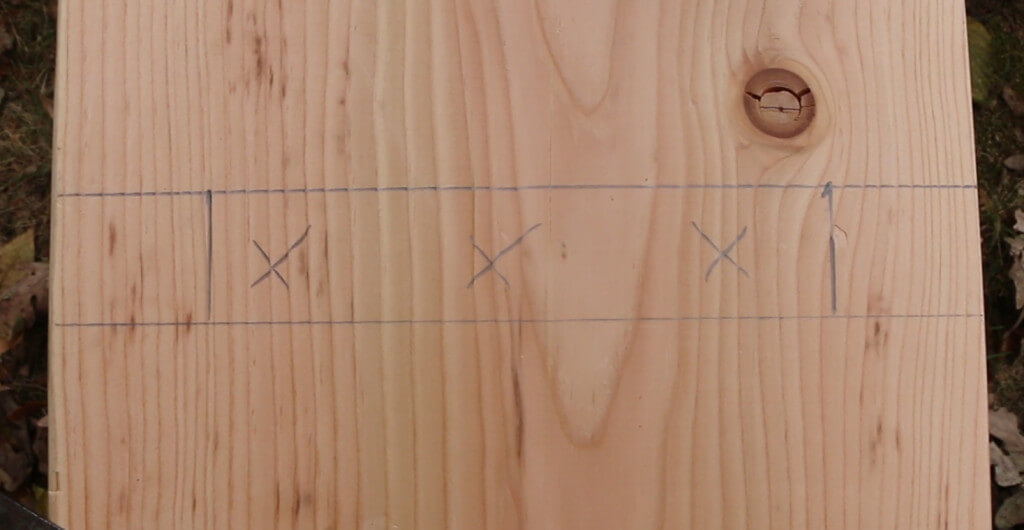
Attach the largest bit you can find to your brace and drill out the center of the mortises, where the X’s are above. Have a friendly viking sit on the board to keep it steady, and watch the shavings fly! Make sure to put a scrap board underneath where you are drilling, to prevent tear out and splinters. For power tool users, simply drill one hole large enough to fit your jigsaw blade into and cut out the mortise.
And now a word from our proud viking assistant, Olaf:
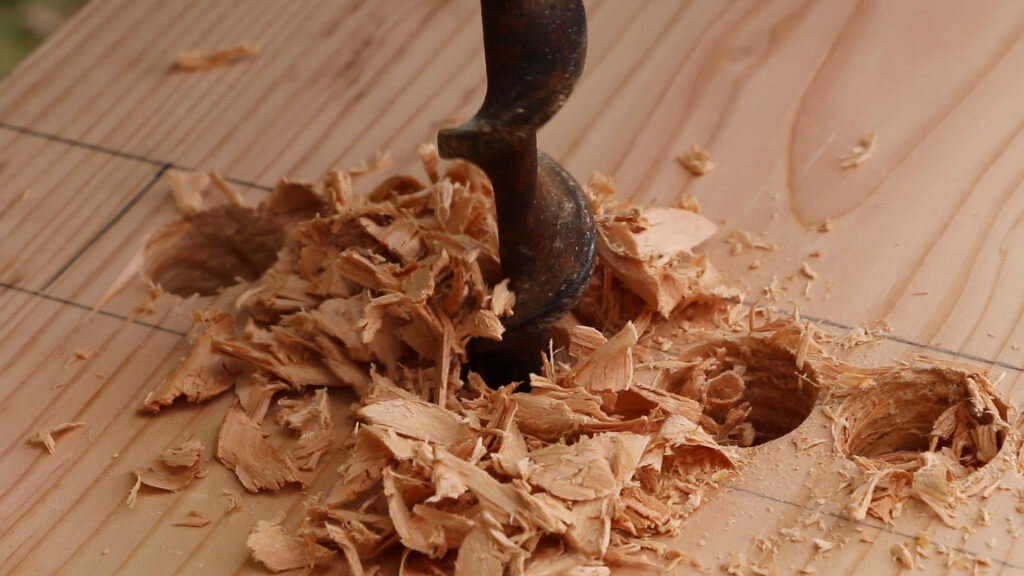
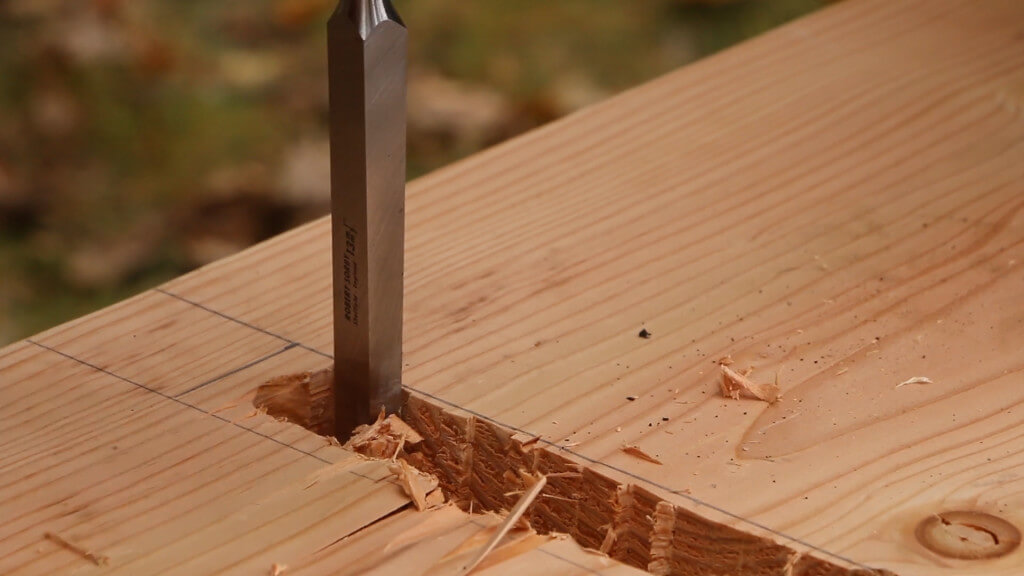
Clean up the mortise with your mortise chisel & rubber mallet. It doesn’t need to be perfect to start, cut it a but undersized and check your fit.
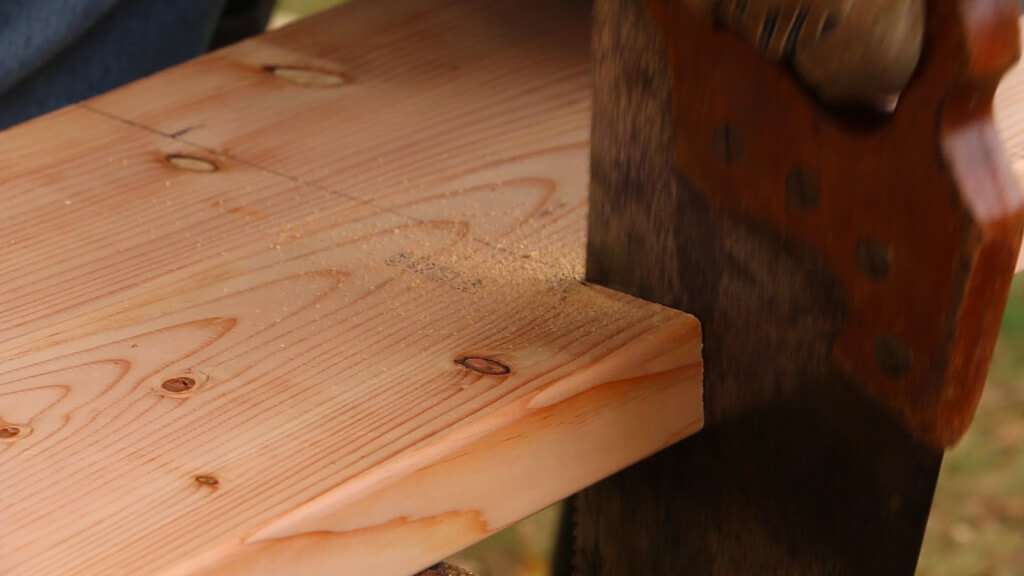
Mark your 2″ offsets on your second board and cut them with a hand saw. These should be about 12″ from the end of the board. See the diagram at the bottom of the post for details.
Now here comes the fun part. A true viking doesn’t need to cut wood, he splits it with an axe! Use your mallet and hatchet to begin splitting the wood at the opposite end of the offsets you just cut, about 2″ from the side of the board. The wood will split right along the grain, so line it up parallel with your offset.
You don’t want the wood to split too far towards the center of the board, or it will be a loose fit. Use the hammer and lawnmower blade to finish the split. Wood splitting is also called ‘riving’. Power tool users will want to mark a line along the length of the board and cut out the shape with your jigsaw.
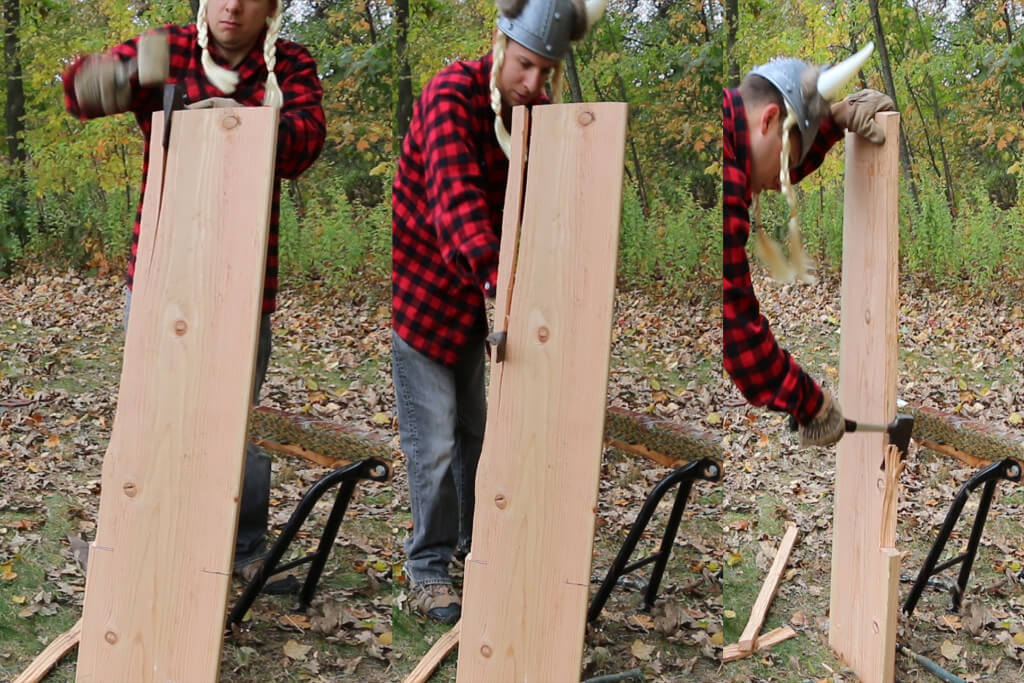
Clean up the remaining excess with your hatchet and check your fit. Finally, fit the viking chair pieces together.
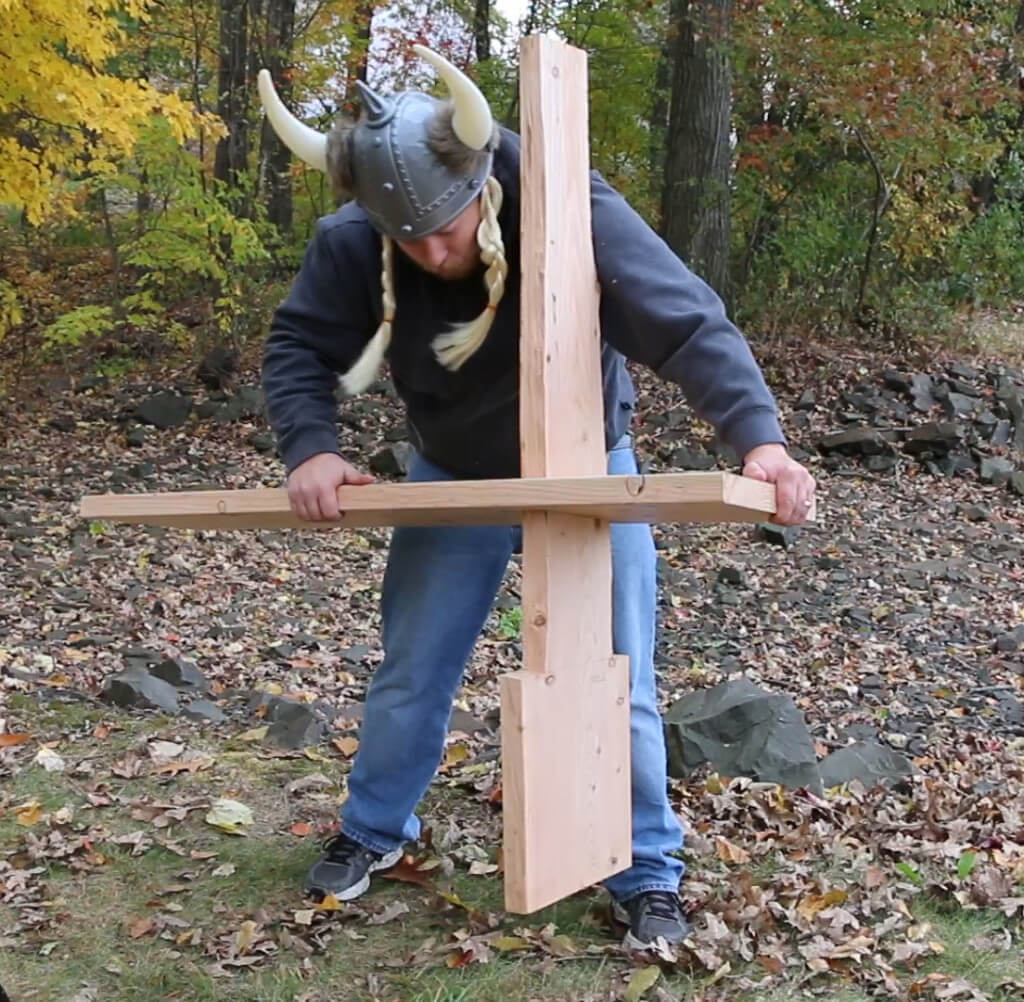
Clean up the remaining excess with your hatchet and check your fit. Finally, fit the viking chair pieces together.
Finished
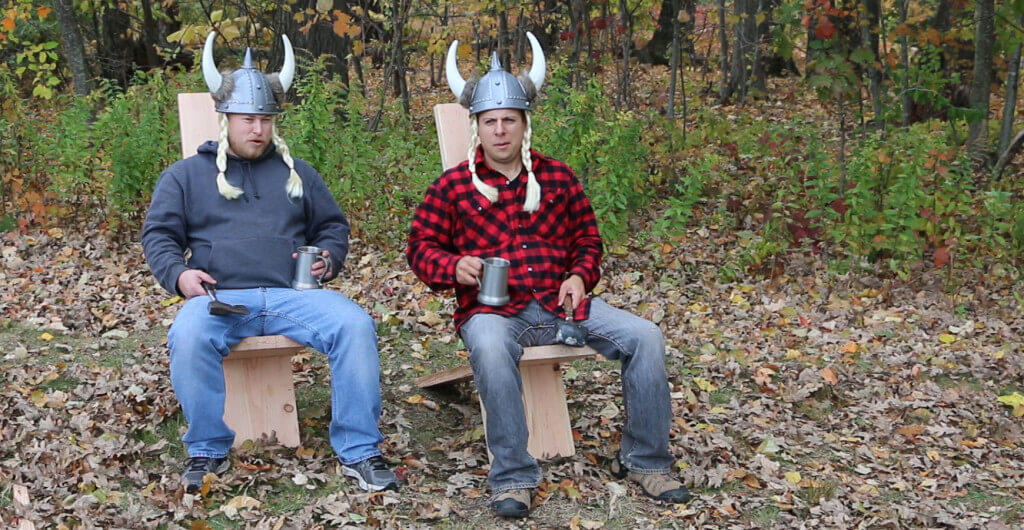
Sit back with a cold mug of mead and enjoy a job well done!
Viking Chair Durability – 2022 Update
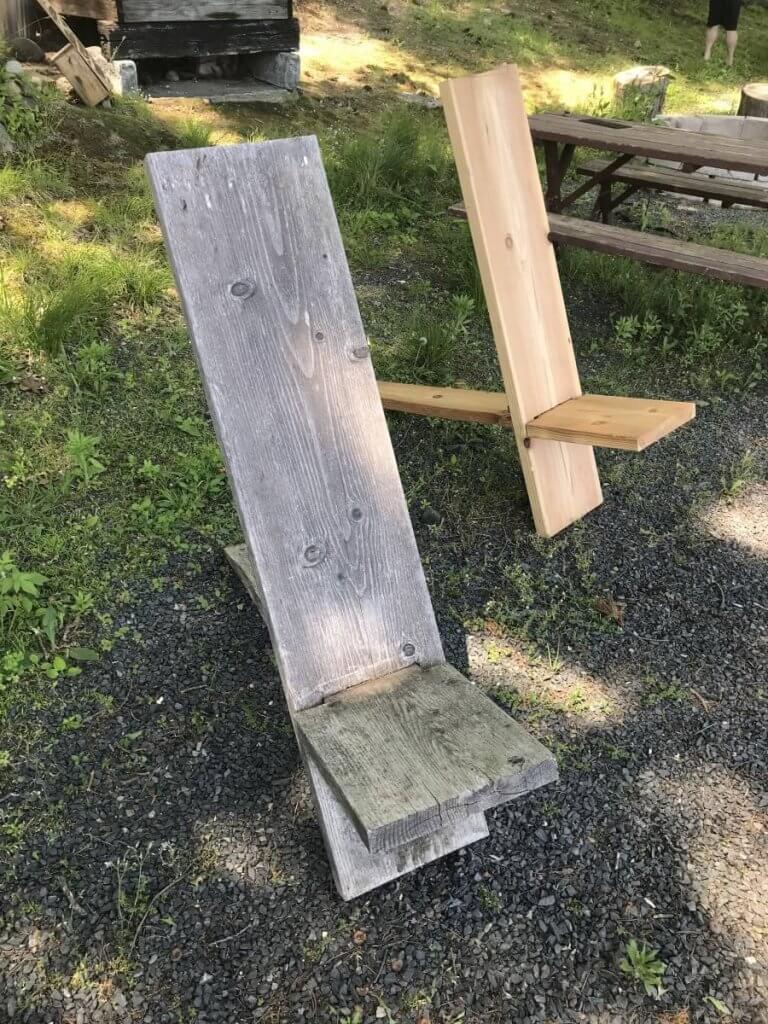
It’s now been over 6 years since I crafted my viking chair and the results are in. With no protective finish, the chair has held up very well.
It’s survived 6 winters in Massachusetts, being left outside. It’s also witnessed quite a few campfires, complete with mead consumption and skaldic boasts!
You can see the comparison of a chair left outside, left, and one that has spent it’s days indoors, right.
Viking Chair Plans With Measurements
Hand tool method:
2″x12″x8′ Pine board for each viking chair
Brace and large auger bit (can find cheap vintage braces at yard sales / ebay)
Lawnmower blade, hatchet, Froe or something to split wood with
Saw horses or build your own here!
Power tool method:
Drill and large drill bit

John
Nice article on the chair. However, vikings never wore horn on their helmets
Jeff
Hello John,
Thanks for your note. I wasn’t aware of this fact! What would be an example of a helmet that they actually wore?
-Jeff
Simon
https://www.google.com.ua/search?q=vendel+helm&rlz=1C1VFKB_enUA639UA639&espv=2&biw=1920&bih=911&source=lnms&tbm=isch&sa=X&ved=0ahUKEwjEiLKIv_rLAhWMJJoKHcV2CjoQ_AUIBigB
https://www.google.com.ua/search?q=viking+helm&rlz=1C1VFKB_enUA639UA639&espv=2&biw=1920&bih=911&source=lnms&tbm=isch&sa=X&ved=0ahUKEwjD7fuOv_rLAhXIdpoKHT-EB0kQ_AUIBigB#tbm=isch&q=gjermundbu+helmet
Jeff
Those look awesome. I know I have seen them before but didn’t know the specific names, thanks for sharing!
Mark
Being of Viking heritage myself when I wear a helmet with horns I can say a viking wore a helmet with horns. Grin. Gonna build this chair. Looks like you had great fun doing it! Thanks for going to the effort of posting it. I’ll leave you with an old Viking saying.
A cowardly man
thinks he will ever live,
if warfare he avoids;
but old age will
give him no peace,
though spears may spare him.
Jeff
Mark, it was definitely a fun project! Thanks for your comment and with your viking heritage I bet your viking chair will be amazing!
Snorri
What viking wore horned helmets ????
No they never ever did, you might be mistaken because of bronze age helmets discovered in Denmark that did have horns, but those were a lot older than vikings and never used for combat, only rituals.
Anonymous
Please stop quoting the Hávámál and claiming it as an old Viking saying. And please remember Viking was a job !!! 🤦🏼♂️🤦🏼♂️
Whip
Nicely done. Thanks for posting.
Jeff
Thank you!
Snorri
This isn’t viking at all vikings never used such chairs, those are african chairs ….
Sam B. Søresen
🙂 No horns on helmets, And the chair is from Africa.. BUT still a real nice chair. il make a few to the gaden.. 😀
The Dane- aka former Viking.
=(8C>
Ryan S Grimm
Just got donated a lot of 2×12 stock, so I’m making these and a work bench from Rex Krueger’s design.
NOTE: Make the seat mortise higher, OK? Us old people with bad knees need a little help getting up from this one.
AND, if you angle the mortise a bit, you can get it to sit a bit higher as well.
In this case I recommend adding a wedge to the back of the chair to help support this angle, it can come from the wood removed to make the seat section.
And it IS a Viking chair, it was stolen (*ahem* traded) from Africa!
Jeff
Hello Ryan, That’s a great idea, adding a wedge is easier than cutting the mortise at an angle. Thanks!
Anonymous
Hi, I want to make a couple of these chairs, but I would like to have the seat higher and longer. Would this affect the stability of the finished chair?
Jeff
Making the seat longer shouldn’t be a problem. And changing the height, within reason, shouldn’t affect the stability. But note that by changing the height of the seat, you’d be changing the angle of the backrest. Consider drawing a scaled-down mockup and make sure that you’re comfortable with sitting at that angle before you make any cuts on wood. Cheers!