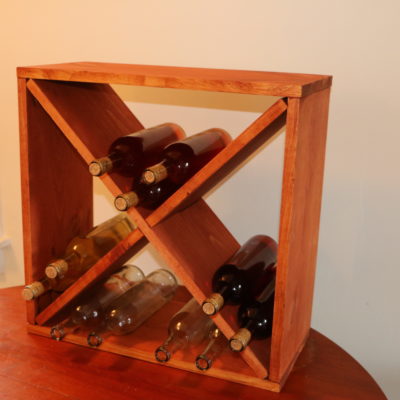
This easy wood wine rack build can be made for under $25 and holds about 24 bottles of wine. Build several cubes and stack them together to build your own personal wine storage unit, or build the smaller counter top version of this project that holds 12 bottles. Perfect for your kitchen, closet, den or basement.
Tools & Supplies
Miter saw or table saw
large and small clamps always help!
hand plane (optional)
Lumber & materials list
Pine 1″x10″x12′ (or two 1″x10″x8′ boards) (note that a 1×10 is actually 3/4″ by 9 1/4″)
Kreg 1 1/4″ screws, coarse (or Kreg screws kit)
Oritbal sandpaper (150, 220)
I was inspired to make the wine cube after coming across them on Amazon. if you would rather buy than build, then check it out below.
Step one: cut the sides and top of the cube & decide on dimensions
There are two versions of this project, with everything being the same except for the ending size of the wine rack.
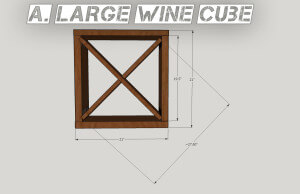
A.) Larger 24-bottle wine rack, measures 21″ square and 9 1/4″ deep.
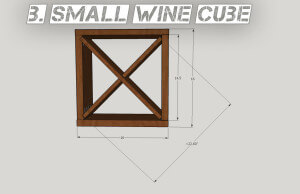
B.) Smaller 12-bottle wine rack, measures 16″ square and 9 1/4″ deep. Since the typical kitchen cabinet is 18″ off of the counter, this smaller version is perfect for this space.
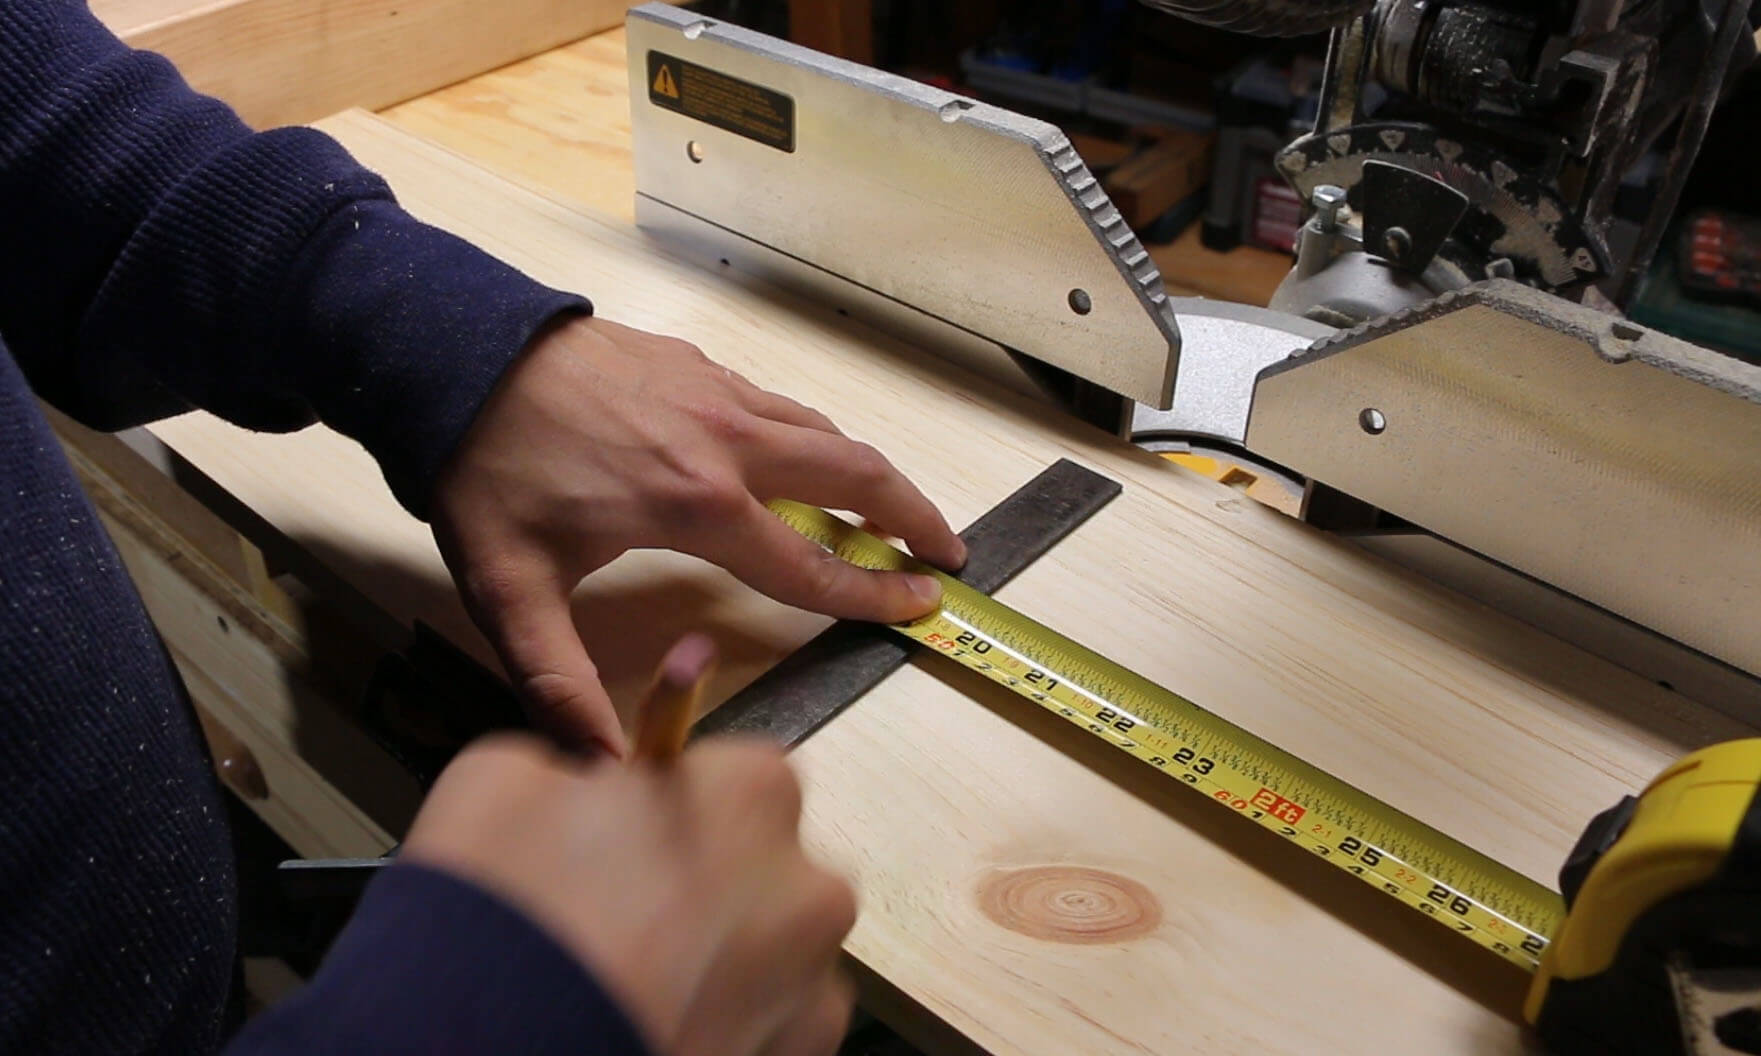
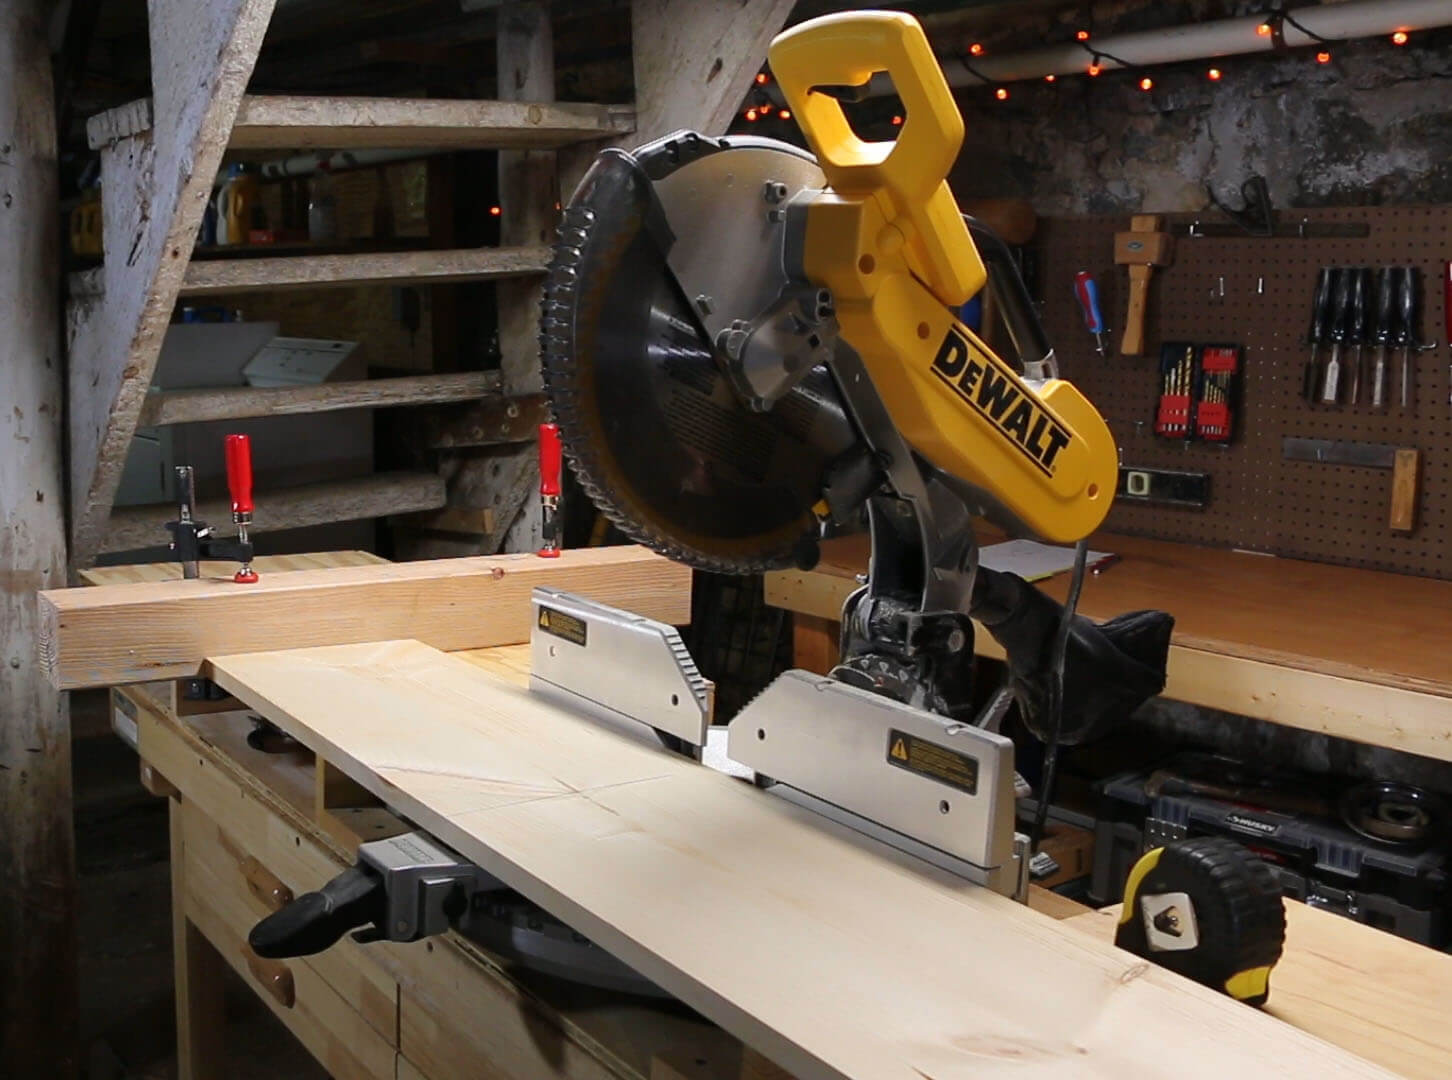
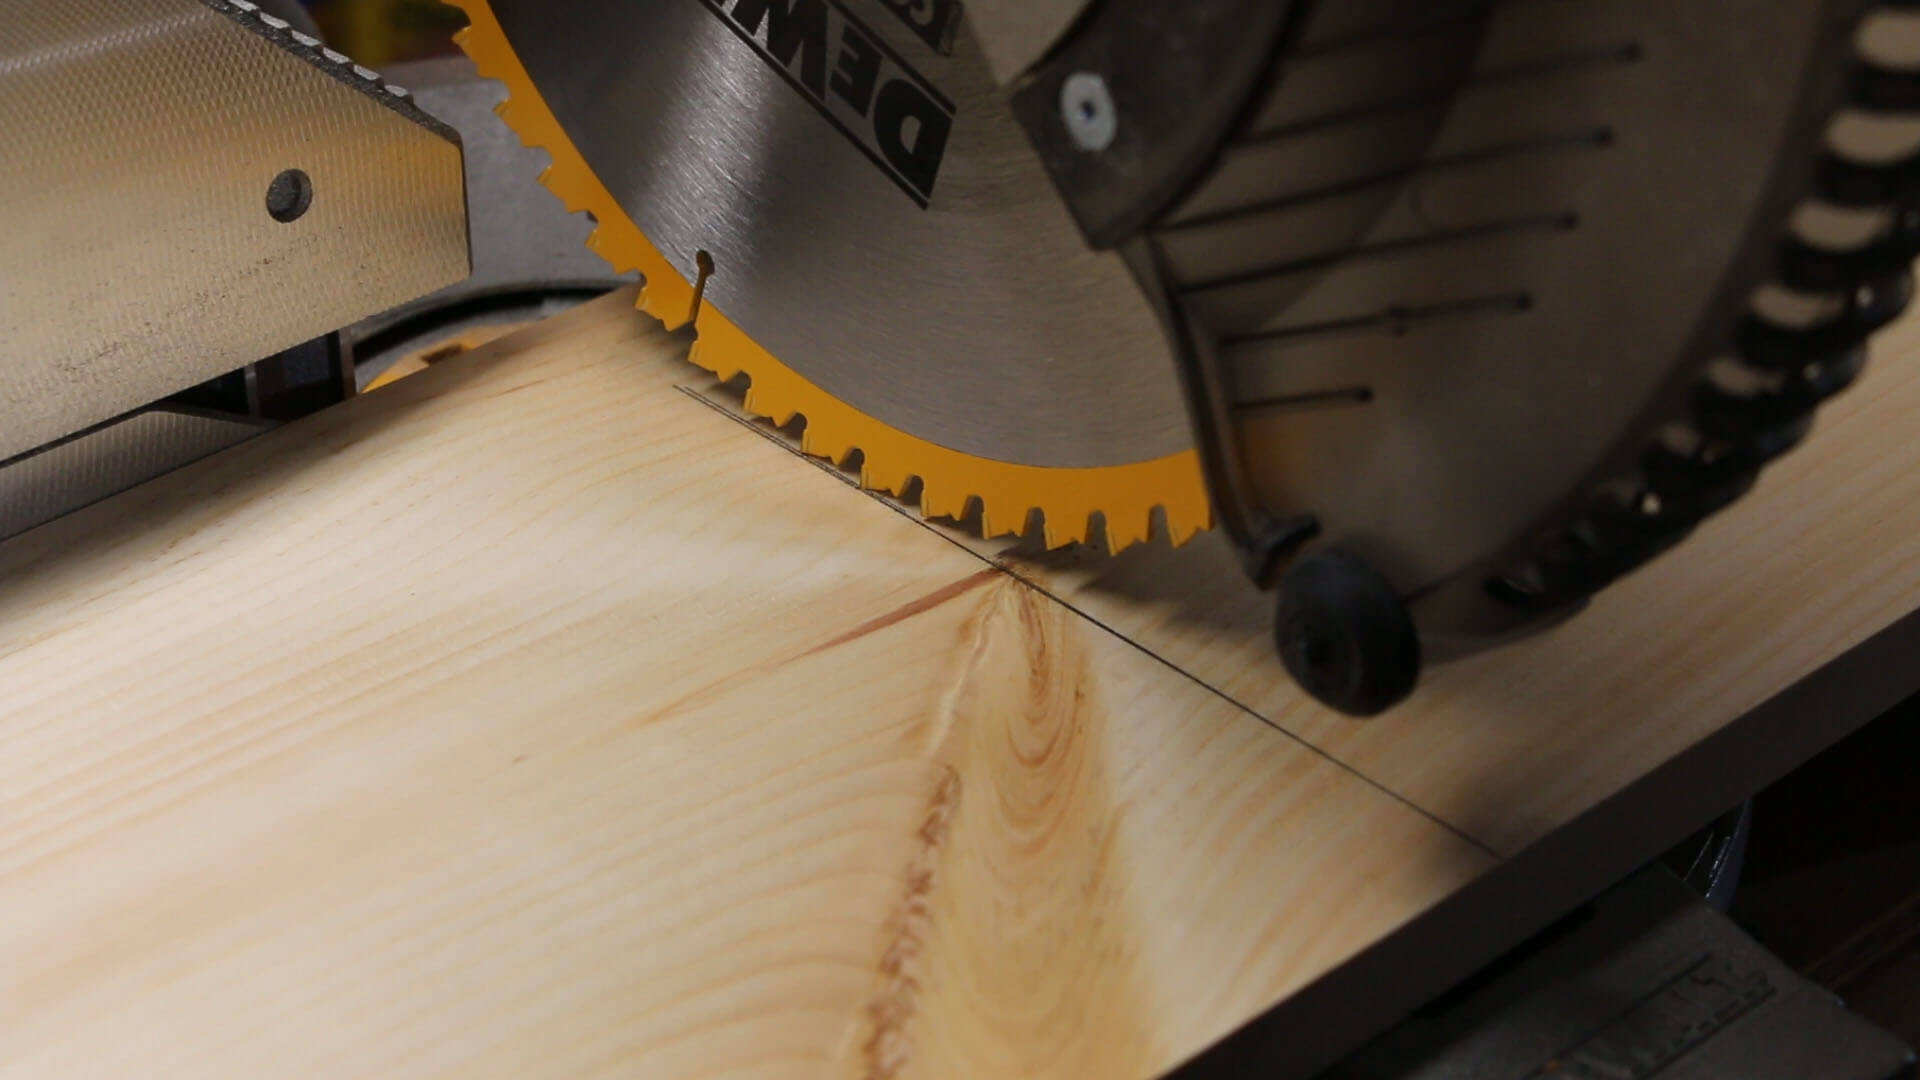
The outer cube will be attached using butt joints, so the sides need to be cut slightly smaller so that the overall exterior dimensions are 21″. A 1×10 is approximately 3/4″ thick, so the length of the sides should be 21 inches minus 1.5″. Using a miter saw & cut the following:
Cut list:
A.) Large wine cube
Top & Bottom (2x) 21″
Sides: (2x) 19.5″
OR
B.) Smaller wine cube
Top & Bottom (2x) 16″
Sides: (2x) 14.5″
Step two: assemble the cube with pocket holes
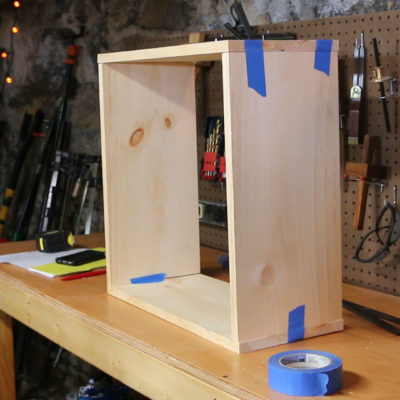
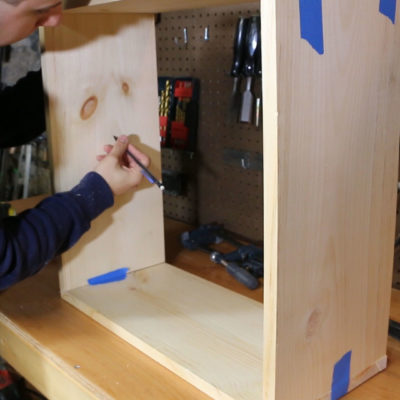
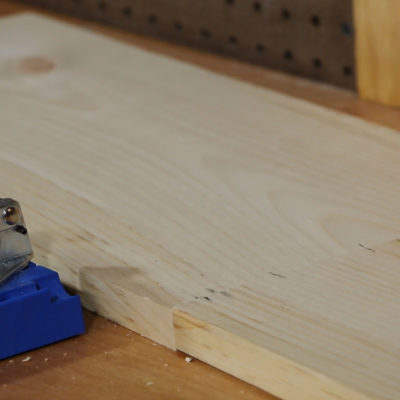
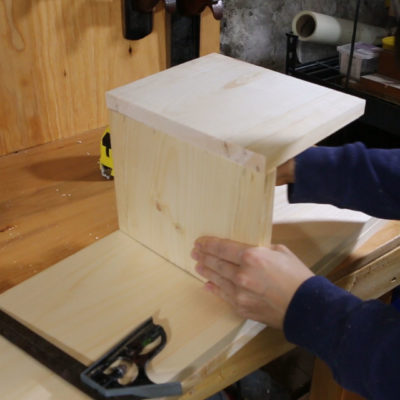
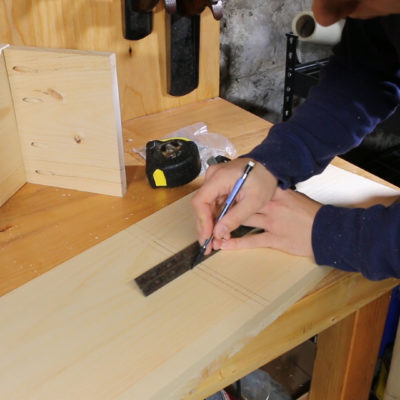
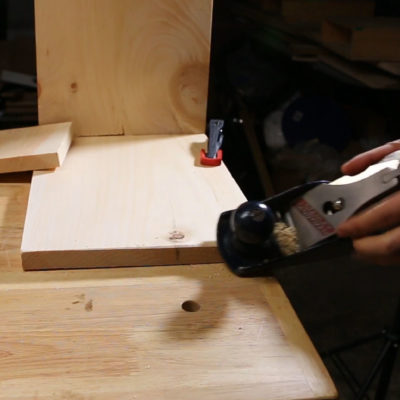
First, clean up the end grain of the tops and sides with a hand plane so that the surfaces are flat. Then, using masking tape, dry fit the wine rack frame together. Mark an ‘X” on the inside face of each of the side boards. Next, you want to mark where your pocket holes will go. Place the two side boards on a flat surface, with the marking facing down. Then, layout 4 or 5 lines, about evenly spaced across the width of the board. Transfer these lines to both the top and bottoms of each side board with a pencil.
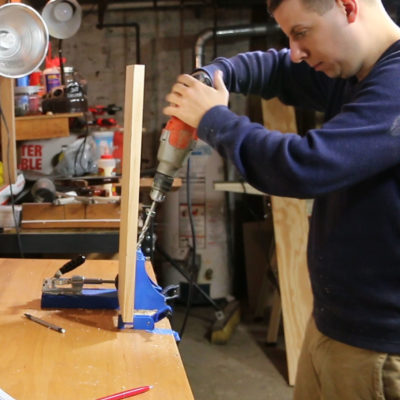
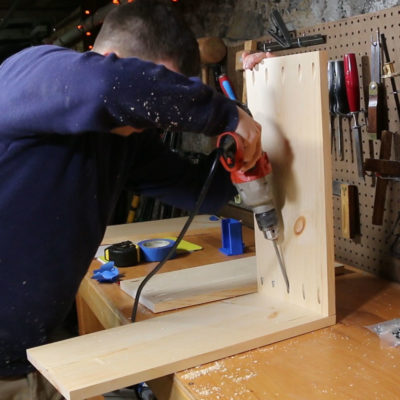
Next, using your Kreg jig, set it for 3/4″ stock, which is the thickness of a 1×10. Align the side board so that the marked face is facing you, then drill your pocket holes. Flip the board lengthwise and drill pocket holes on the opposite end of the board and repeat this process for your other side piece.
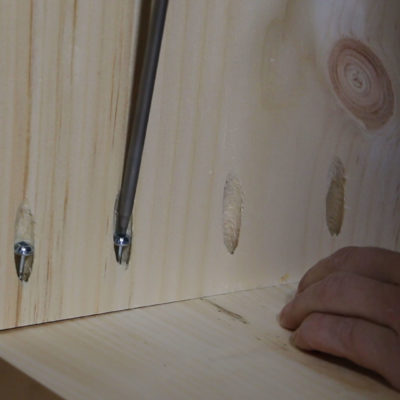
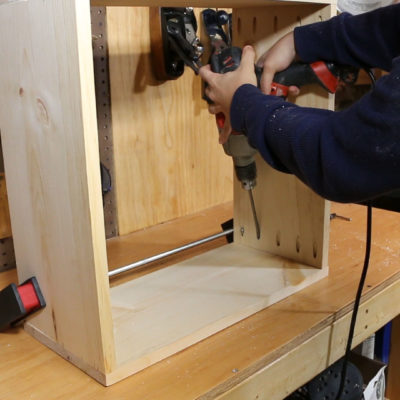
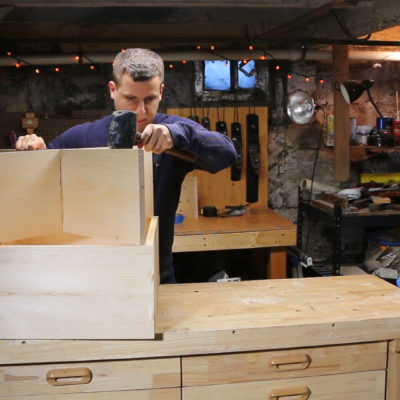
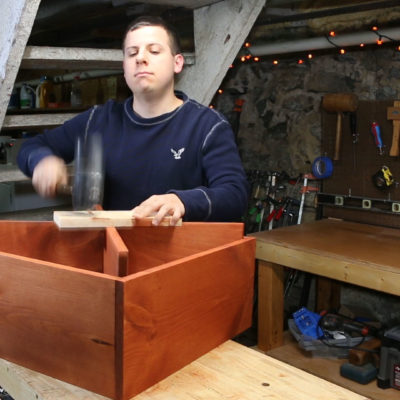
Once all the pocket holes have been drilled, assemble the frame by screwing a screw into each pocket hole. Make sure that the boards are square and not crooked and push down on the boards so that the screw will bite in. I’ve found that using a large clamp to push the last two boards into square was very helpful. You can add a small amount of glue to each joint to strengthen the pocket holes, but after I assembled it, it was rock solid.
Step three: measure the wine rack X shelf & measure notches
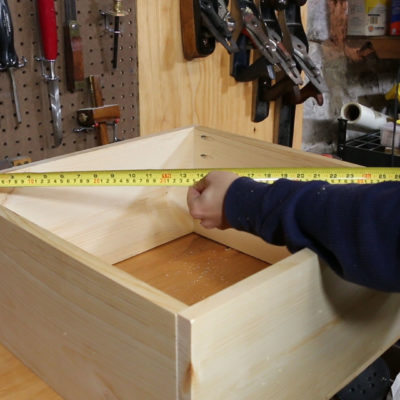
Take a diagonal measurement from the inside corners of the cube. You should come close to 27.6″ for the 24-bottle wine rack design, and 20.5″ for the 12-bottle design. Cut a board slightly longer than that on the miter saw and check that it will fit within the cube snugly. If it doesn’t fit at first, shorten it carefully with the saw until you get the proper fit. Then set your miter saw fence and cut a second board to the exact same length.
For math the math enthusiasts out there, another way to calculate the total length of the diagonal is to put that high school geometry to work, using the Pythangorean theorem. A^2 + B^2 = C^2
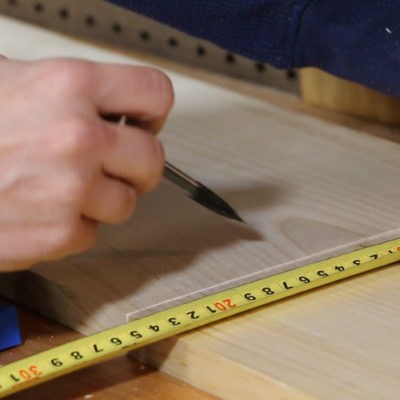
Measure and mark the center of one of the boards. Then, using a scrap piece that is 3/4″ thick, center it over that line, making sure it is square, and mark that as well. Finally, measure the halfway point from the width of the board, (note that a 1×10 is about 9 1/4″ wide). This mark out is the notch that you will cut out of each board so that they will fit together to form a very strong X.
Step Four: cut the X shelf notches
Since both boards from step three are the same length and the notches are to be in the same place, you can cut them both at once. Clamp or tape the two boards together and use a jig saw to cut out the notch. Check the fit with a scrap board of the same thickness and use a sharp chisel or sandpaper to clean up any rough edges.
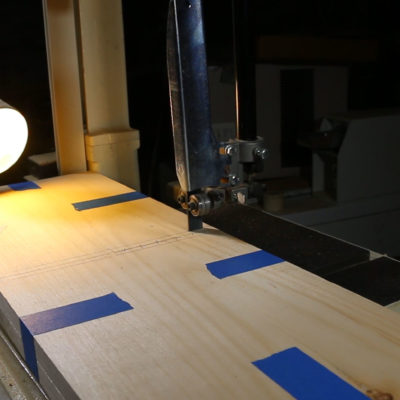
(I found out the hard way that my bandsaw didn’t have enough clearance to make the cut, so I used a hand saw and chisels to form the notches. Jigsaw added to my tool wish list!)
Step Five: final fit & finish
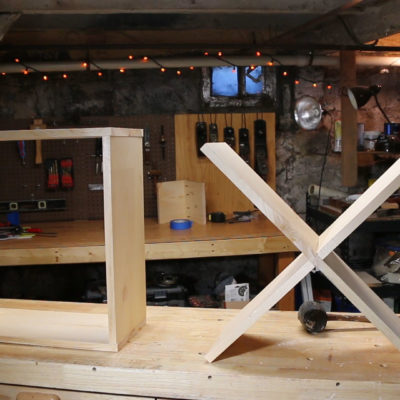
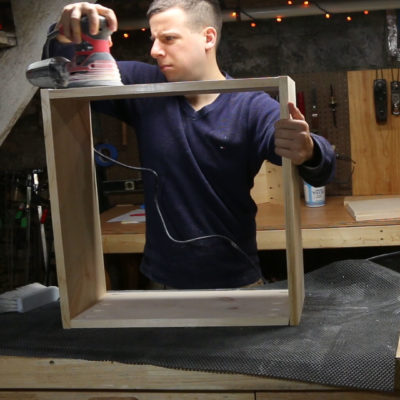
Fit the X shelf together and then check to see how well it fits into the cube. Use a hand plane to shave down the corners of any end that doesn’t want to fit. Then, sand down all the pieces with 180 then 220 grit sandpaper. If you’d like to stain the wine rack and you are using pine, make sure to use a pre-stain conditioner. Congrats, you’ve made it! Cheers! Happy wine storing!

Faylinn
Jeff, thank you so much for posting about building this wine rack with so much detail! I have actually been thinking about getting a rack put in my kitchen and so it was just perfect that I came across this post. The only thing that I would do differently with the rack would be to use a different stain color as I prefer darker colors.
Jeff
Hello Faylinn, thanks for the comment. One of the benefits of using pine is that you can stain it to any color that you’d like. I’m sure you can find a dark stain that will match your kitchen. Cheers!
Jeff
Thanks for the comment! The beauty of using Pine is that you can stain it to be any color.
Ilona
Great project, just what I was looking for. Just 1 change I would make would be to angle both ends of each cross board so a point fits into the corners of the box. It’s a great finished look.
Jeff
Thanks for the comment, and I agree it would look better that way. It would just require a few more steps to cut 45 degree miters on the end of each cross board.
Cassidy
Great video can’t wait to try it!
Jeff
Thanks Cassidy! Please share once you’ve made yours!
Richard
Hey Jeff, thanks for sharing. You saved me the work of figuring out dimensions. Much appreciated.
Jeff
Glad to help!
Paul
Jeff,
Love the box. It’s the correct size I am looking for but I am interested in hanging it on the wall rather than having it sit in the counter. What changes would you recommend to be able to mount it to the wall?
Eddy Roy
Thanks for all the detailed information. It’s exactly what I needed.
I will build this weekend.