How to make a rustic wire frame
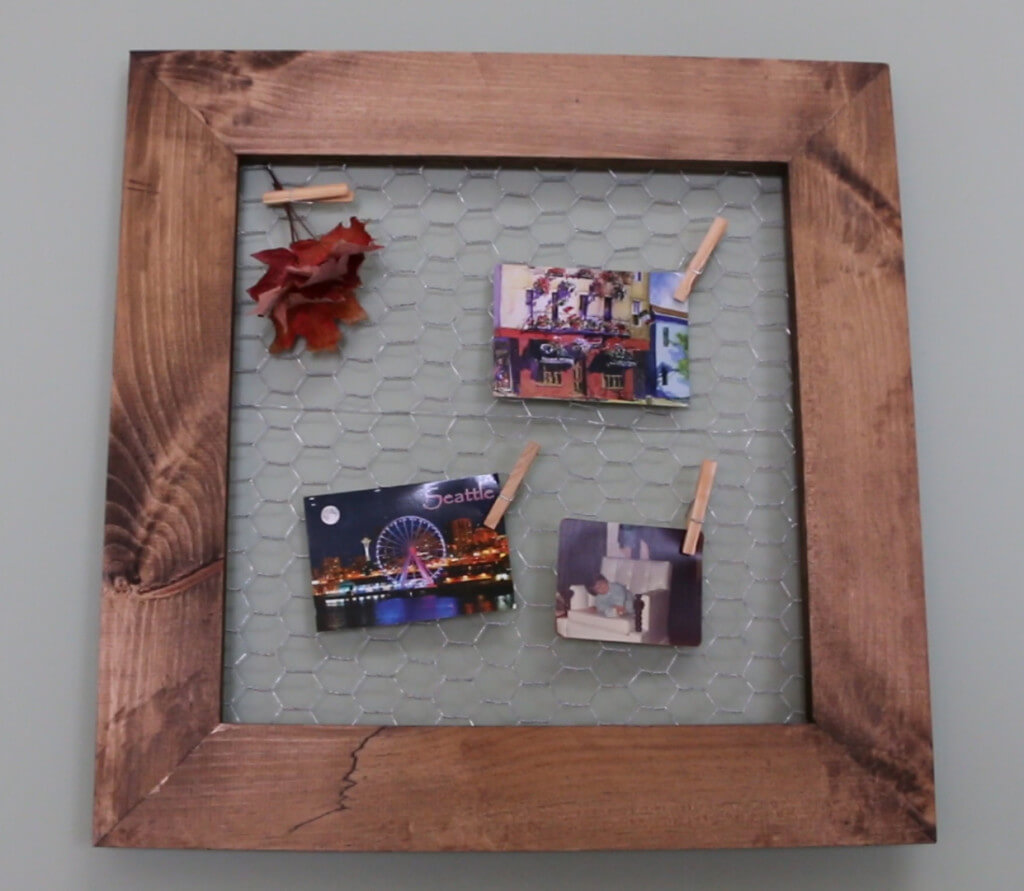
This is a fun and easy project that can be done quickly with scrap pieces of wood. It brings the rustic charm of the farm to your home! Hang your favorite pictures, postcards, business cards or anything that you can fit in the rustic wire frame with clothespins! Since I put this together in the fall, there were plenty of bright colored leaves to add as accents to the frame! They make great gifts and will earn you some serious brownie points! Plus, you’ll have plenty of leftover chicken wire should you need to corral some troublesome poults.
Materials
1 – Pine 1″x4″x8’
Chicken wire – need at least a 2’x2′ square
Lots of 1/4″ staples
220 grit sandpaper and sanding block
Cutting the Frame
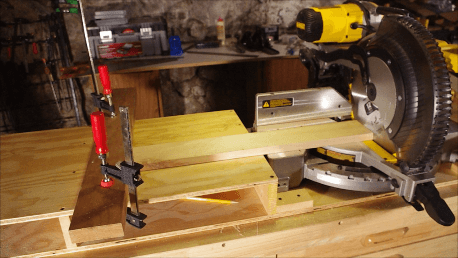
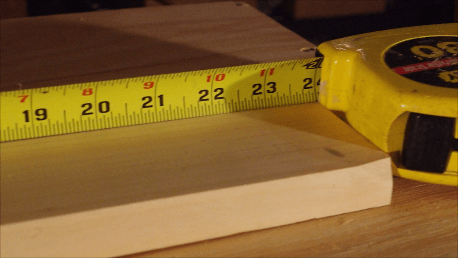
First measure and cut your 8′ board into four equal 2′ lengths on the miter saw. Using the first 2′ board cut, set up a fence by clamping a board to your work bench. This will guide the rest of your cuts and increase accuracy. This really pays off when you see those seamless miters!
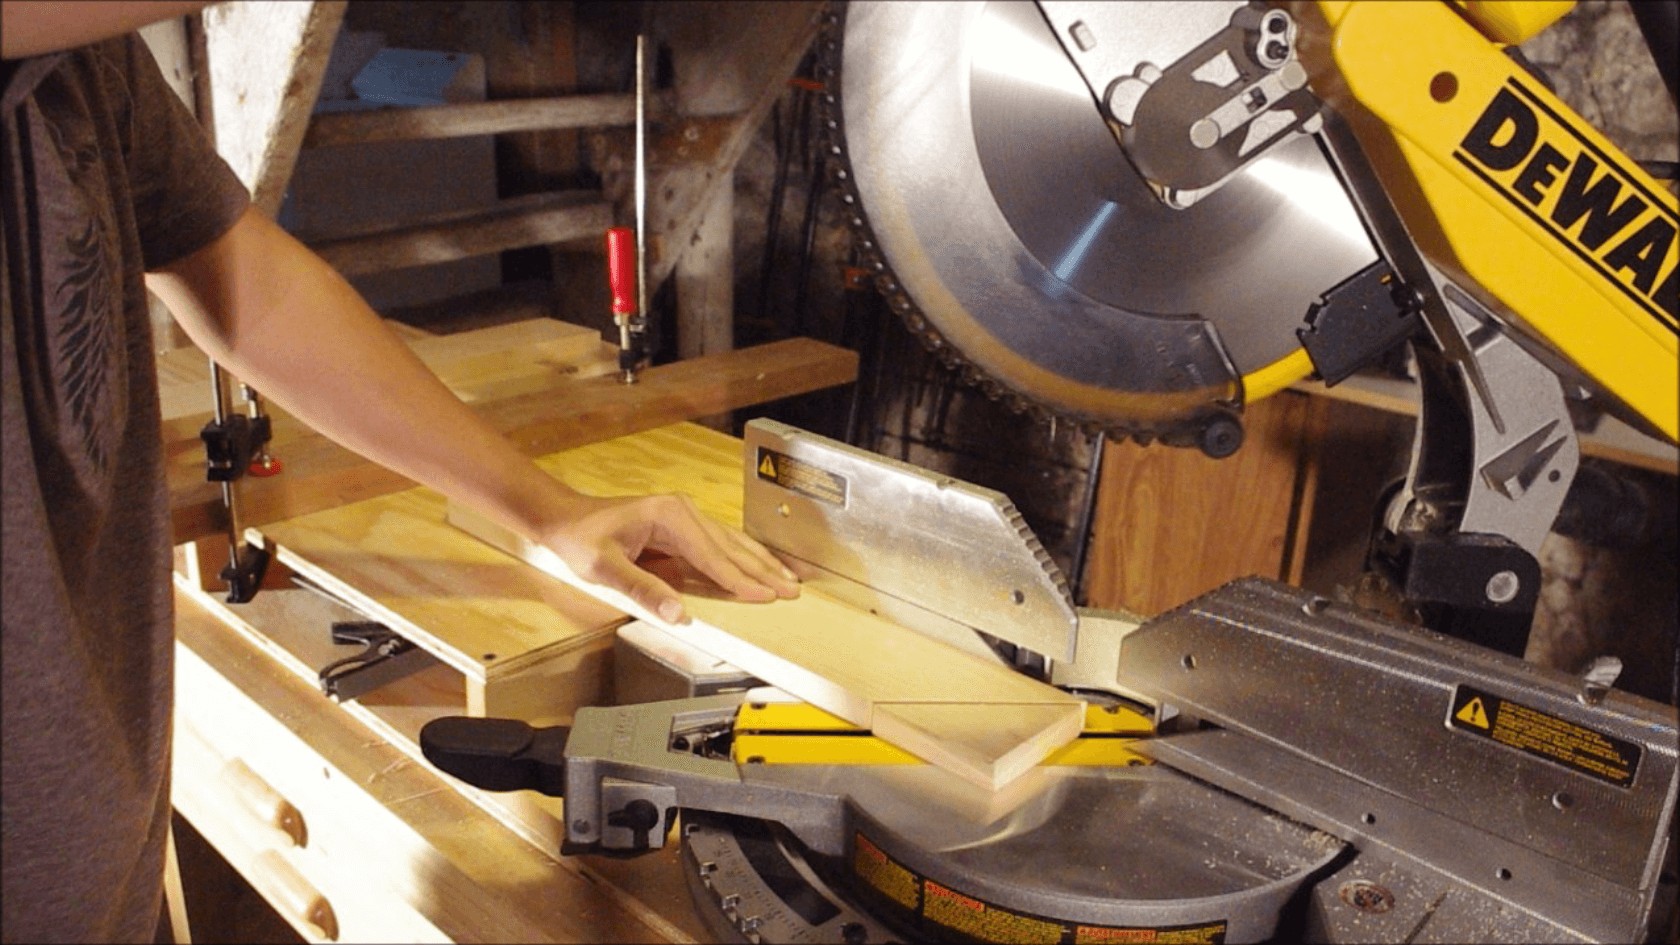
Turn the miter saw to 45 degrees and make your first miter cut on one of the boards. Then flip the same board end over end, keeping it flush against the fence and cut the opposite side. You will now have a board with miter cuts on both ends. Repeat this process for all 4 boards.
Glue the frame & sanding
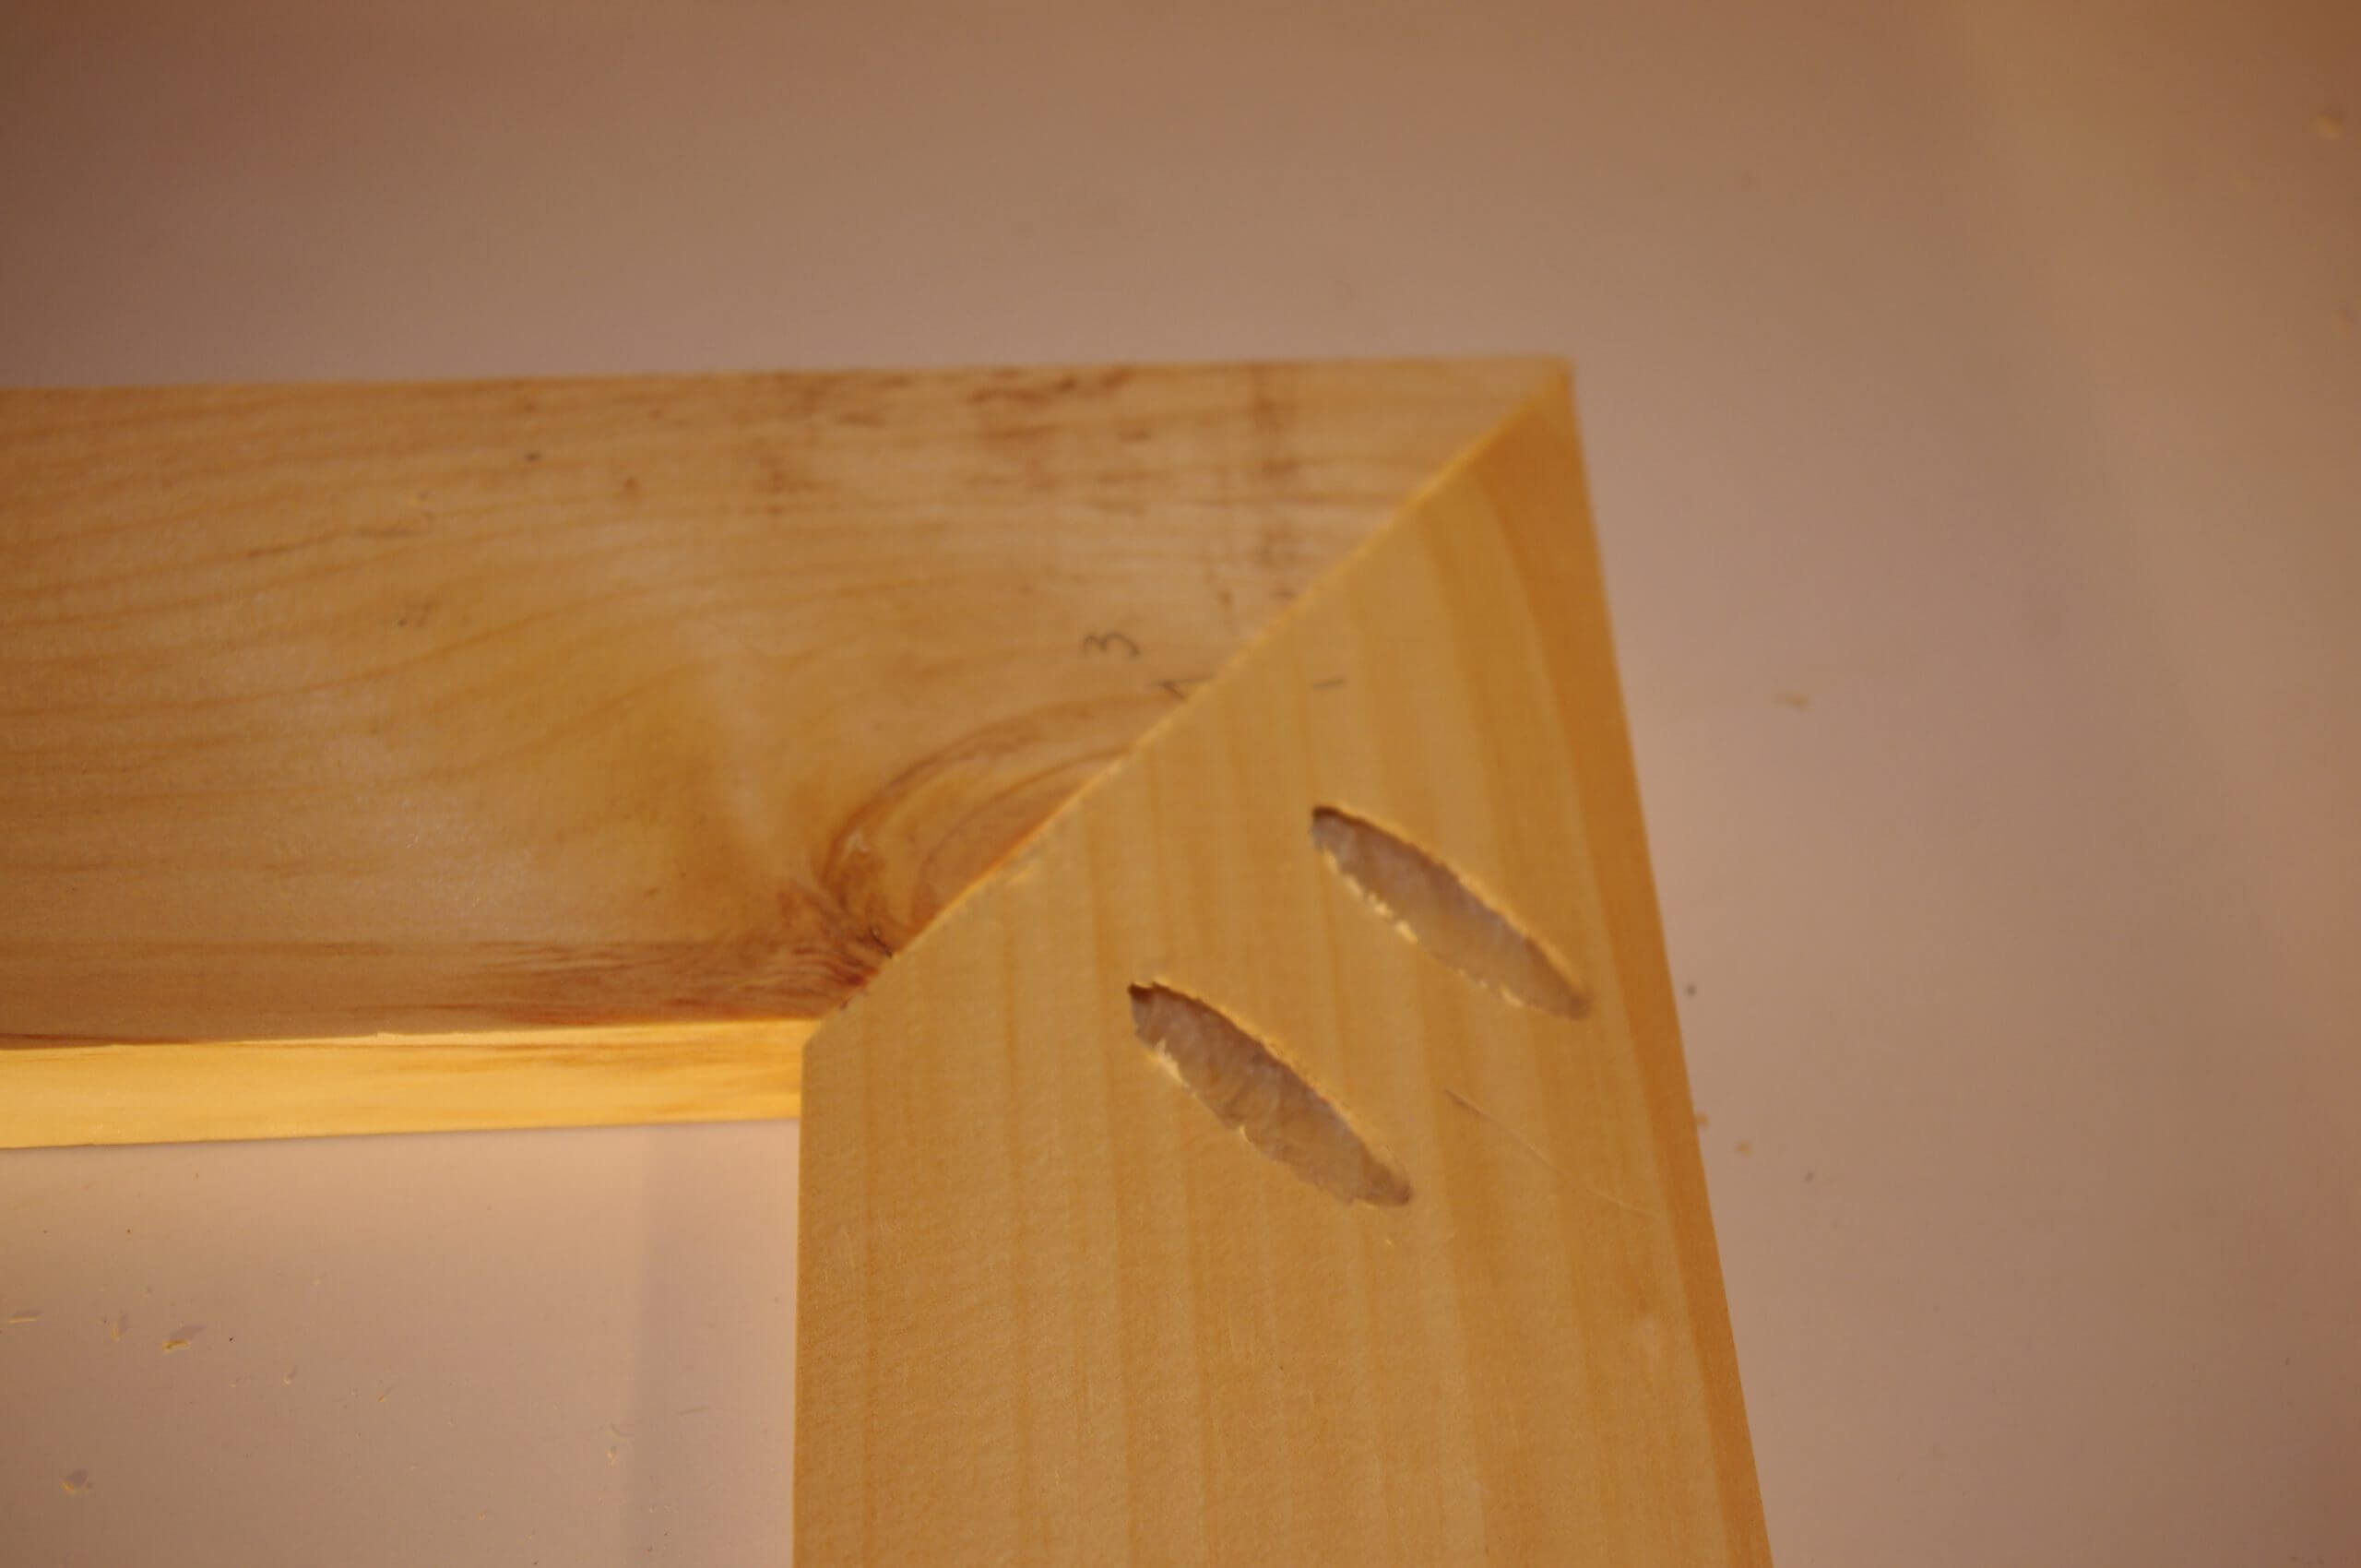
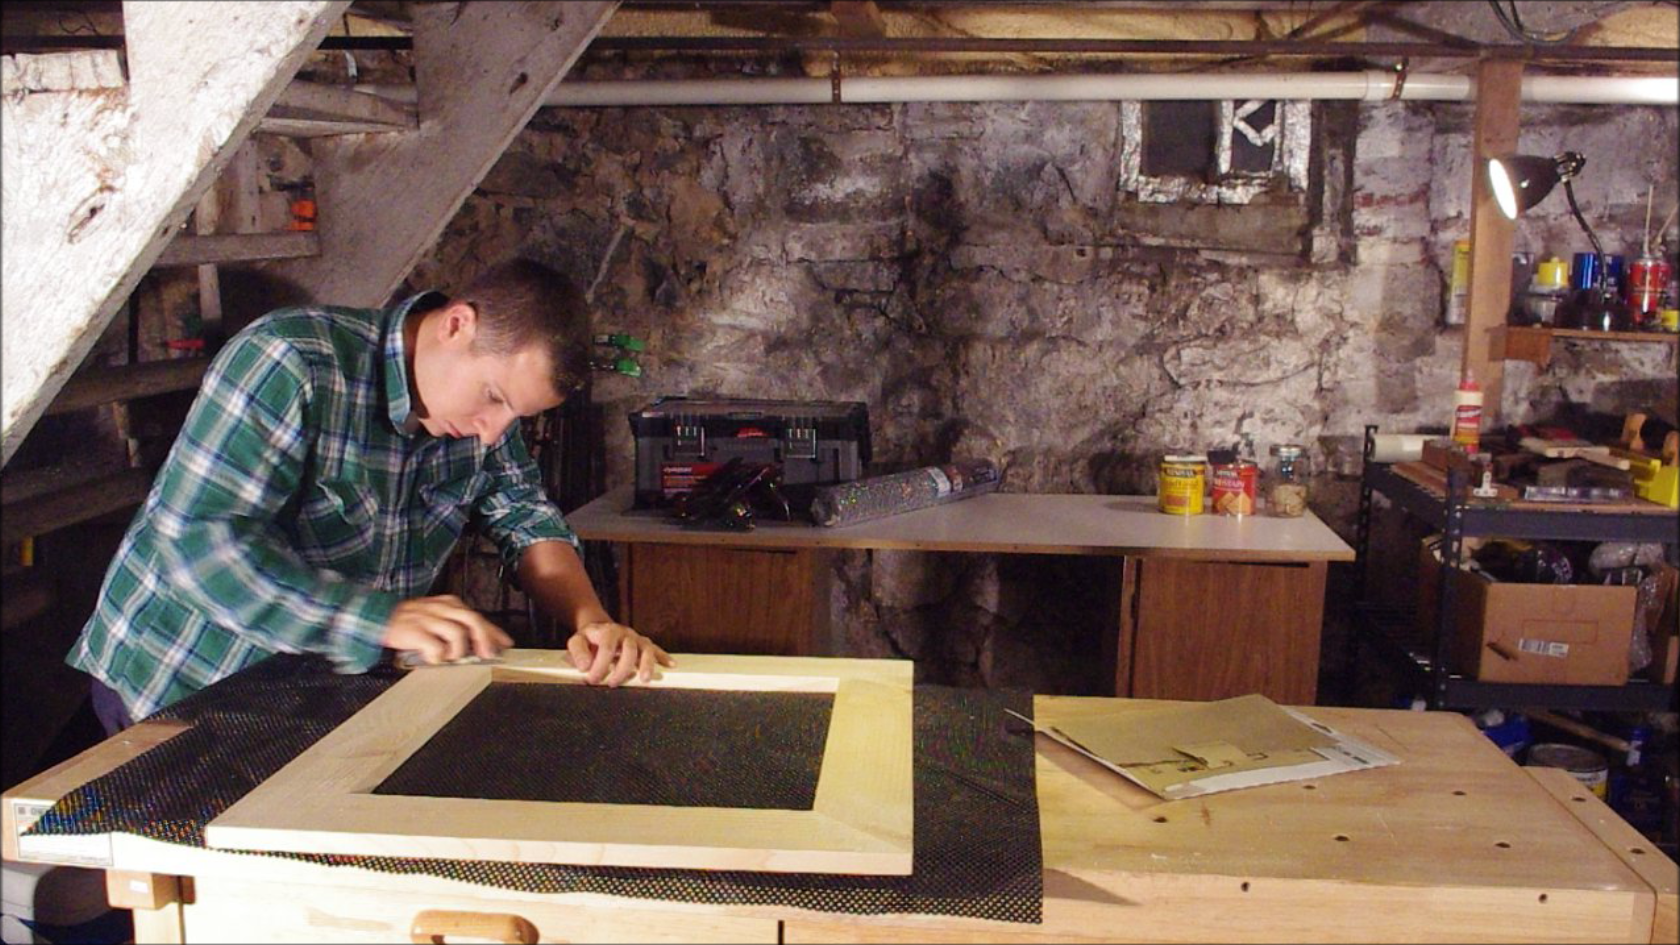
Lay out the four sides of the frame and check to see how close the miters are. Sand or re-cut as needed. Set up the Kreg Jig for 3/4″ stock and drill pilot holes on one side of each board. Apply some wood glue to each of the four corners and use your drill to add the screws. Make sure to apply pressure to the corners so that they screw in flat.
Let the glue dry then lightly sand the frame with 220 grit sandpaper. This part is optional. If you are going for a more rustic look, you can distress the wood further but abrading it with some tools.
Finish and staple on the chicken wire
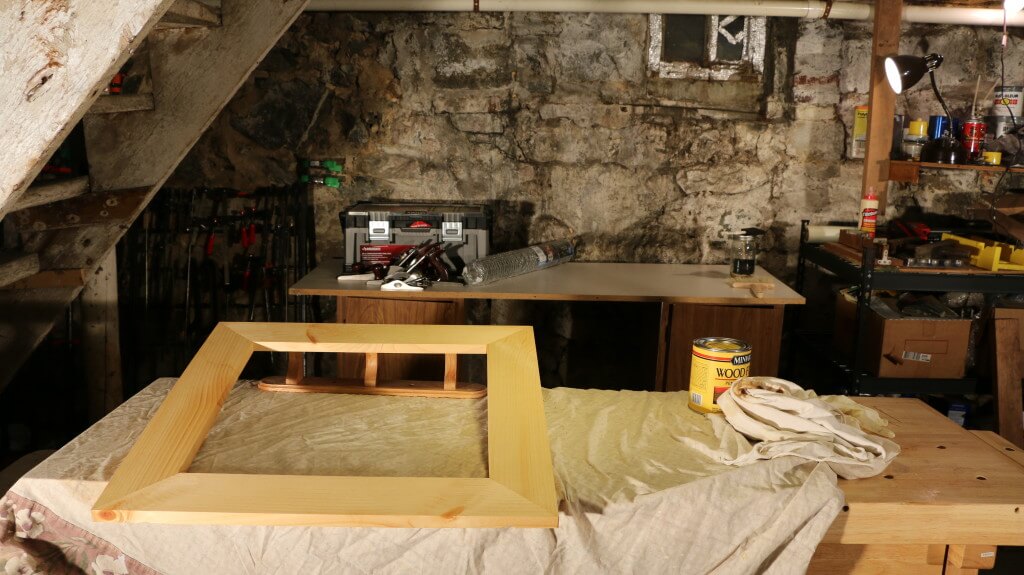
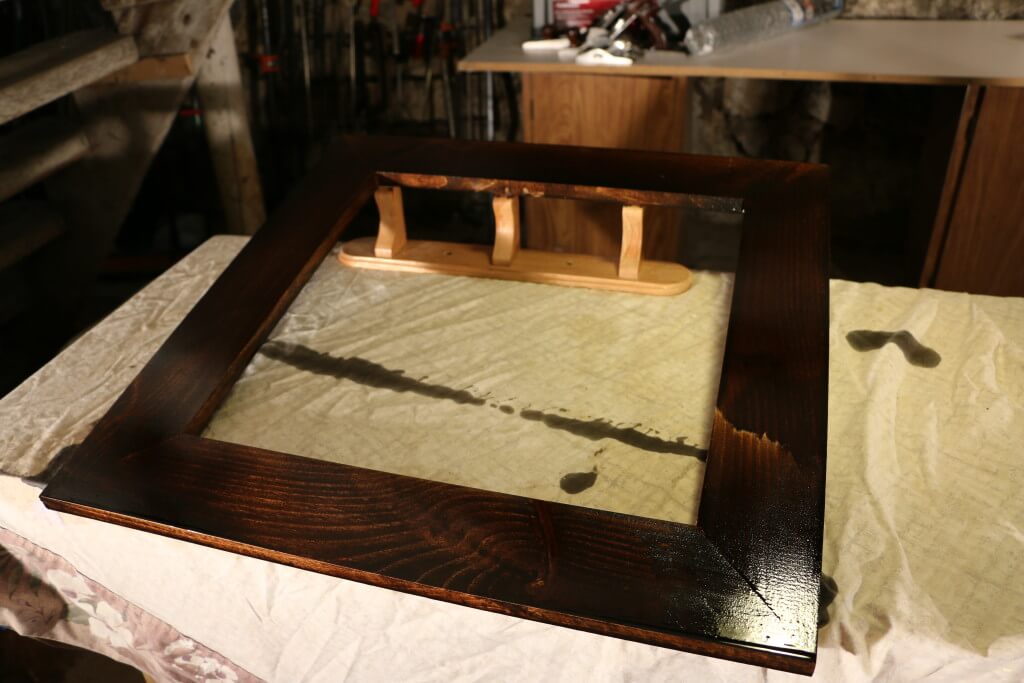
Apply the stain, I used Minwax espresso, and let it sit for 10-15 minutes (You can apply wood conditioner before the stain to reduce blotching). Then wipe off the excess stain with a rag and let it dry for 4-6 hours.
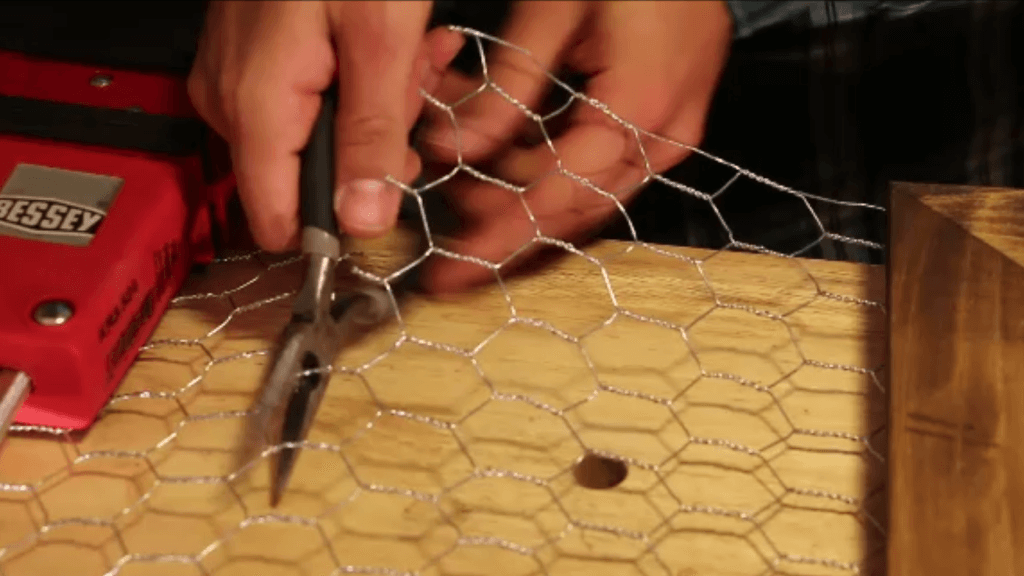
Cut out a 2’x2′ section of chicken wire from the roll using a pair of pliers. I found it to be easiest to cut if you cut right in the middle of one of the diamond shapes (cutting right at the pivot point of the pliers), rather than close to the edge. That way, the wire was less likely to unravel. Use gloves, I cut my hands a few times as I didn’t use them!
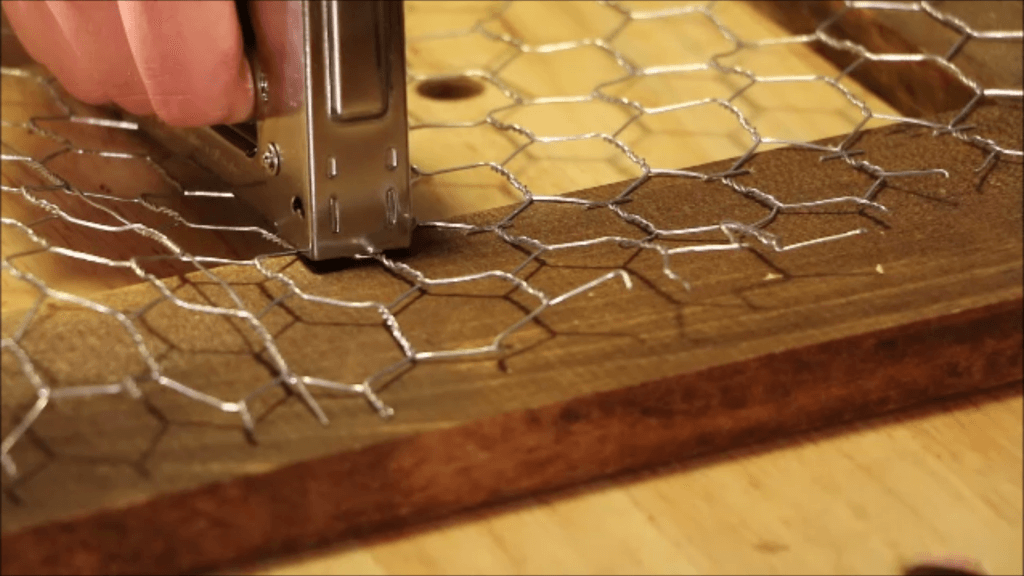
Once the frame has dried, attach the chicken wire to the backside of the frame with the staple gun. I used some heavy clamps to help hold down the wire. Staple down any areas that aren’t flat and use the pliers to bend in any remaining sharp points.
If you don’t want to back of the frame to scratch your wall, you can put felt or masking tape on the back side of the frame, or put some large furniture coasters on all four corners to pull the frame away from the wall. Put up a drywall anchor and screw and use one of the many hooked areas of the chicken wire to hang it.
Done! Get Creative!
Attach your favorite postcards, photos, leaves or anything really with clothespins!

Leave a Reply