
This miter saw table (only the top part, it is sitting on top of my work bench!) is a great addition to any shop, it allows you to easily cut longer boards on your miter saw. The miter saw table is also transportable, at 6 feet long it is light enough to carry or fit into a car if you can fold down your seats and access the trunk. It can be used on your bench top or put atop a couple of sawhorses. See how to build some easy & stackable sawhorses here. The table is can also be customized by adding drawers and an extended fence.

Tools Needed:
Your miter saw! I use a DeWalt 12 inch compound miter saw.
Circular saw or table saw
Jack plane – recommended
1” screws – wood or drywall both work
Clamps – you can never have too many!
Screw countersink bit – I like the no chuck swap versions
Lumber List:
1 – Sheet of pine plywood, 5/8″x4’x8′ (Have it ripped into two 2 foot by 8 foot lengths at the store) ~24$
1 – Pine 1″x6″x8’ – This is for the dividers (this will very based on the height of your miter saw’s metal bed, so you might need something wider if you have a large saw) ~$6
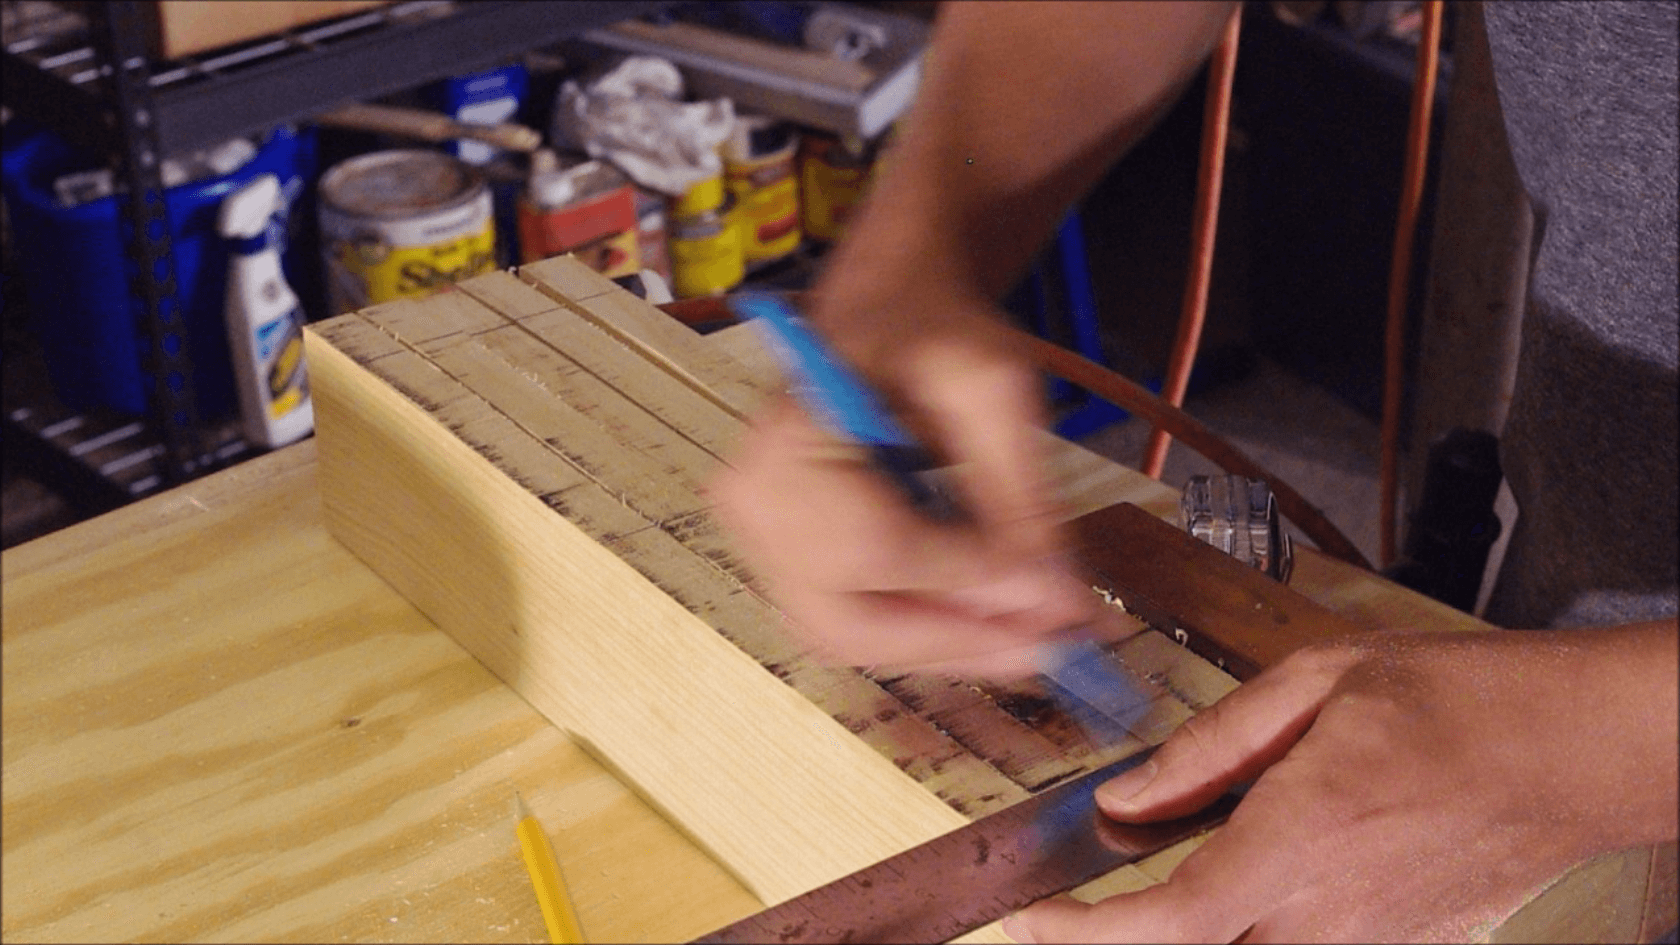
Step one: Measurements and cutting the plywood base and tops
First, measure the length and width of your miter saw, paying attention to where the mounting holes are. The width of your table needs to be at least wide enough to allow the saw to be bolted on. Preferable a few inches wider to accommodate mounting blocks. My saw came in at around 15″ wide, and I made the width of my table 17″. I chose to make the length of the table 6 feet, to keep it less bulky and more portable. Also make sure to measure the length of your saw. Mine was just shy of 24″, so that will be the distance of the gap in the table.

Mark and measure the plywood to your desired overall length. To save time, stack both of the 2’x8′ segments on top of each other so they can both be cut together.

I like to set up a fence for more accurate cuts on the circular saw, you can use the board for the spacers for this.

Use your square to.. well.. make sure the fence is square and put clamps every where so the plywood doesn’t jump off the table during the cut.

Make your cut, you can let the wood drop to the floor, or support it with saw horses.

Mark the width of your table, making sure it is a couple of inches wider than your miter saw’s base.

Set up a fence similar to above, and rip the plywood to the proper width. 17″ in my case.

Step two: Cutting the spacers and the right side table top
With your newly cut plywood bottom, put your saw back on top of it as well as some scrap plywood from your previous cut and measure the distance between it and the bed of the miter saw, in my case, it was about 3 1/4″. This is how tall your spacer boards need to be.

Take your 1″x6″x8′ board and cut it into (5) pieces each equal to the width you measured above, in my case 17″. These spacers will support the table top of the plywood so that it is the exact height of the miter saw bed.

Since your spacers probably aren’t already the exact right width, cut all 5 of them down to slightly larger than your size, 3 1/4″ in my example, with a table saw or band saw. As in most crafting – it is best to keep things over sized so that they can be trimmed off later. It is much more work to have to add shims if your boards aren’t wide enough.

Once each of the spacers have been cut, dry fit them by placing one to the far right edge of the plywood base and another one about 12″ apart from it. Measure and cut your plywood to about a 12″ length (only the top piece!) and dry fit. Use your square to check for accuracy.
Step three: Check your fit!
If your table top is flush with the bed, great work! Your can move on, otherwise, if you are like me and my table top was too tall, trim down your two spacers for this part on your table saw or band saw so that it is level with the miter saw bed. Another option is to use a hand plane and make light shavings on each spacer. This is more easily done once the spacers have been screwed in, which is the next section.


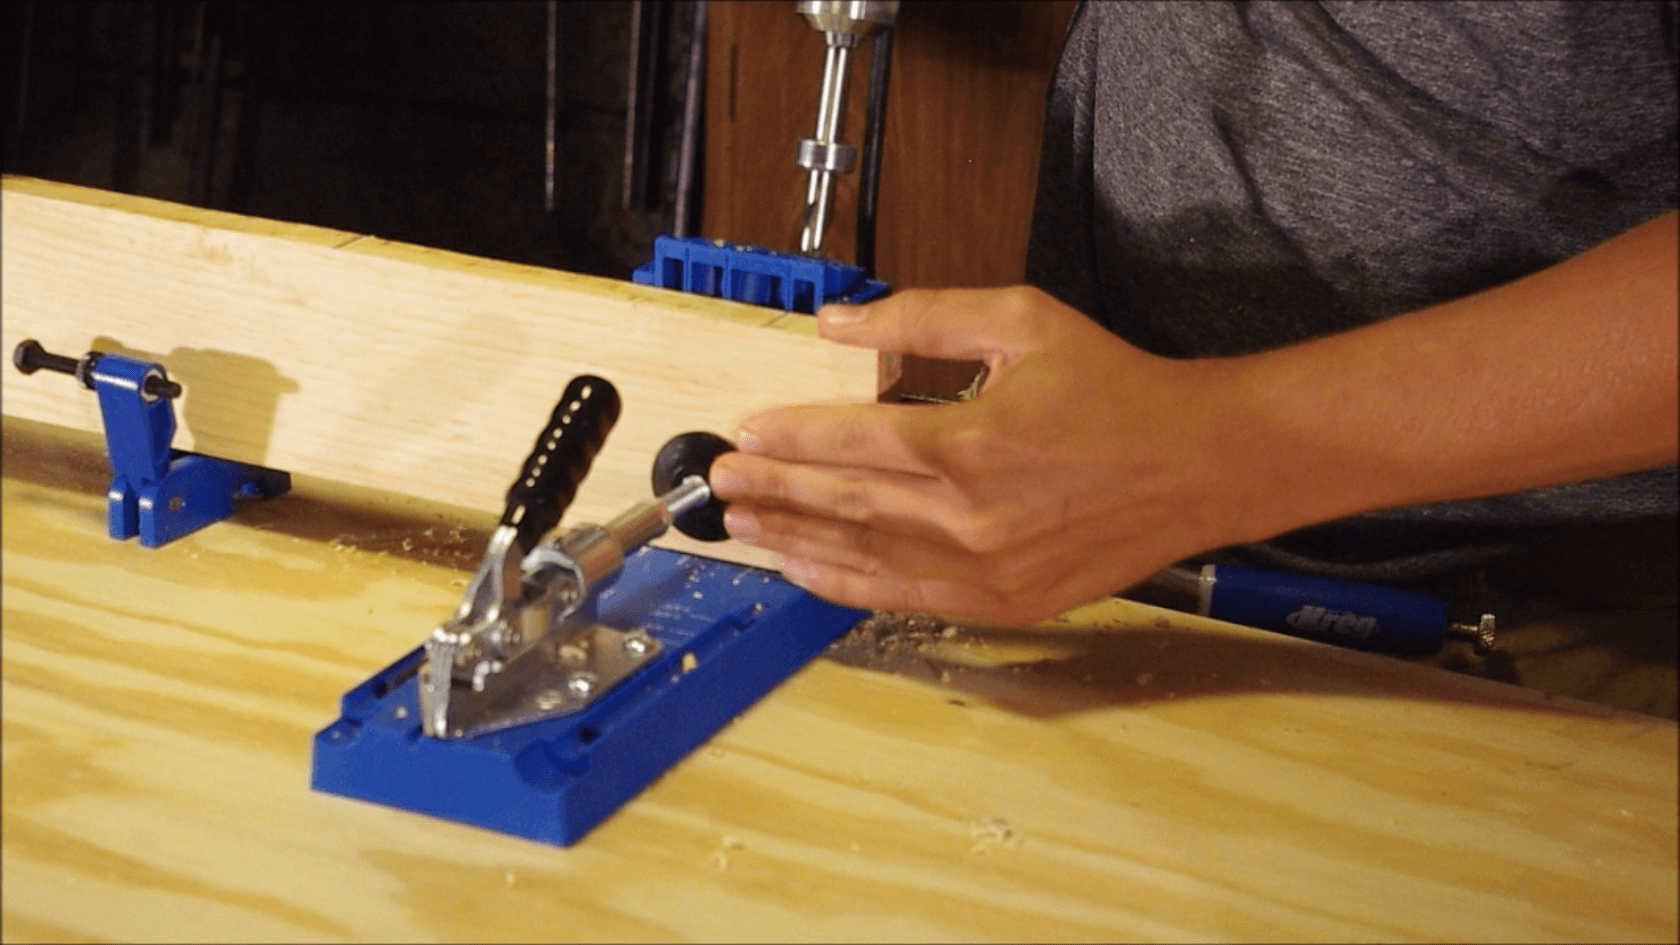
Step four: Pocket holes
Next, you can mark three lines for the pocket holes. Then adjust the Kreg jig for 1/2″ material and drill three holes in each spacer lining up with your markings. These will be screwed into the plywood base and the holes will be hidden so make sure that the pocket holes all face inwards. Screw in one spacer to the far right hand side of your plywood base and another one about 12″ from it.
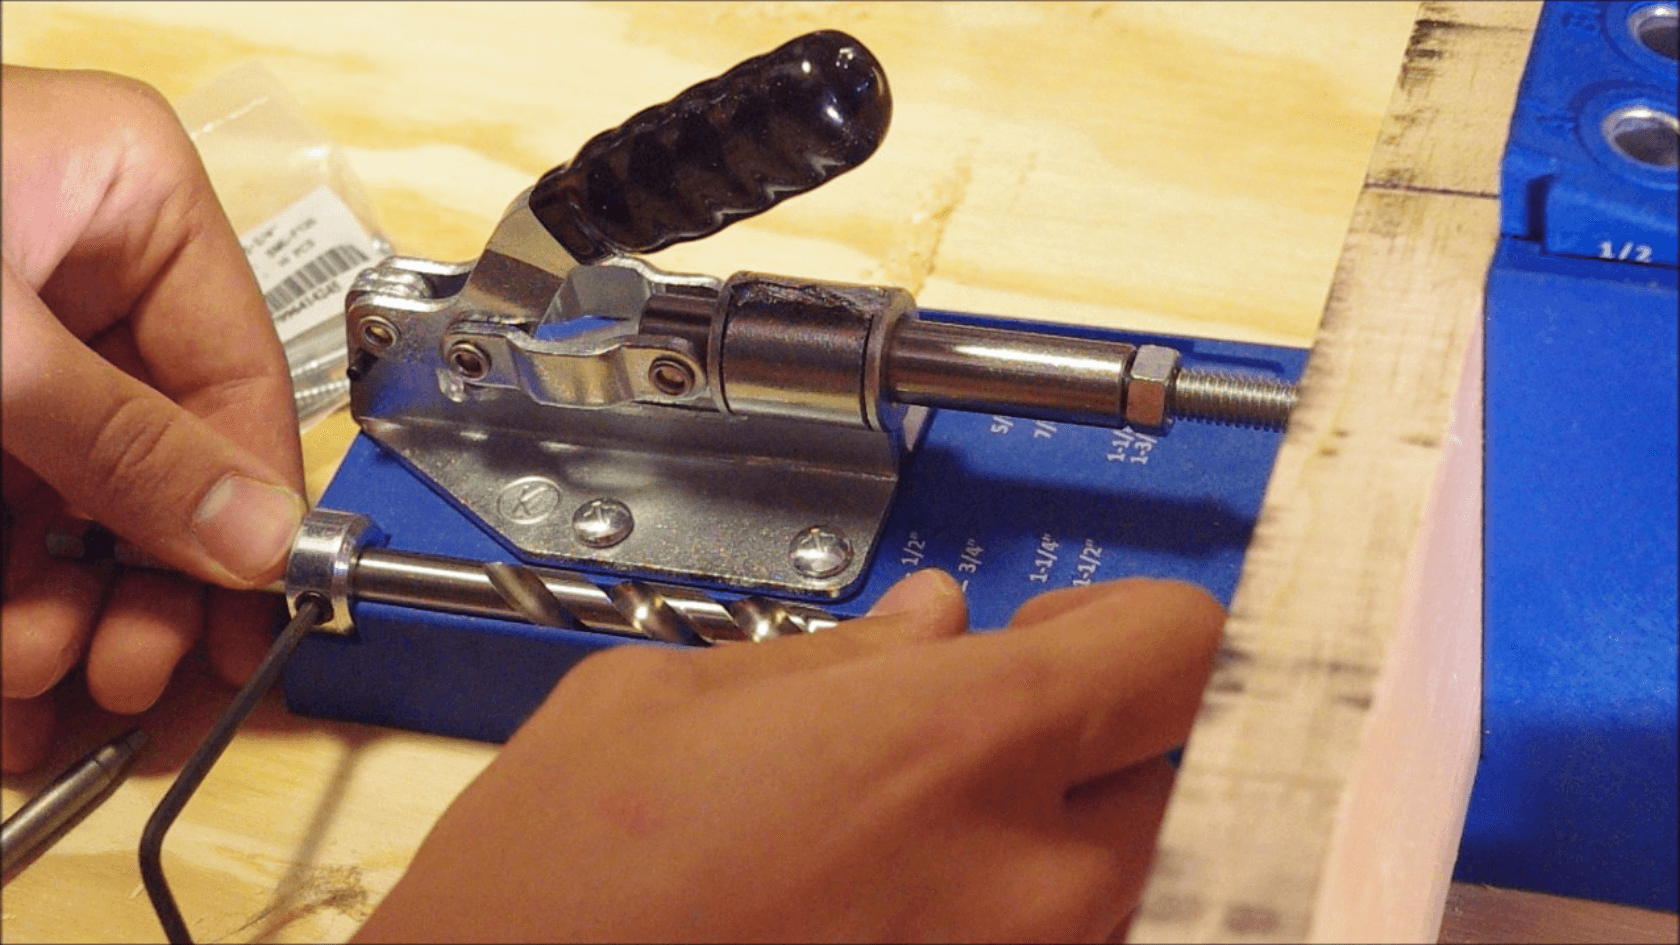
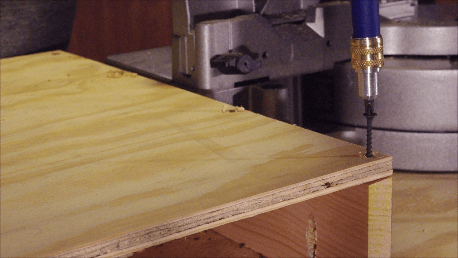
With your pocket holes cut, you are ready to attach the right side table top. Pre-drill using the countersink bit on your drill, put about 4 screws into each spacer to secure the top. I found a bit that you can switch to a phillips head without re-chucking just by moving a slider. This saved some time here for sure!

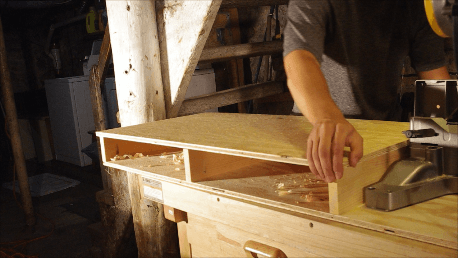
Step five: Left side table top, final fit and finish
With the right side completed, put your miter saw back on the table and push it snugly against the right side spacer. Screw in another spacer snugly against the saw so that it can be removed, but doesn’t have much room to wiggle. This will help keep your saw firmly attached to the table without the need for it to be bolted down.

Install the spacer very close to the side of your saw to give it a sturdy place to rest.

Dry fit the remaining spacers and cut your final plywood panel until it is all flush. Then you can attach them just like you did on the right side of the table. You can also add in small blocks from scrap wood to really lock in your miter saw.
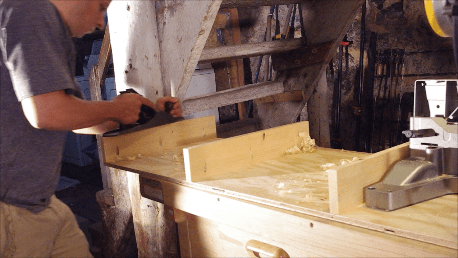
Shop improvement! Miter saw table finished!
You now have a handy-dandy miter saw table, no longer will you fear long boards! If you want to upgrade your miter table, you can easily add a fence extension with a 1×6 board and make drawers for the three spaces below for tool storage! The table can be put on sturdy saw horses for work in your shop, or at a job site! You can also help to protect the table by added a finish – I added a coat of waterlox.

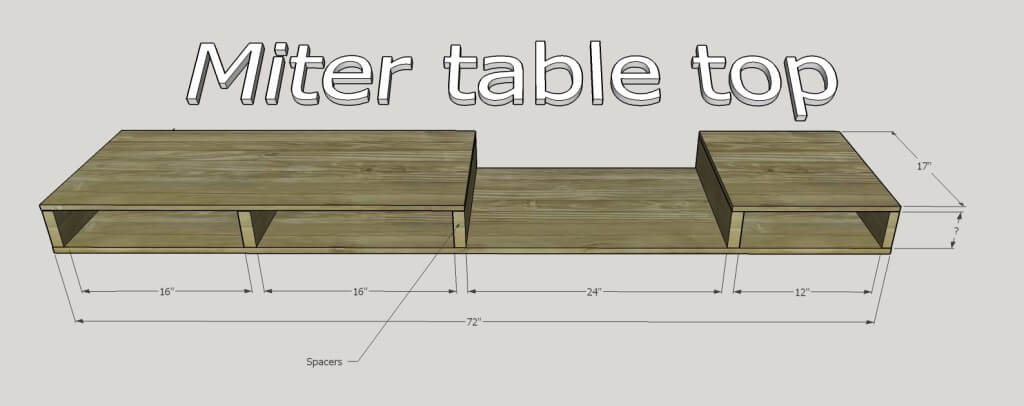
**Note that the below diagram is what fit my saw. You will need to adjust it as necessary based on the dimensions of your miter saw.

Leave a Reply