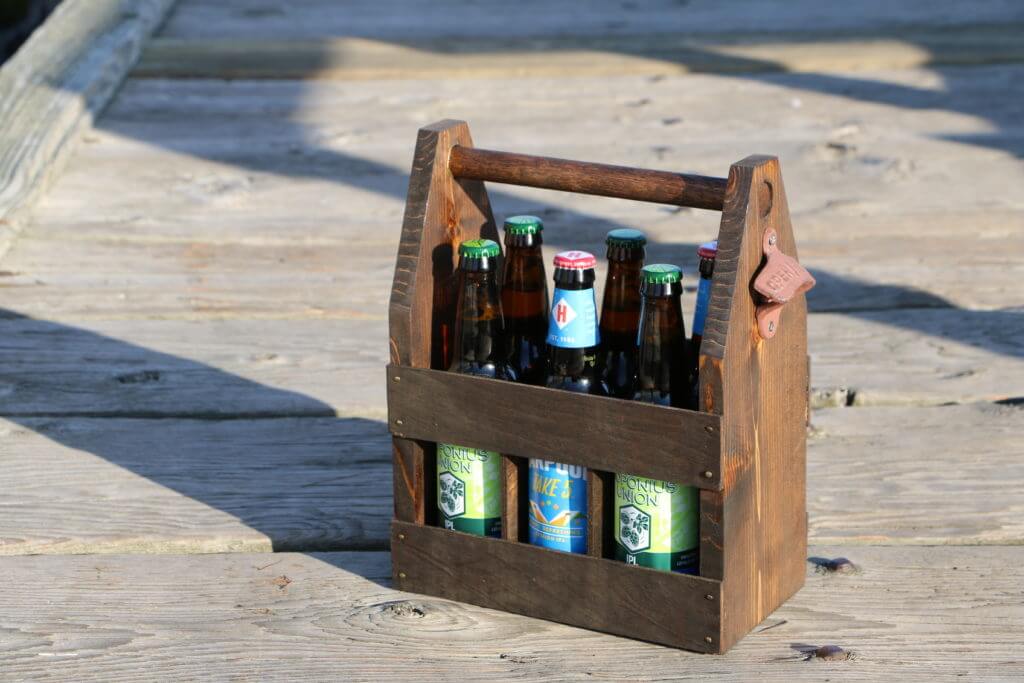
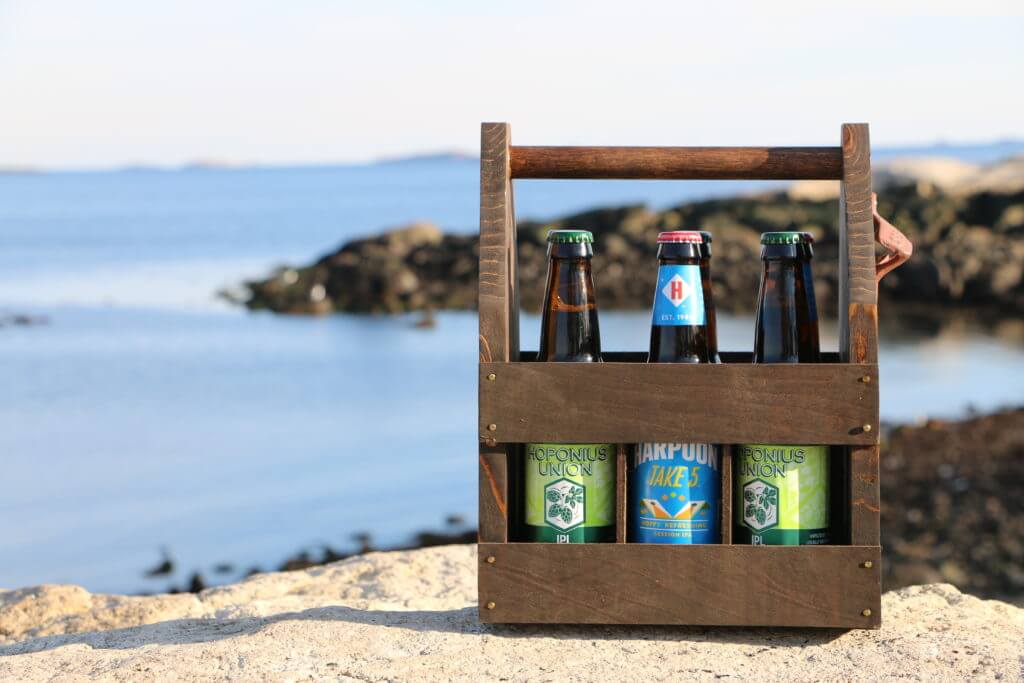
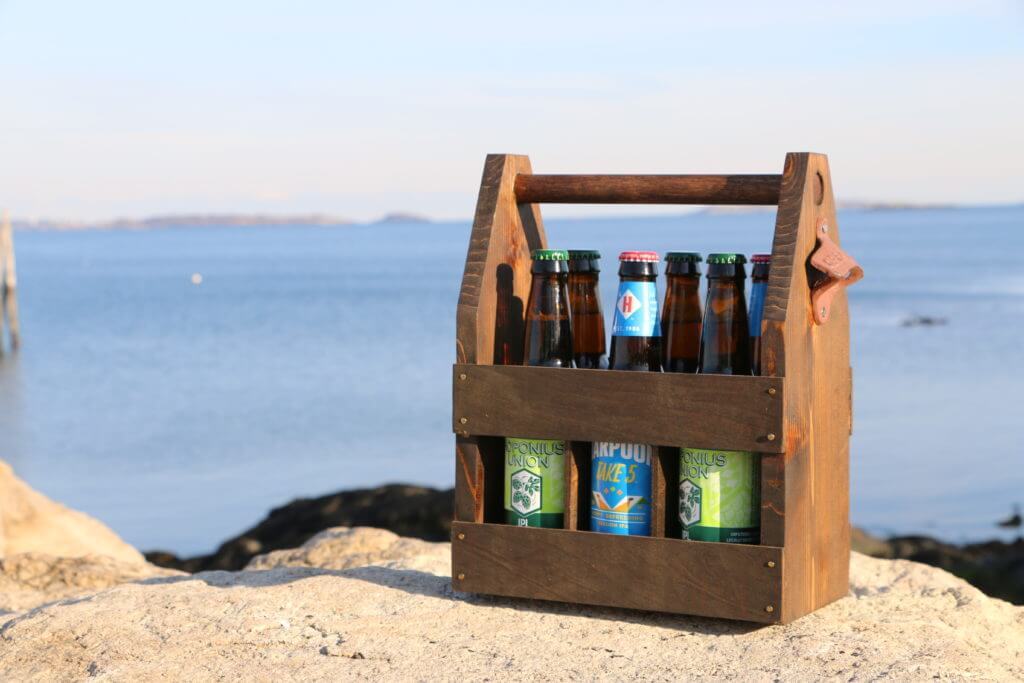
The beer caddy makes an excellent gift (father’s day, anyone?), and is a welcome addition to any man cave. They are easy and inexpensive to build and really let you tote your brews around in style! No longer will your brews be condemned to live in a cardboard box and no longer will you be without a bottle opener!
Tools needed
Table saw
3/4″ Forstner bit
Hammer or nailgun
Kreg Jig & 1.5″ Kreg Screws (optional – you can just use nails & glue)
Impact driver (optional but really helps – much cheaper if you buy them as a combo)
Band Saw or Jig Saw (optional – you can use the other saws to cut the tapers)
Flush cut saw / Sharp chisel (optional)
Lumber & Materials
(1) 1×6 – 8 foot length board – Any variety of wood will work, I used Cedar. Note that these are actually 5.5″ wide and 3/4″ thick.
1/4″ Plywood – Any variety, I used Birch. You will only us a very small portion of one sheet for the sides & dividers
1″ Wire nails
3/4″ Dowel
Printable plans
Download 1-to-1 scale beer caddy plans for free here!
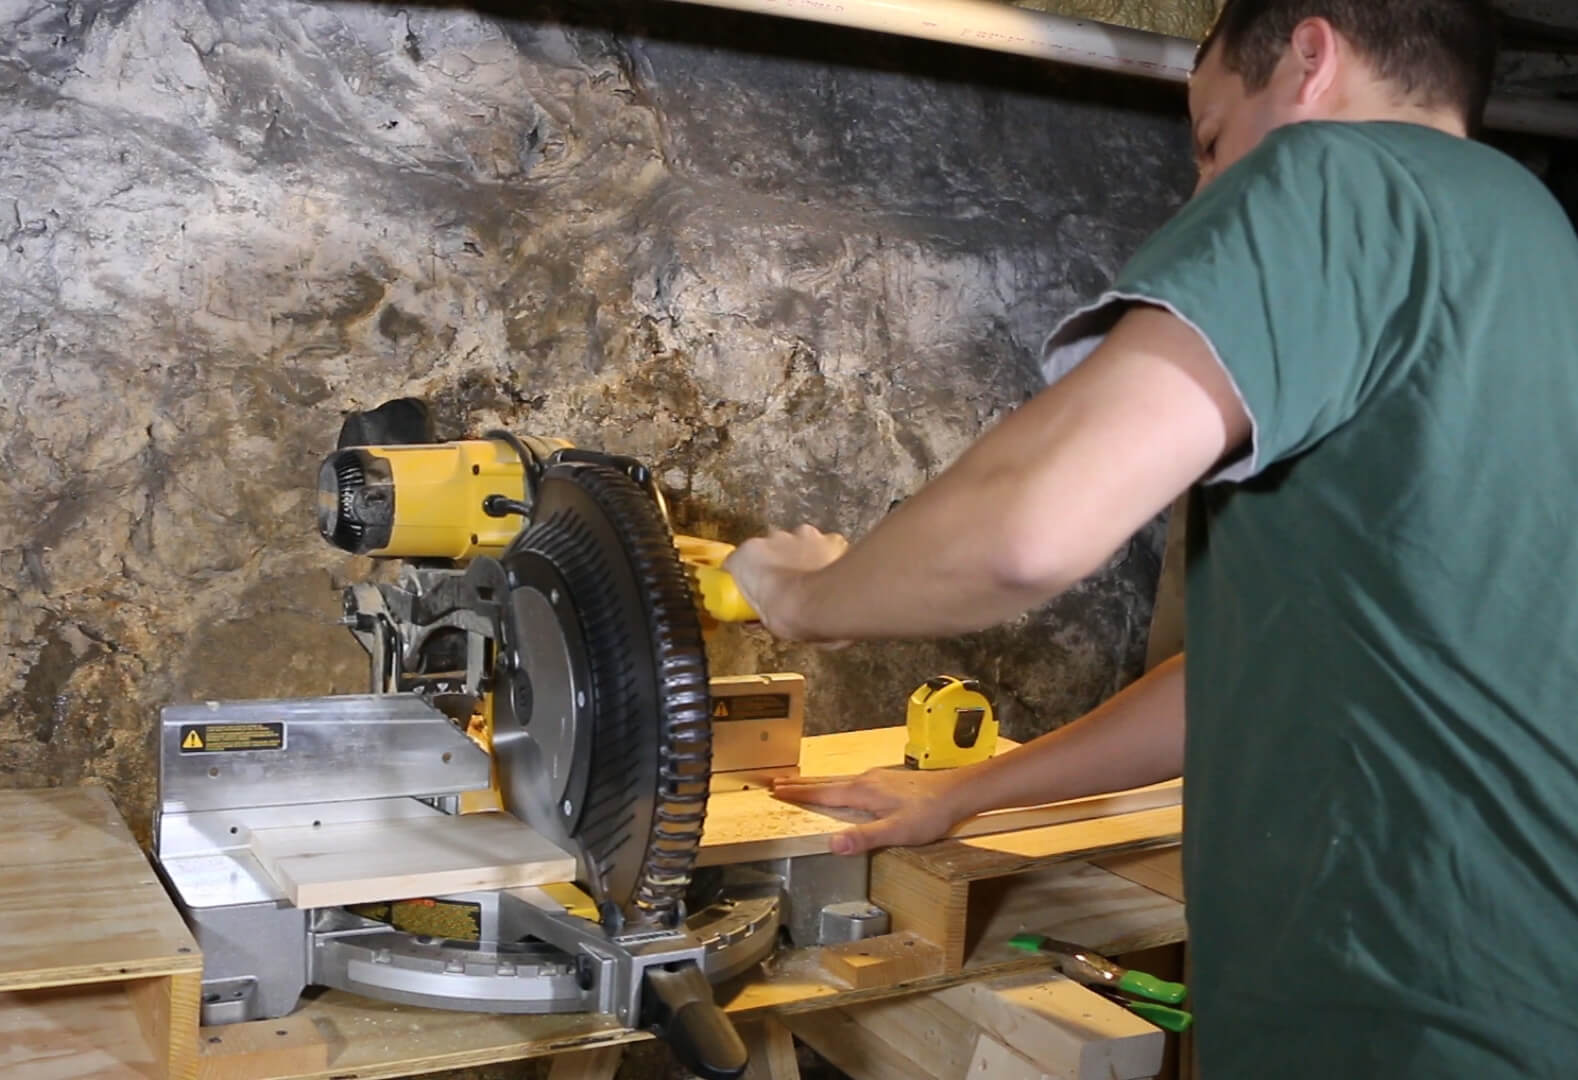
Step one: Select & cut lumber
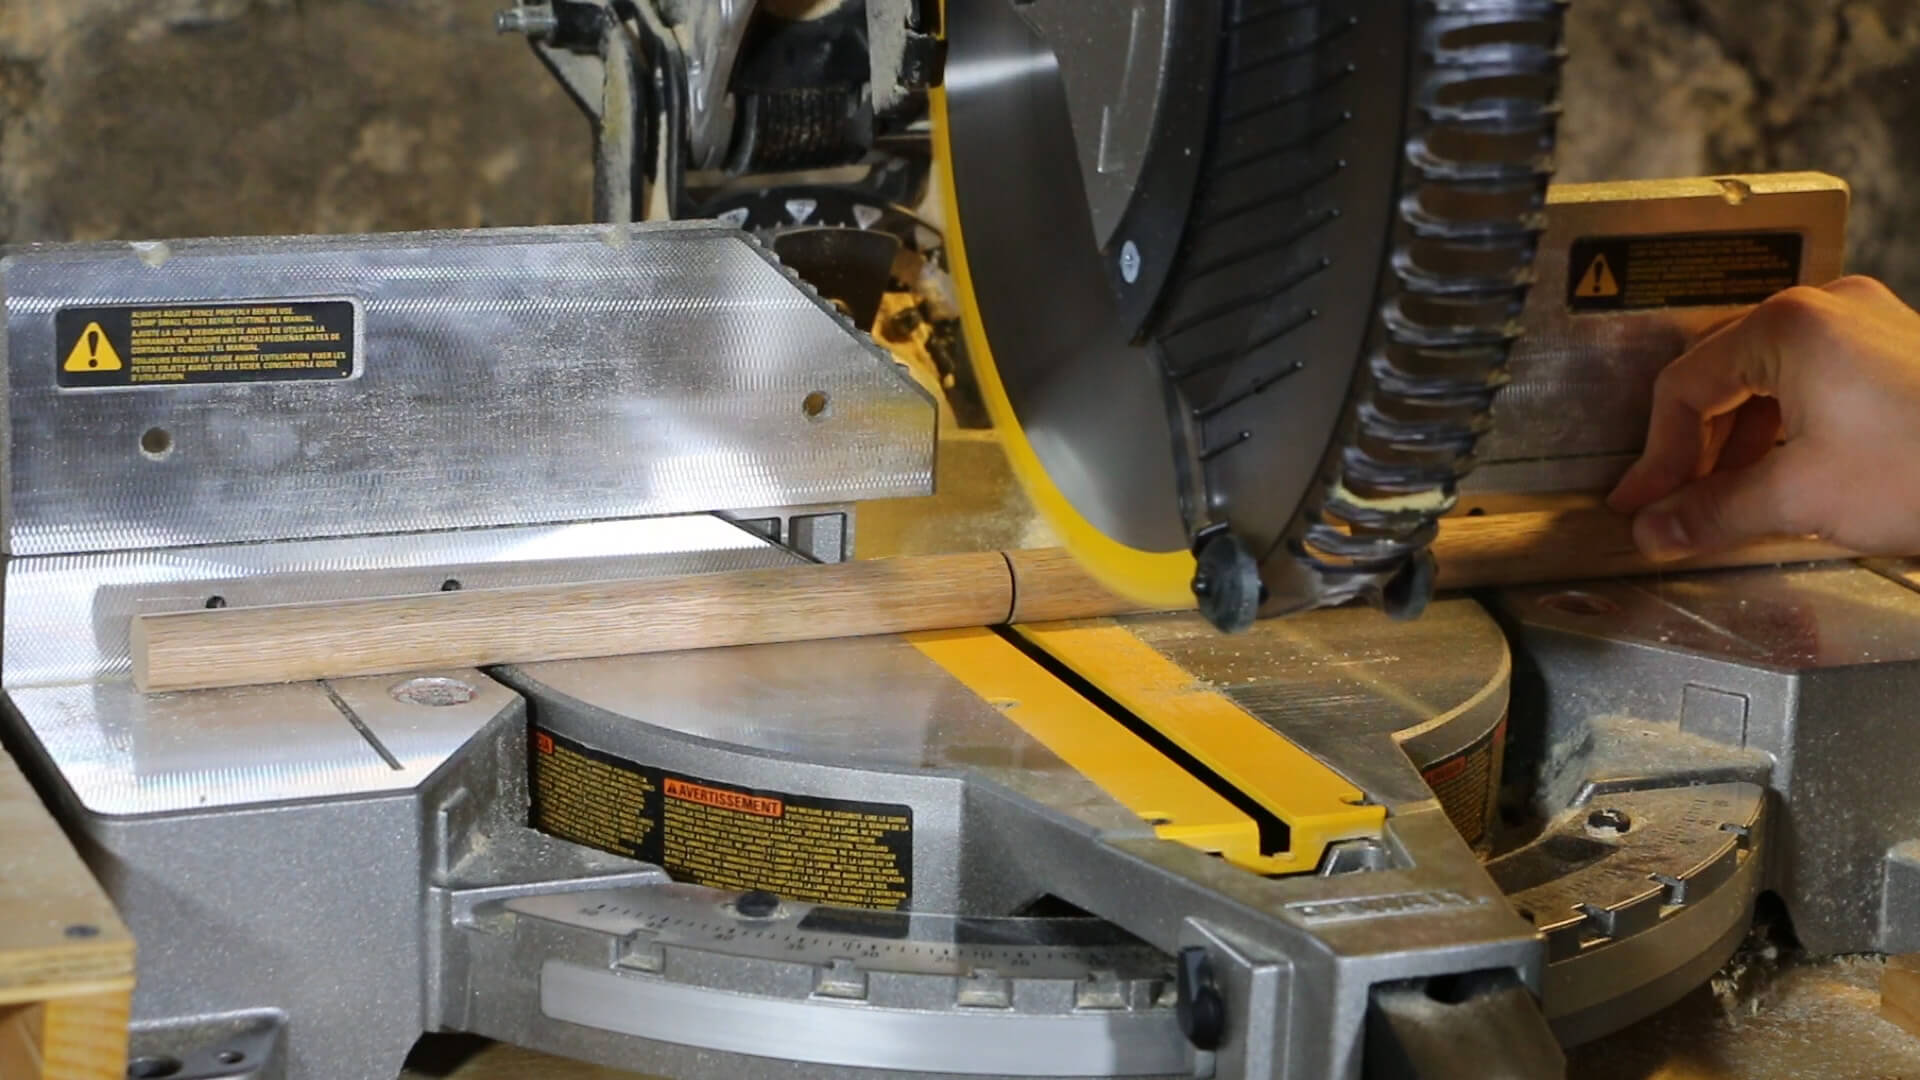
The first order of business is to chop down three pieces from the 1×6. Two for the sides of the beer caddy, as well as the bottom. You will also need to trim the 3/4″ dowel to just under 10″. It is best to leave the dowel slightly oversized and trim it down later.
Cut list:
Sides: (2x) 12.5″ long by 5.5″ wide
Bottom: (1x) 8.5″ long by 5.5″ wide
Handle: 3/4″ Diameter by ~10″
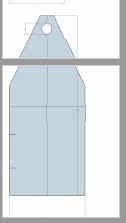
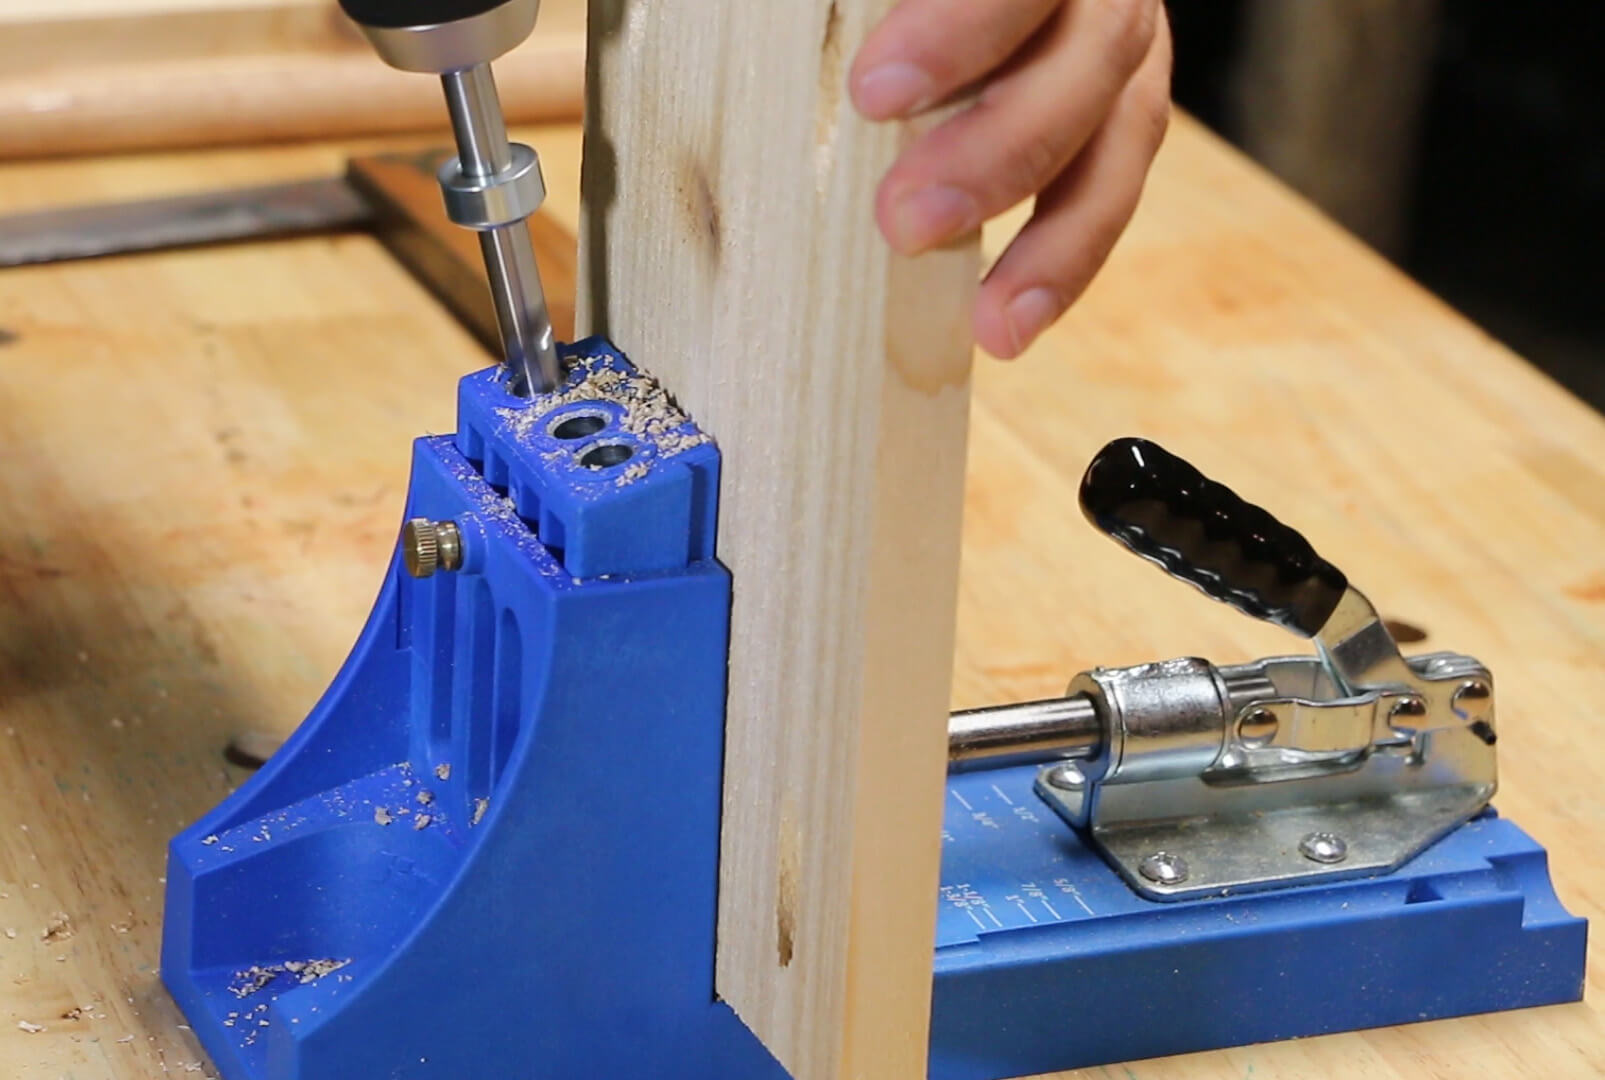
Step two: Cut tapers & drill dowel holes
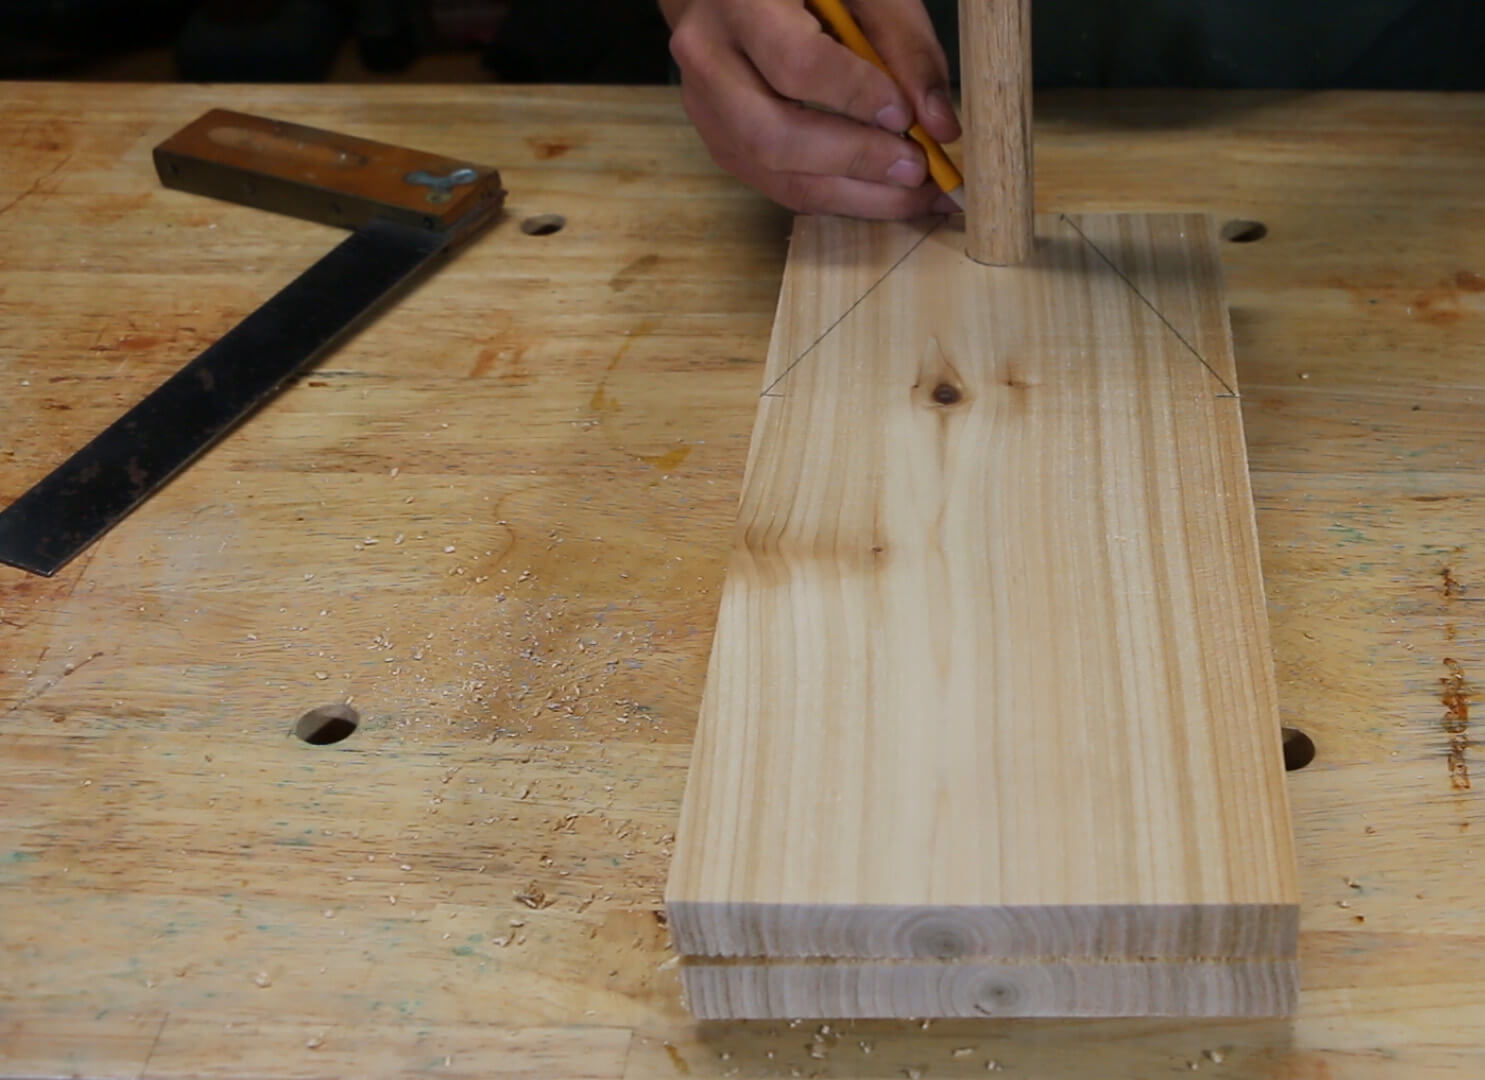
Mark the tapers on one of your side pieces. This can be done by marking a line at the 8″ mark from the bottom, as well as at the 2 1/4″ from the edge of the top. Then connect the two dots. Also center and trace your 3/4″ dowel. It should be about 1/2″ from the top of the board. You can instead print out the template which is a 1-to-1 scale for free here!
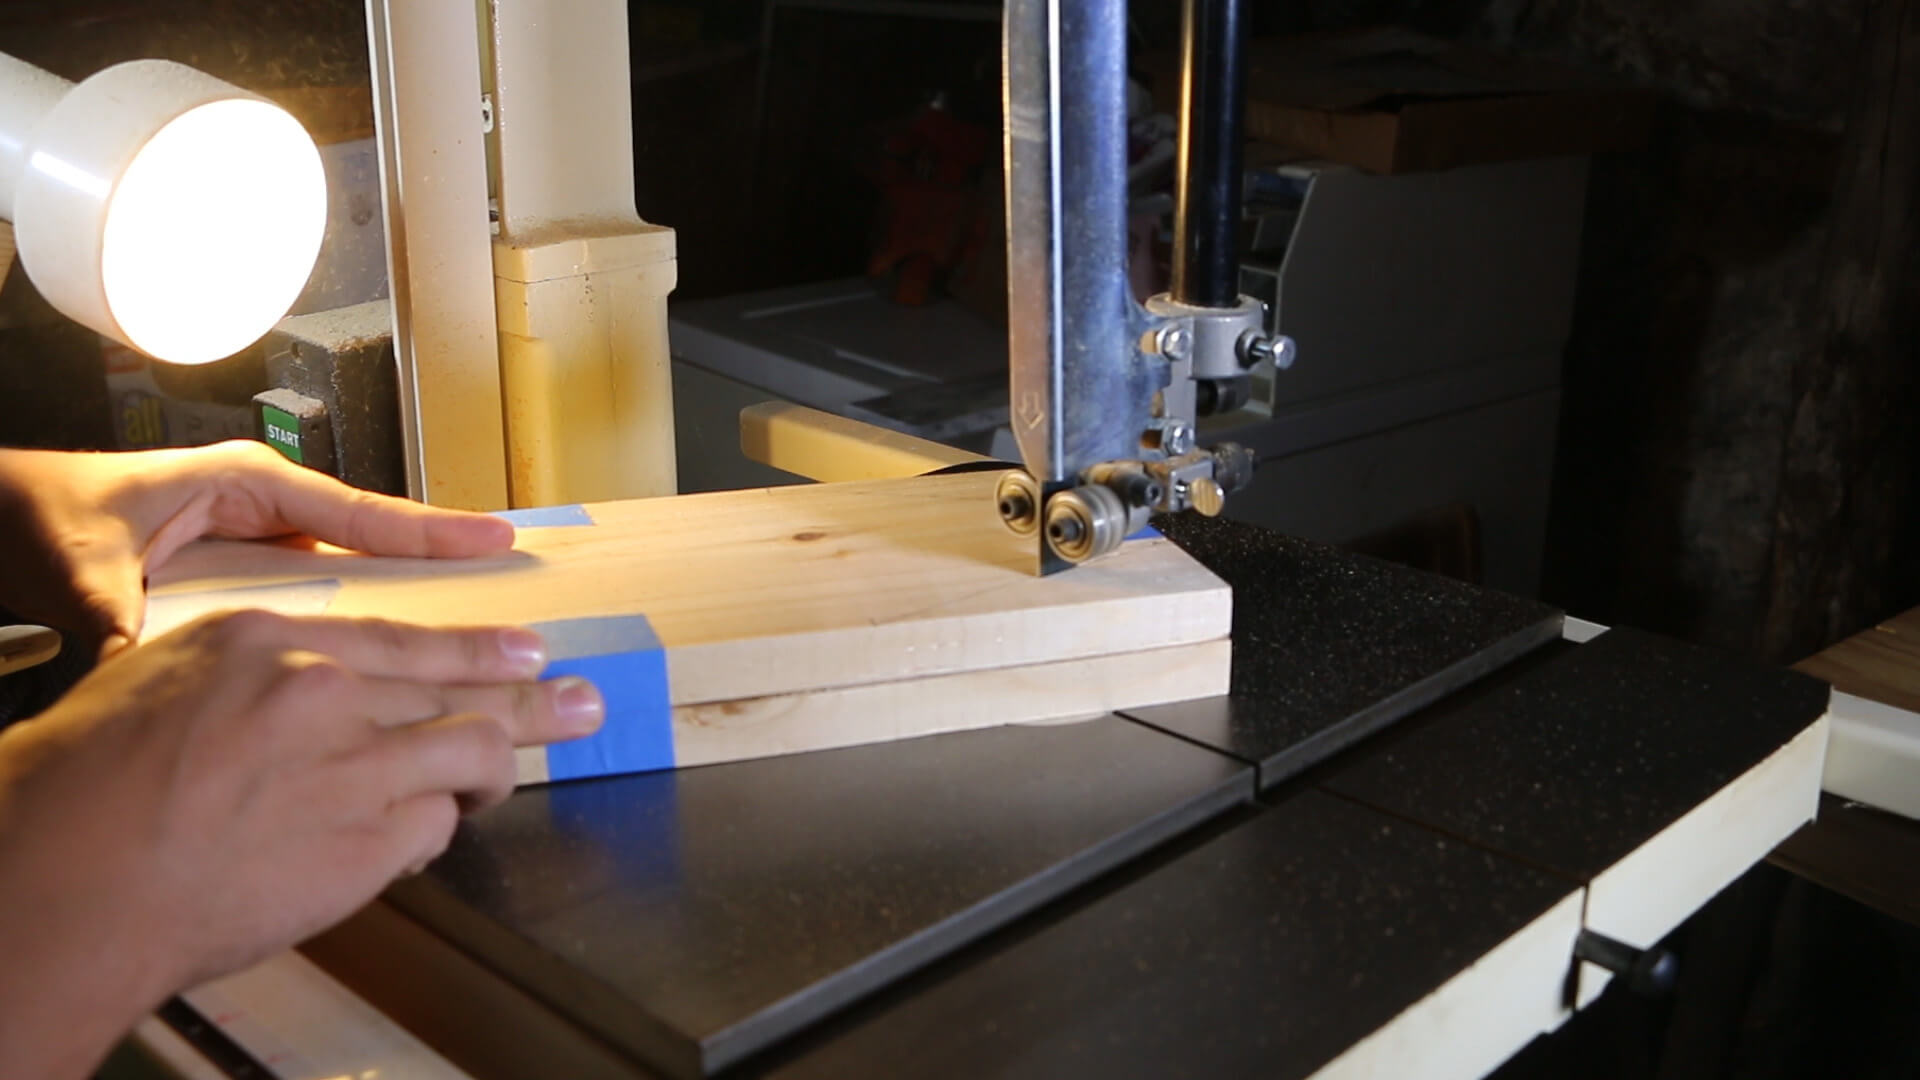
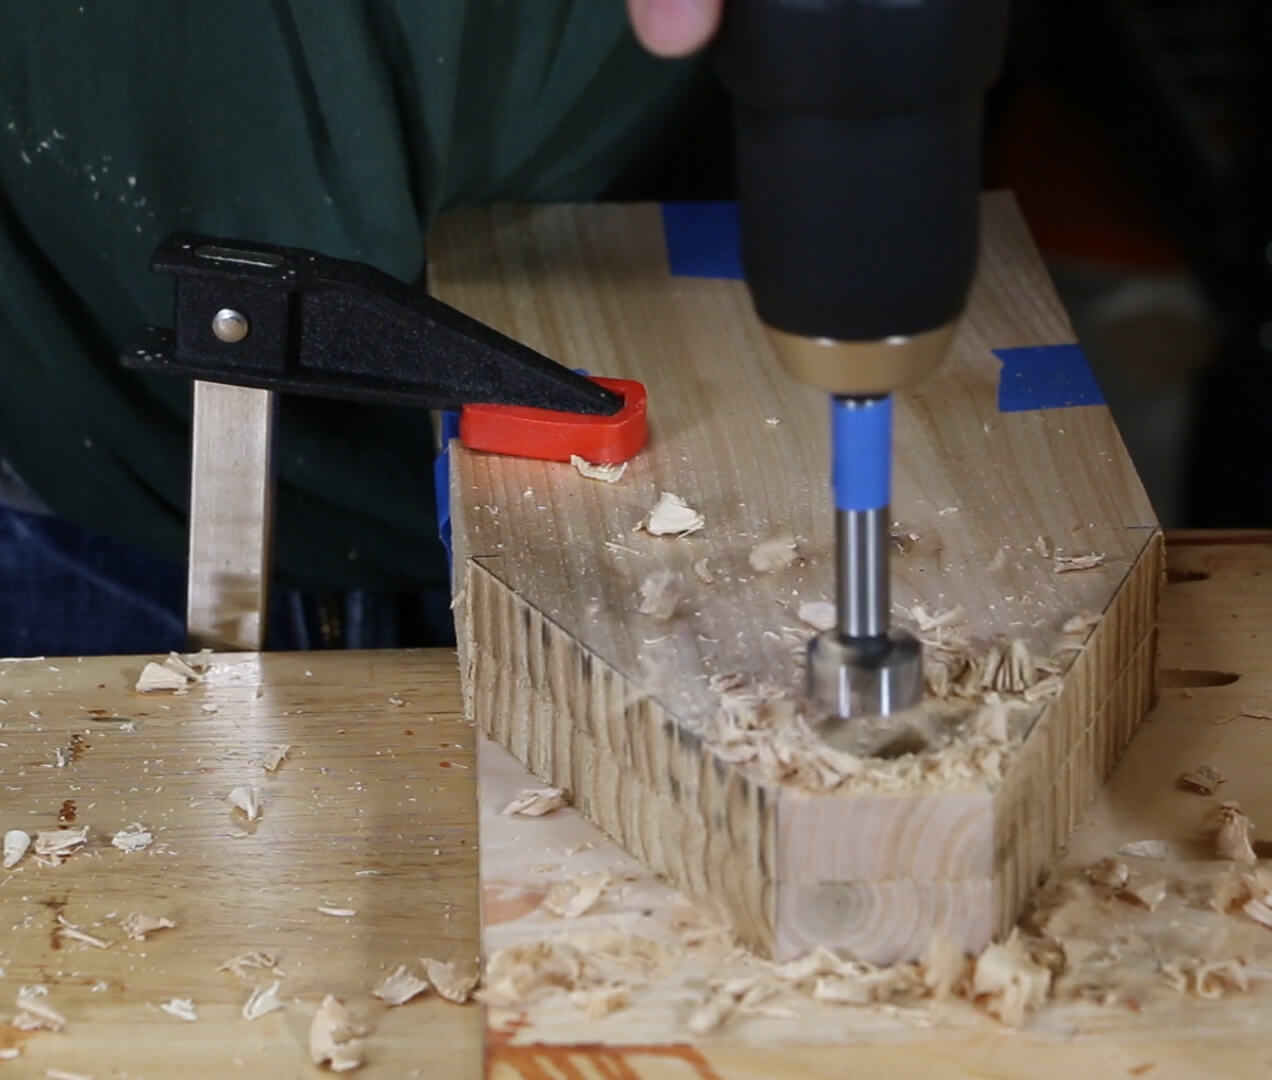
Temporarily attach the two side pieces together using tape. This allows you to cut the beer caddy tapers and drill the dowel holes twice as fast. Use a bandsaw or jig saw to cut the tapers, as well as a drill with a 3/4″ forstner bit to tackle the dowel holes. Remember to put a sacrificial board under the pieces that you are drilling holes through. Otherwise, they will tear out.
Step Three: Pocket holes & sanding
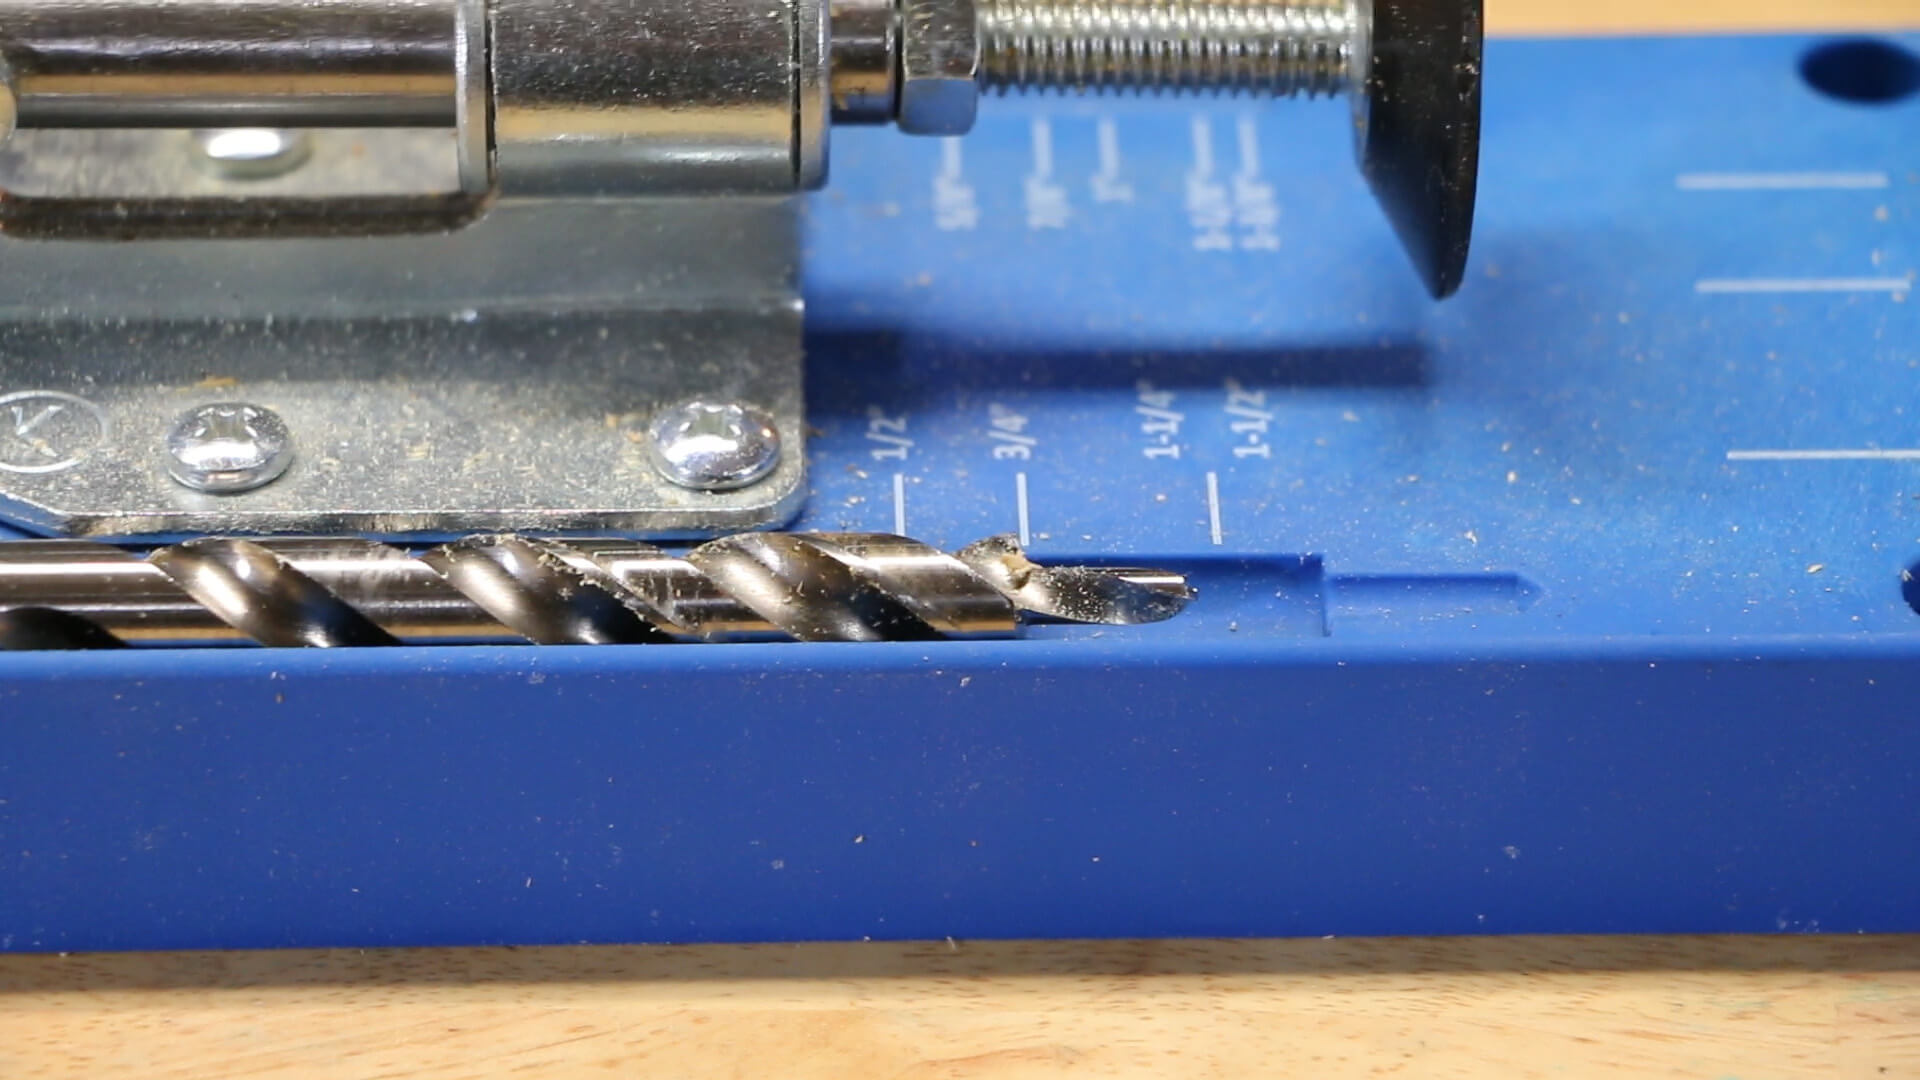
Using your Kreg jig, set the depth to 3/4″ (or whatever to whatever the thickness of your lumber is). Mark lines for two screws on each side of the bottom board and drill pocket holes.
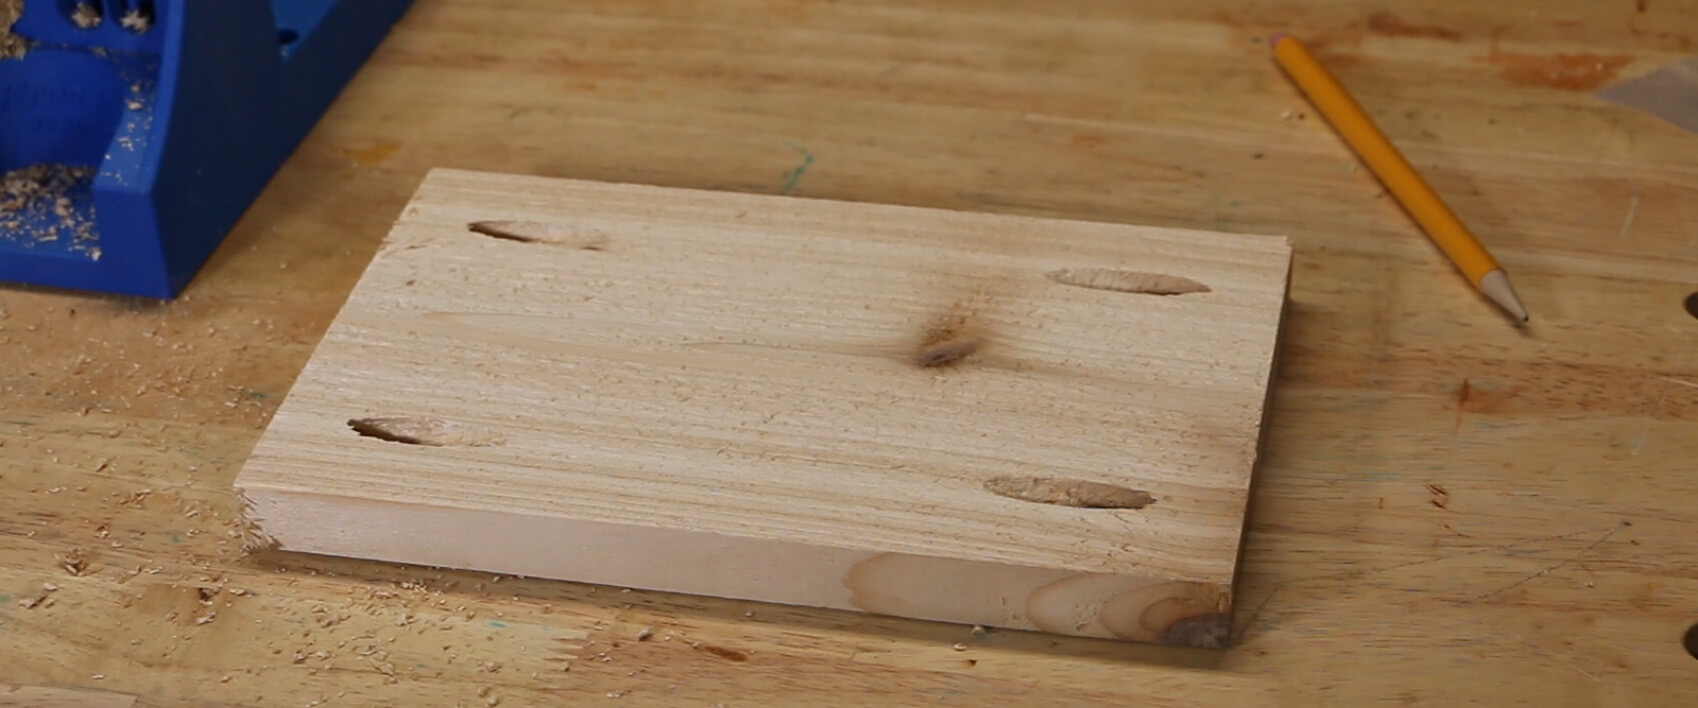
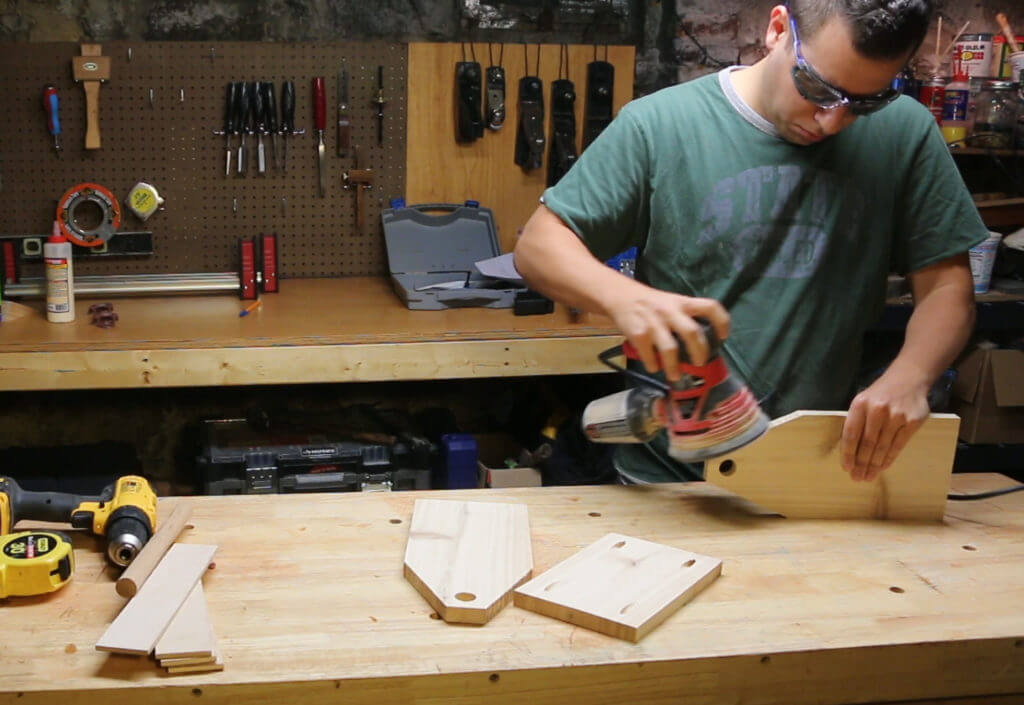
Now is a good time to sand all pieces with your orbital sander. I started at 150 and went up to 220.
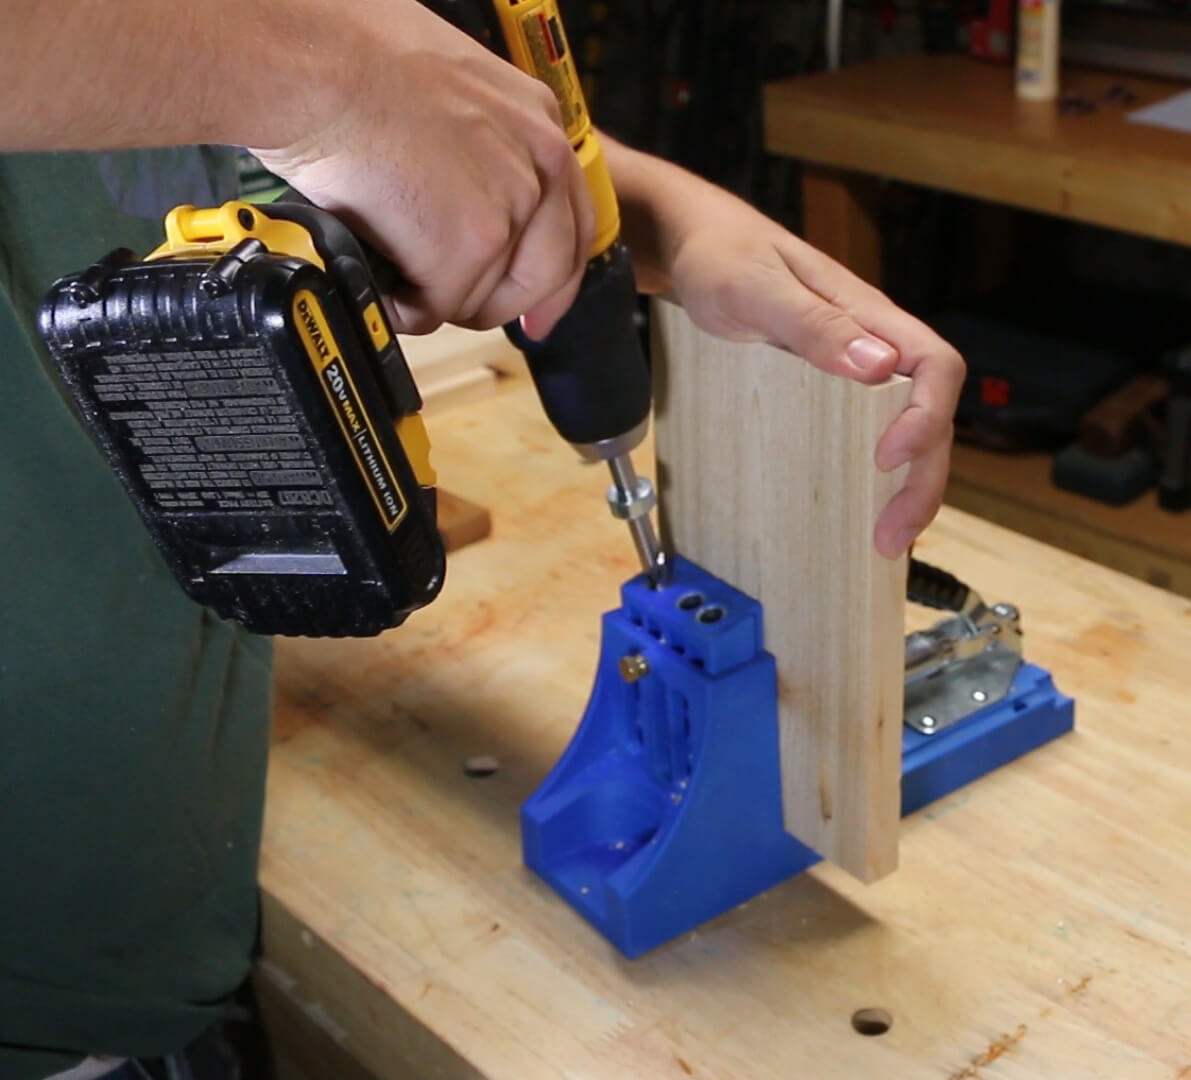
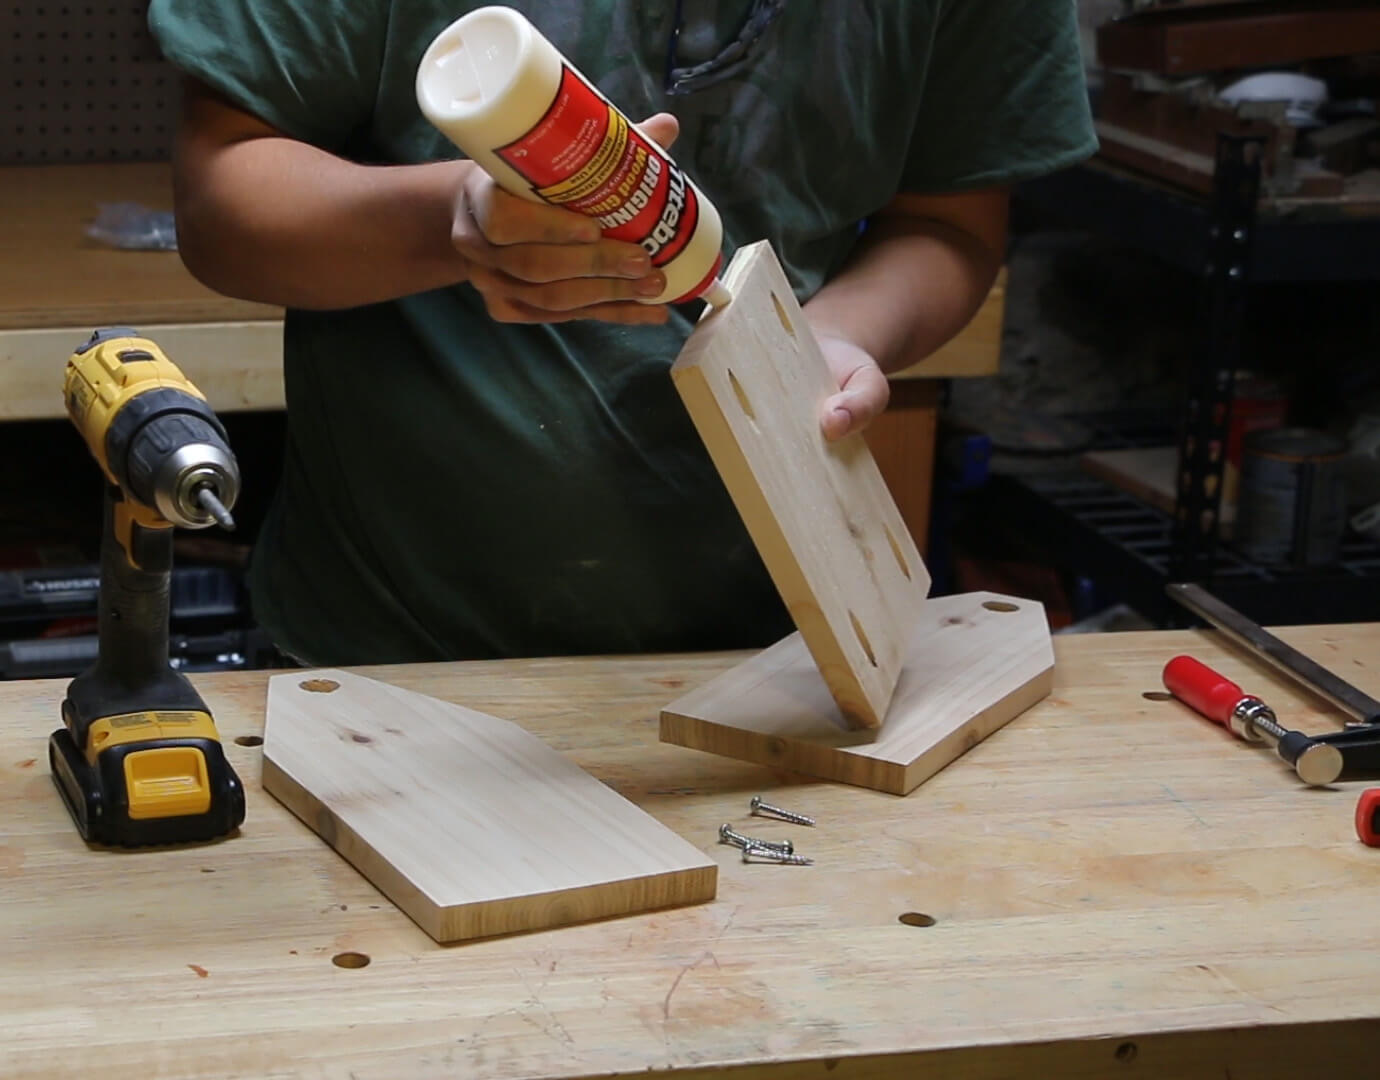
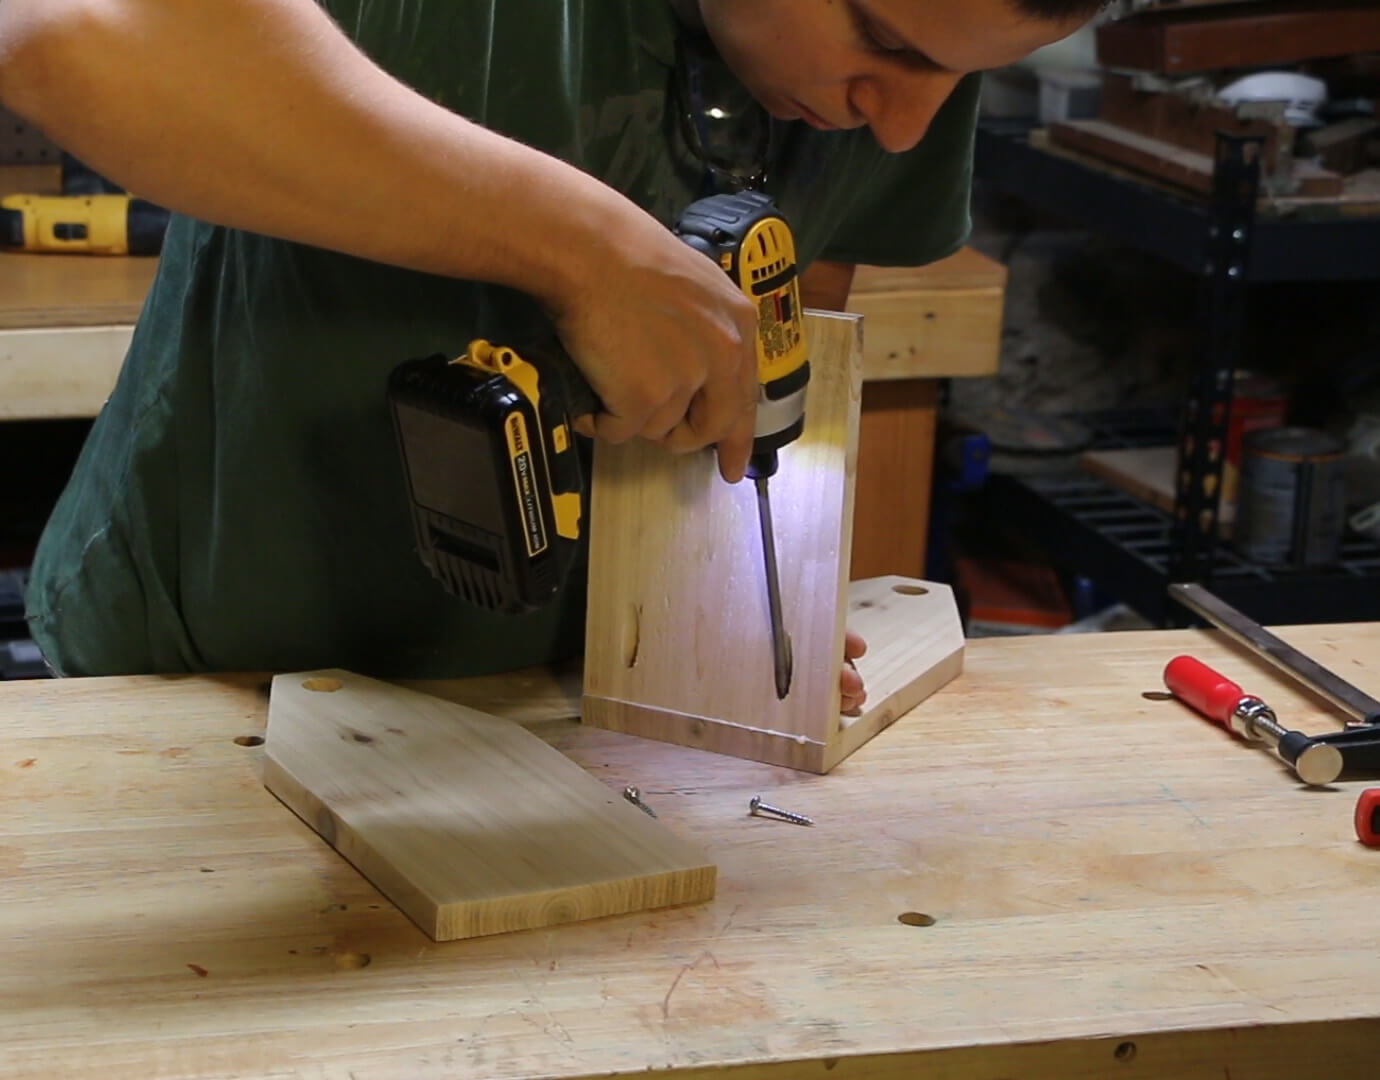
Step four: Attach sides, bottom & dowel
Next, attach the bottom and side pieces together using 1.5″ Kreg screws. Use a little bit of wood glue here, but not too much. The screws will hold fine by themselves and we don’t want a lot of squeeze out to clean up afterwards. Attach the dowel and make sure to apply a small amount of glue before you push it into place.
**When I made my first beer caddy, it cracked! This was because my dowel hole wasn’t perfectly aligned. I recommend that you put the down in place before you screw in the second side. This gives you a bit of room for error in case your holes/wood isn’t perfect!
Step five: Cut out and attach beer caddy dividers and side panels
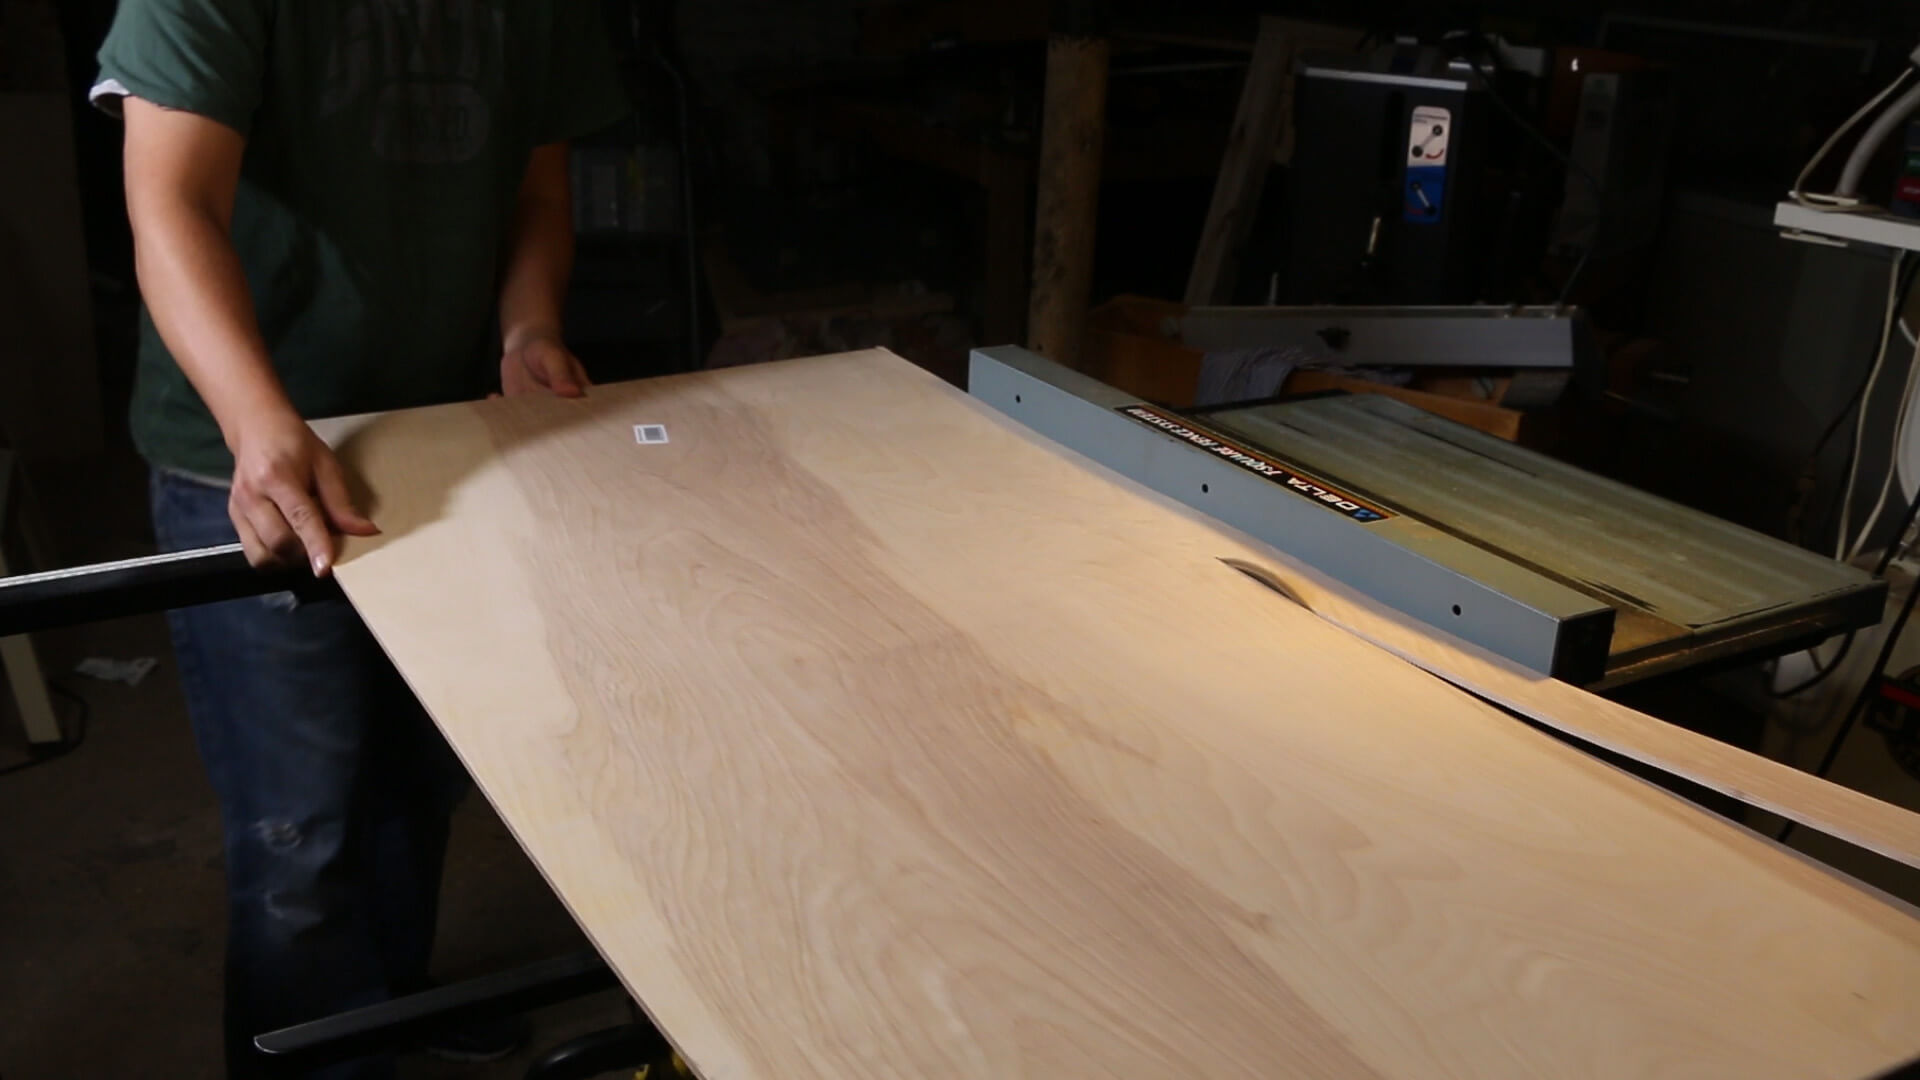
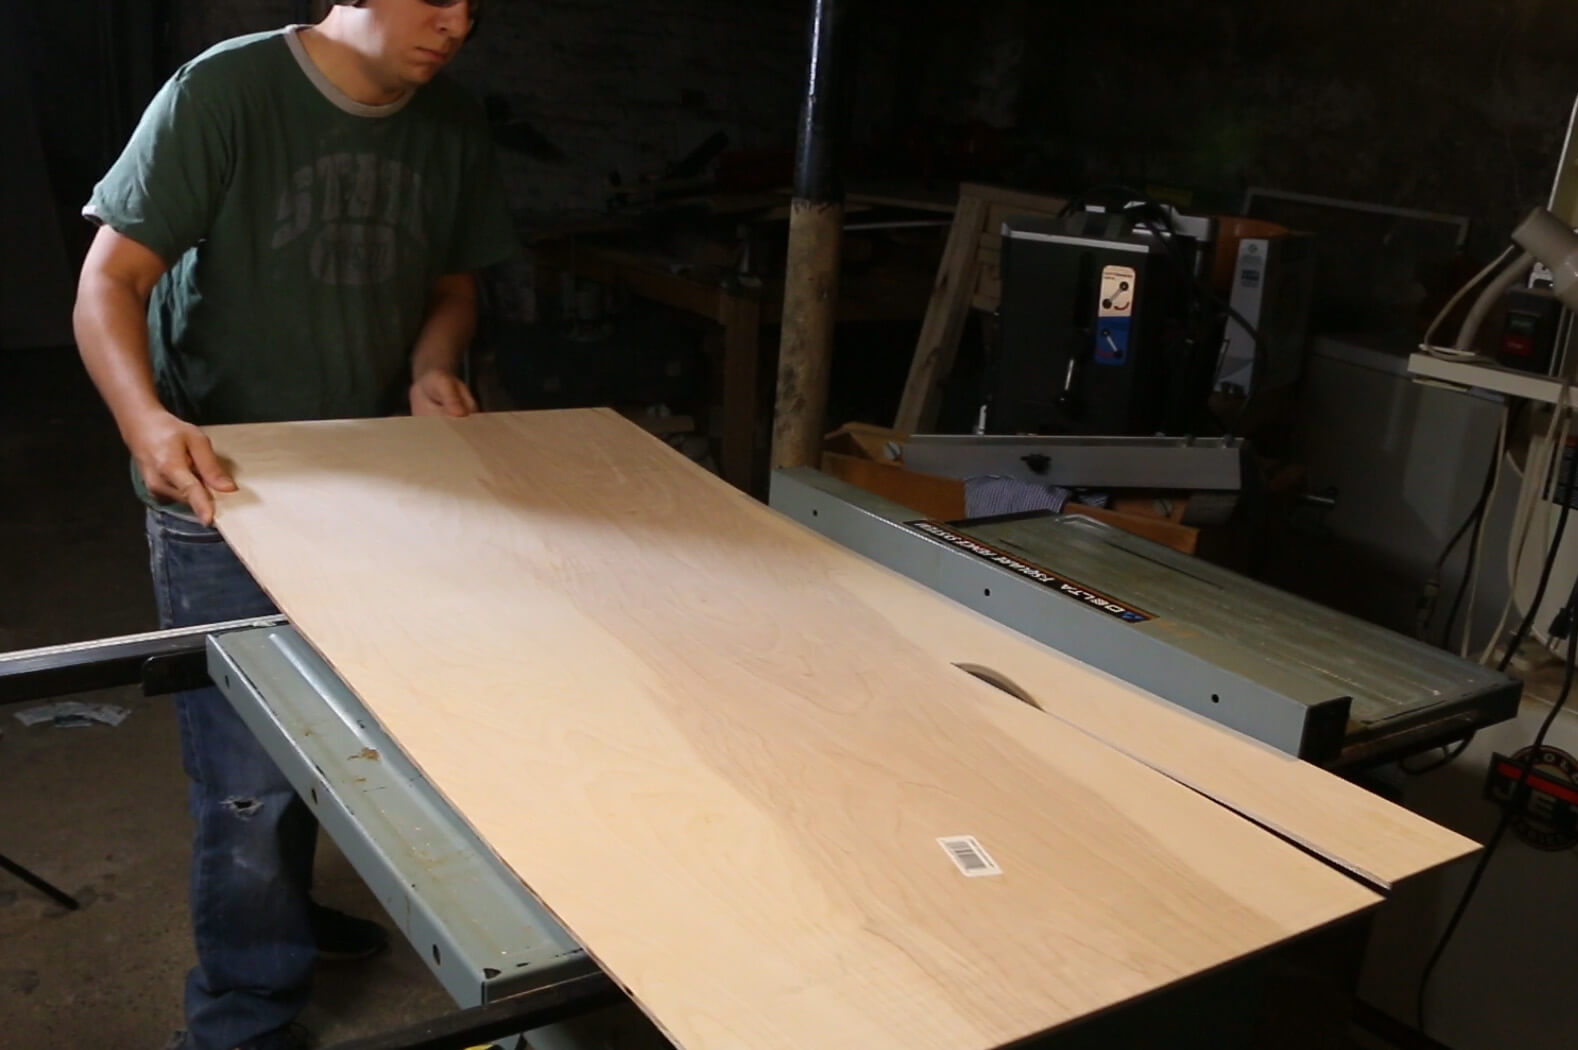
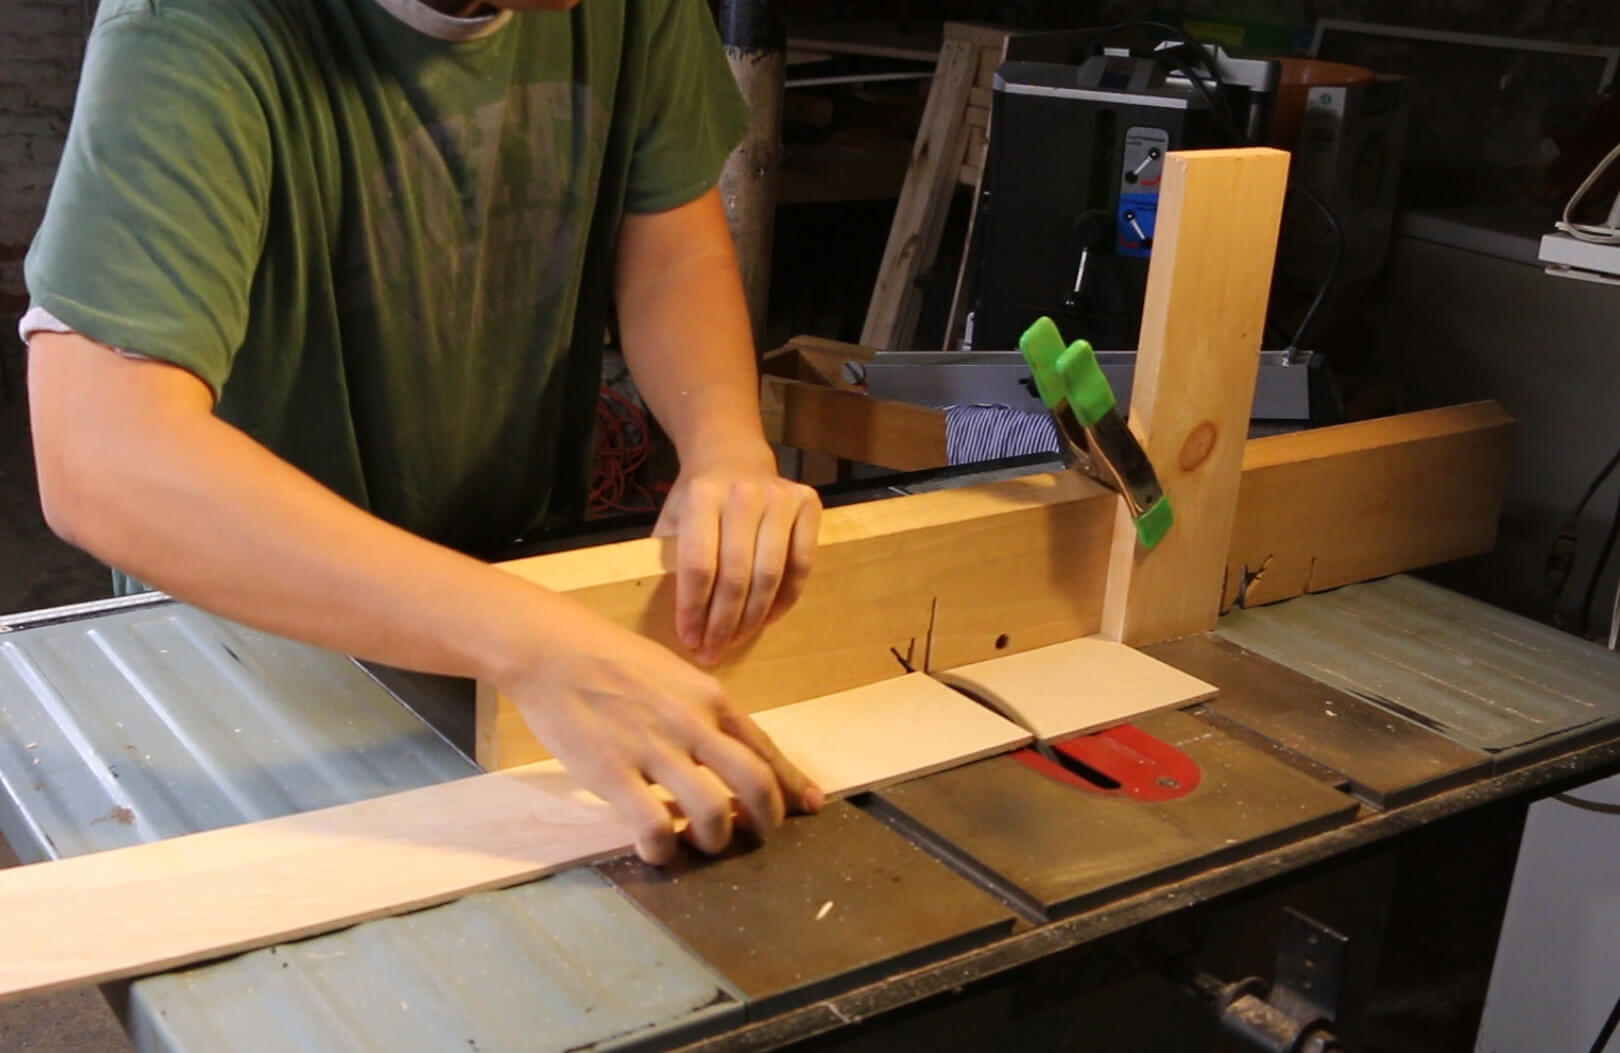
The next step is to rip down the 1/4″ plywood into strips that can be used for the dividers as well as the side panels. For the side panels, trip a 2″ strip on the table saw. For the dividers, rip a strip that is 4″ wide Then use a crosscut sled on the table saw to cut them into consistent lengths.
Cut list:
Side panel: (4x) ~10 long (actual length of the beer caddy) by 2″ wide
Dividers: (1x) 8.5″ long by 4″ wide, (2x) 5.5″ long by 4″ wide
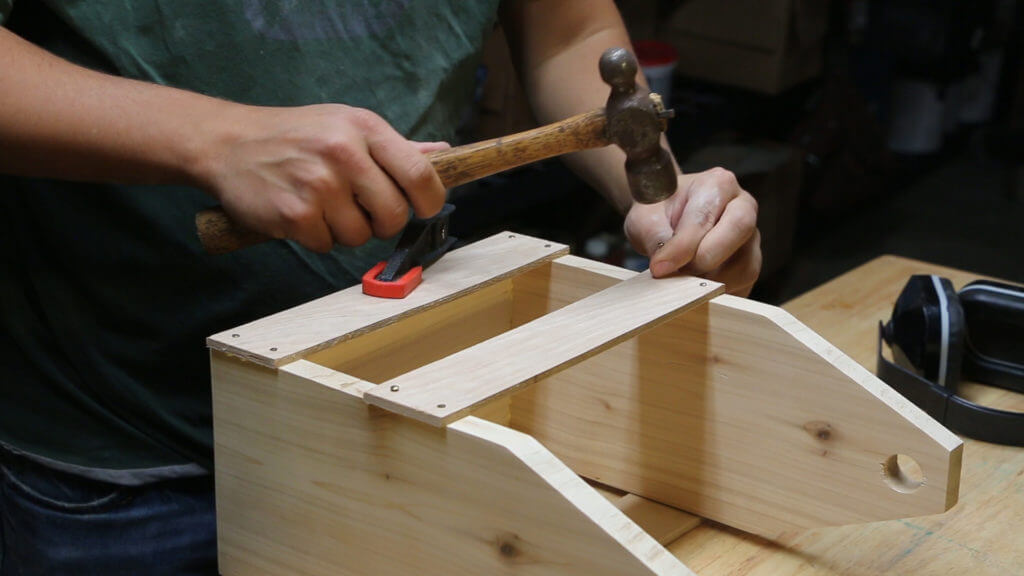
Next, apply a small amount of glue to the side panels and then nail them in place. I used two nails on each side of the panels. The bottom panel should be flush with the bottom board. The top panel should be spaced 2″ from the bottom panel. By spacing them like this, it allows a majority of the beer label to be seen from the outside of the beer caddy. Allow the glue to dry overnight or about 24 hours. You shouldn’t need to clamp very much as the nails will hold things in place.
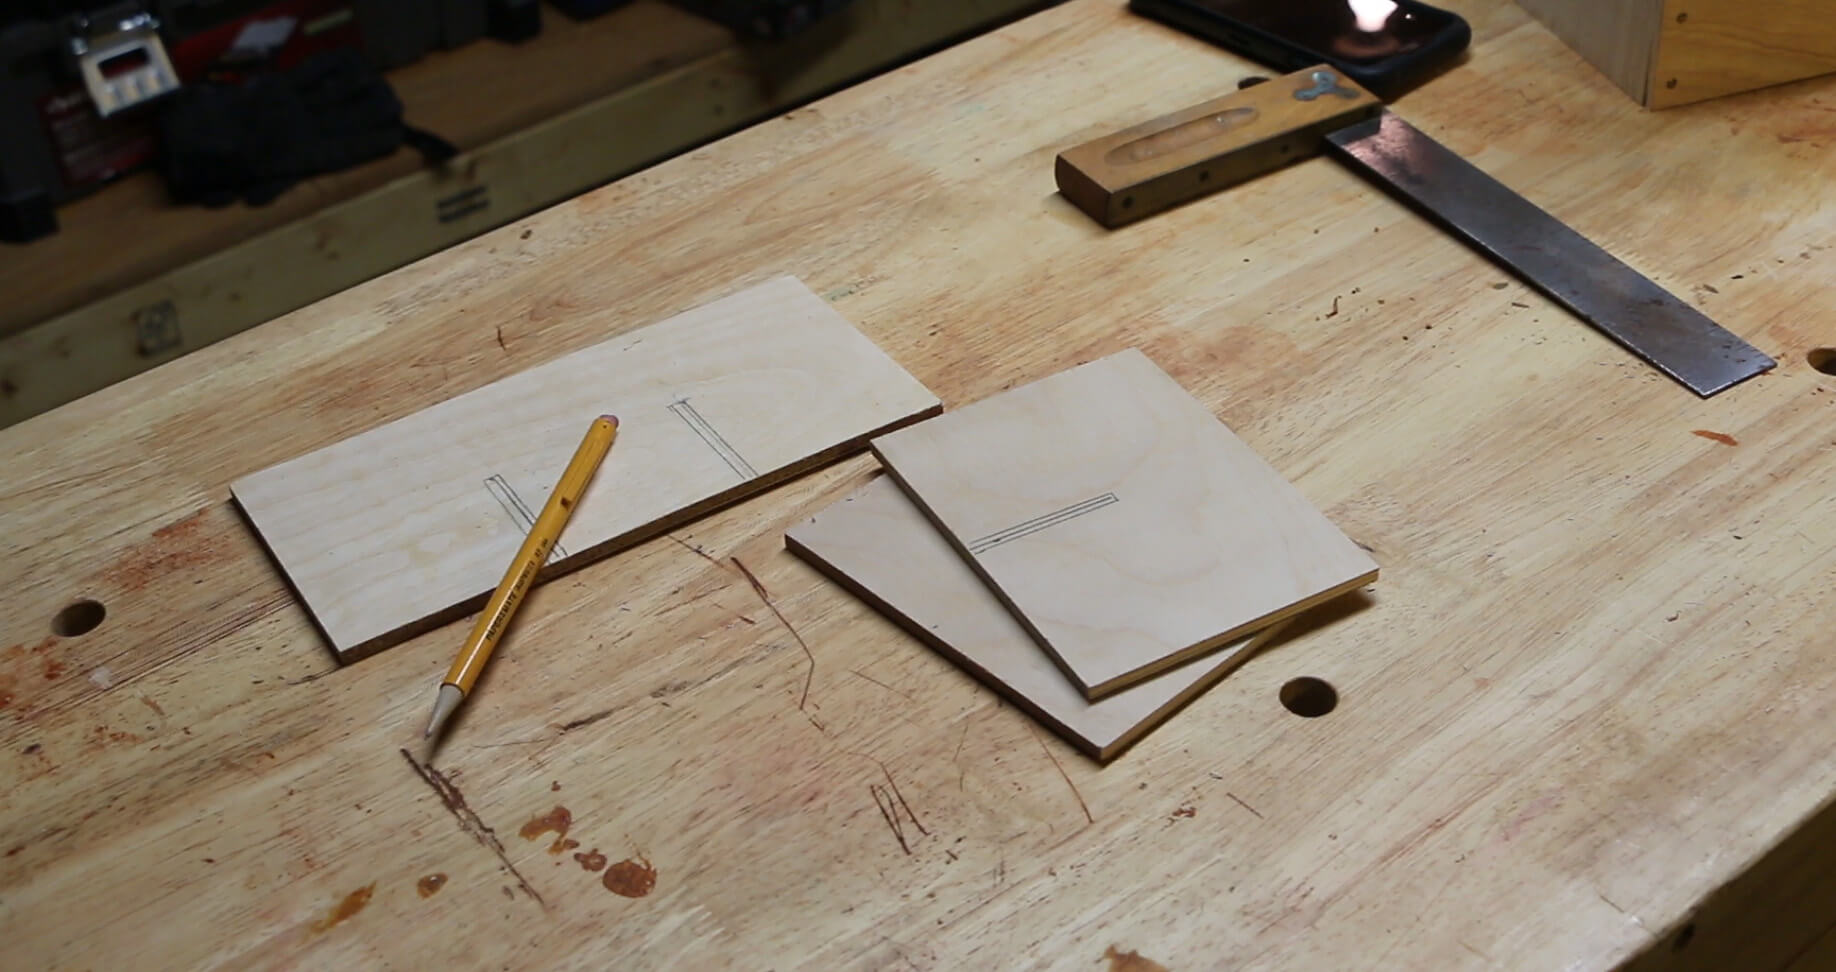
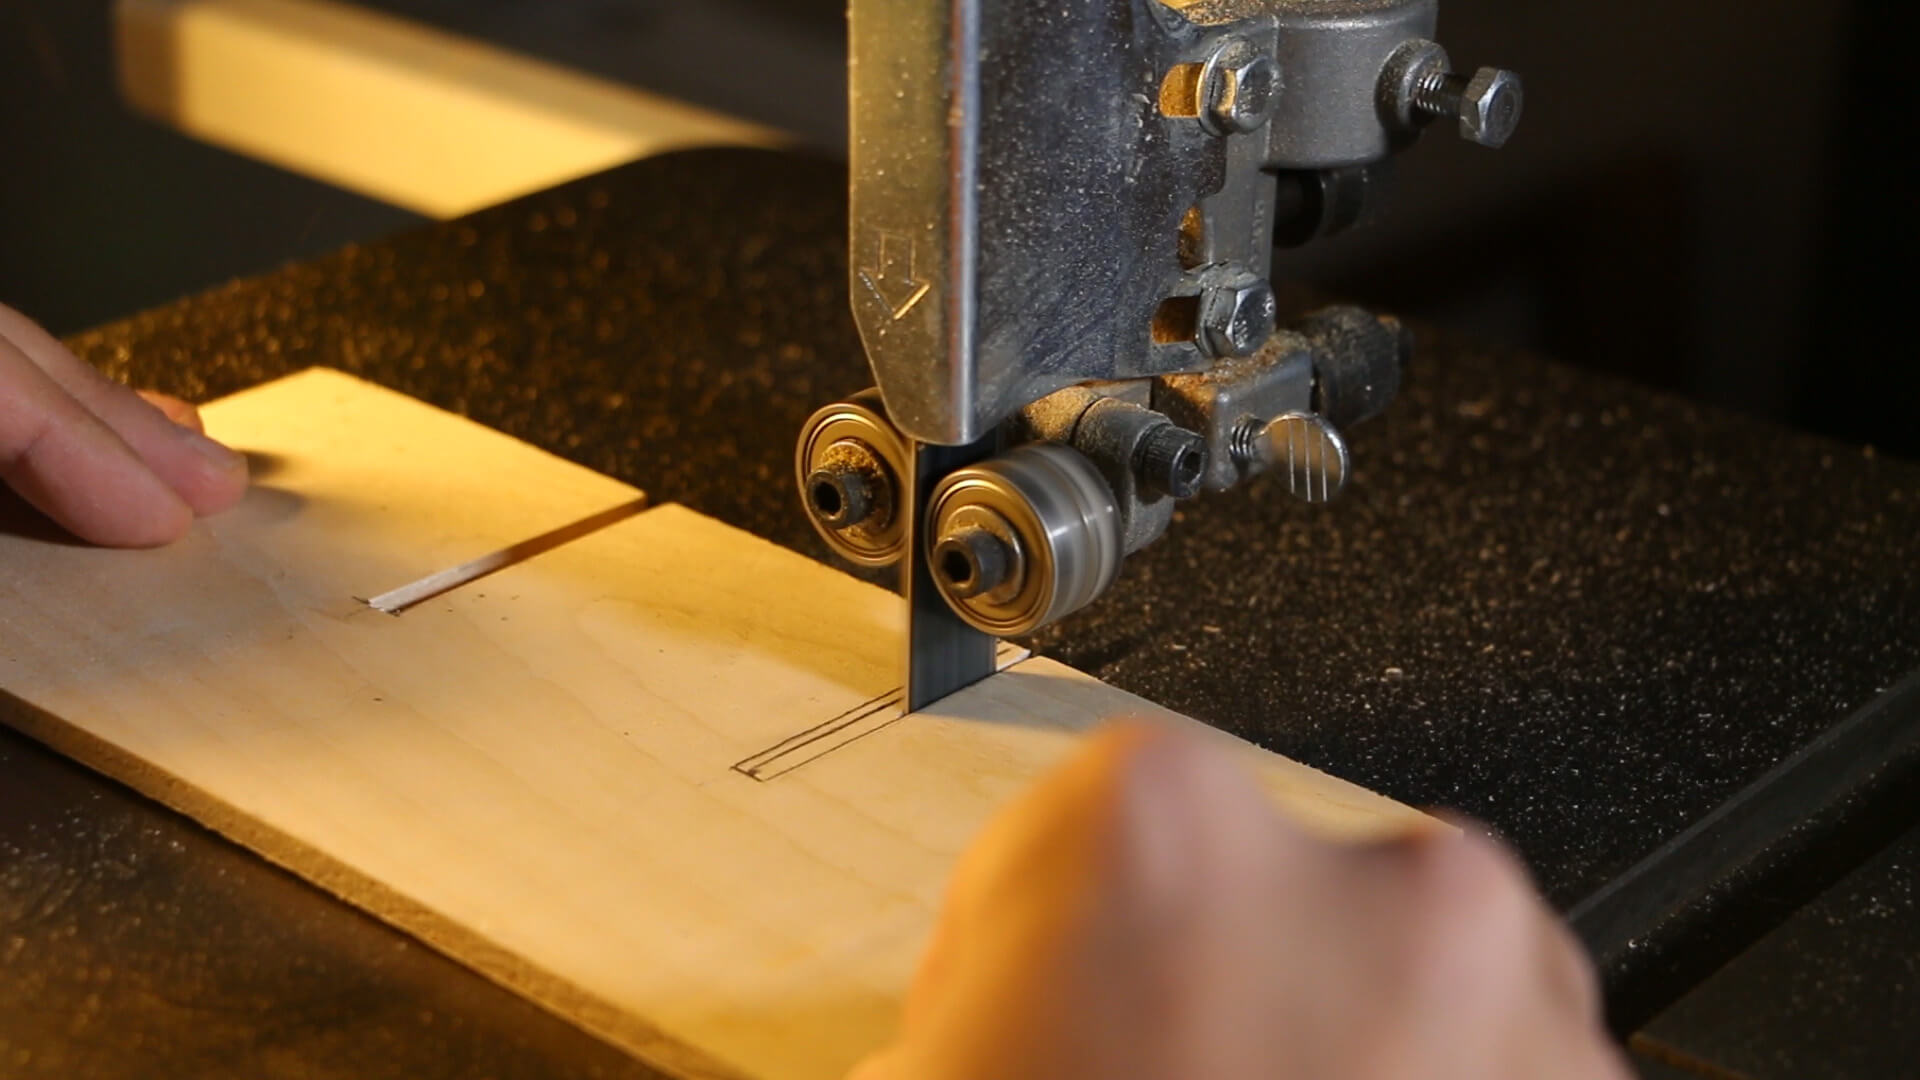
Now you should mark the cut lines for the lap joints of the dividers. The two smaller dividers that are 5.5″ long should have one 1/4″ notch cut into the center of the piece, halfway through. The larger divider piece should have two 1/4″ notches spaced evenly. Using the downloadable template helps to speed this process up. You can download it for free here. Once marked up, cut them out on a bandsaw or jigsaw. Cut the holes slightly smaller at first, then check your fit to the inside of the beer caddy.
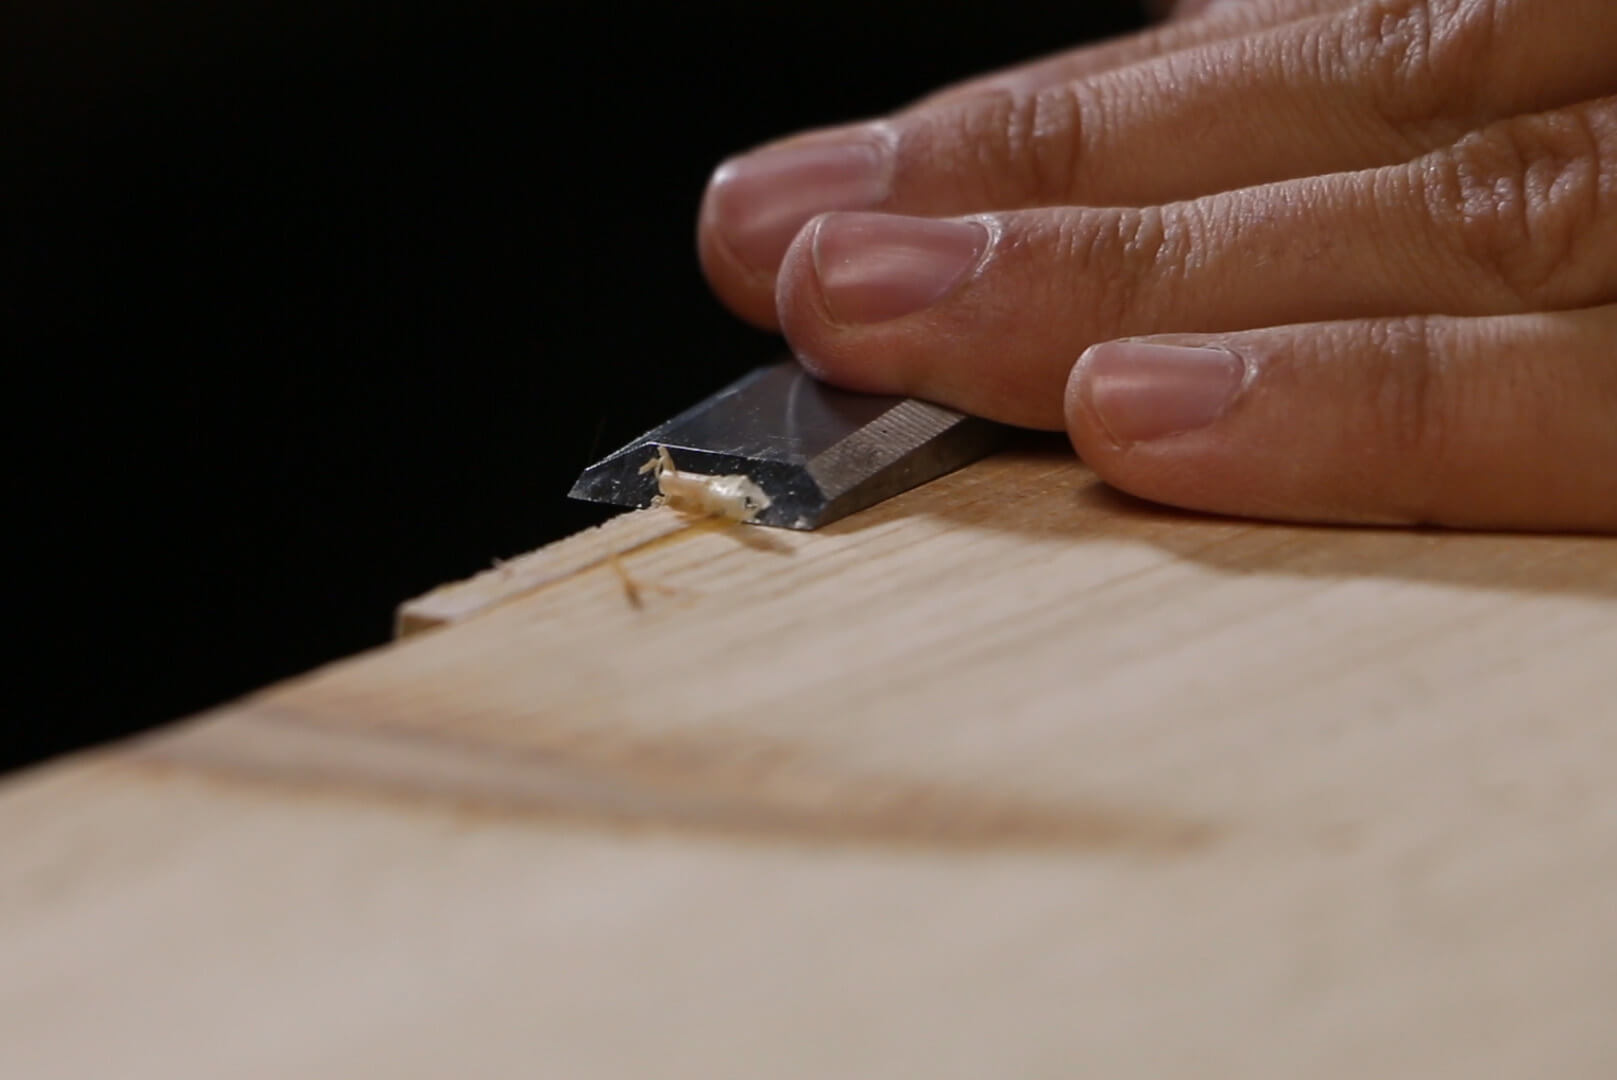
Step six: Finishing touches and enjoy!
Once the glue has dried, do some finishing touches with a flush cut saw and a chisel.

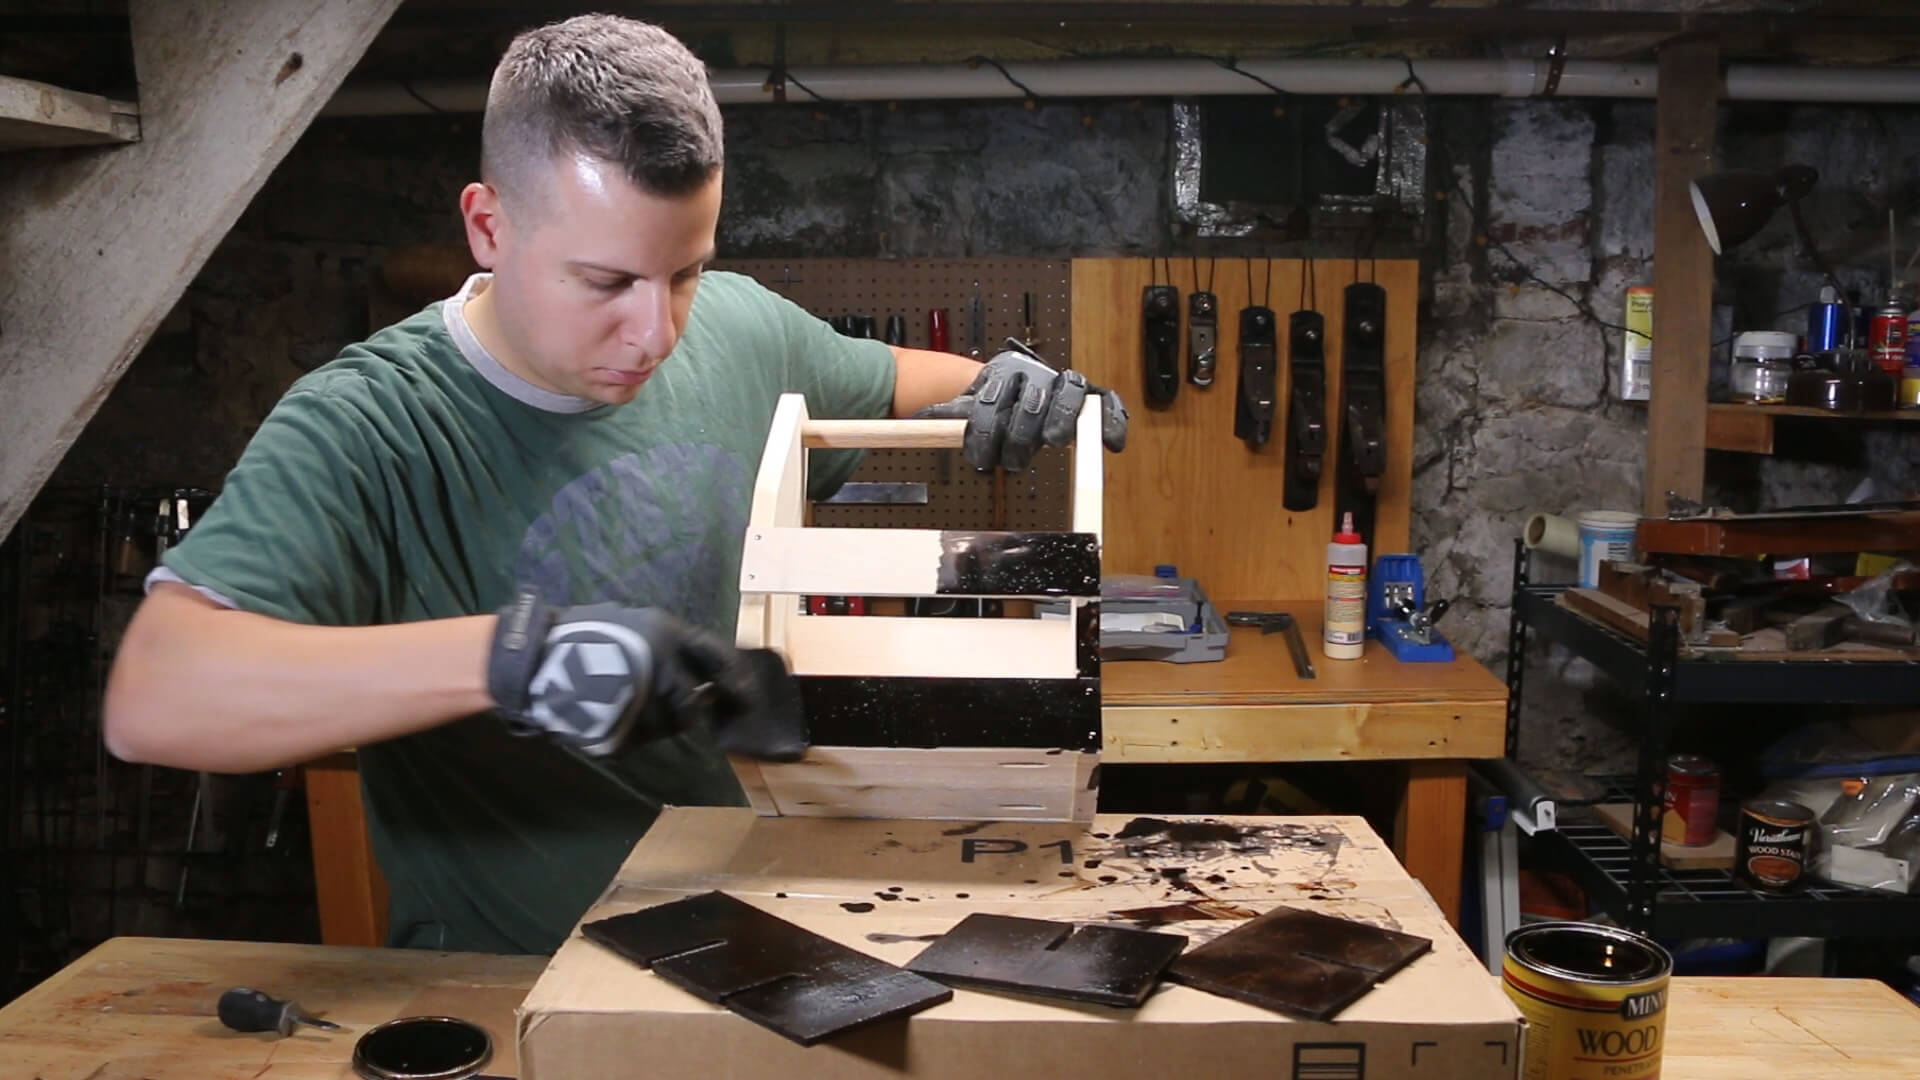
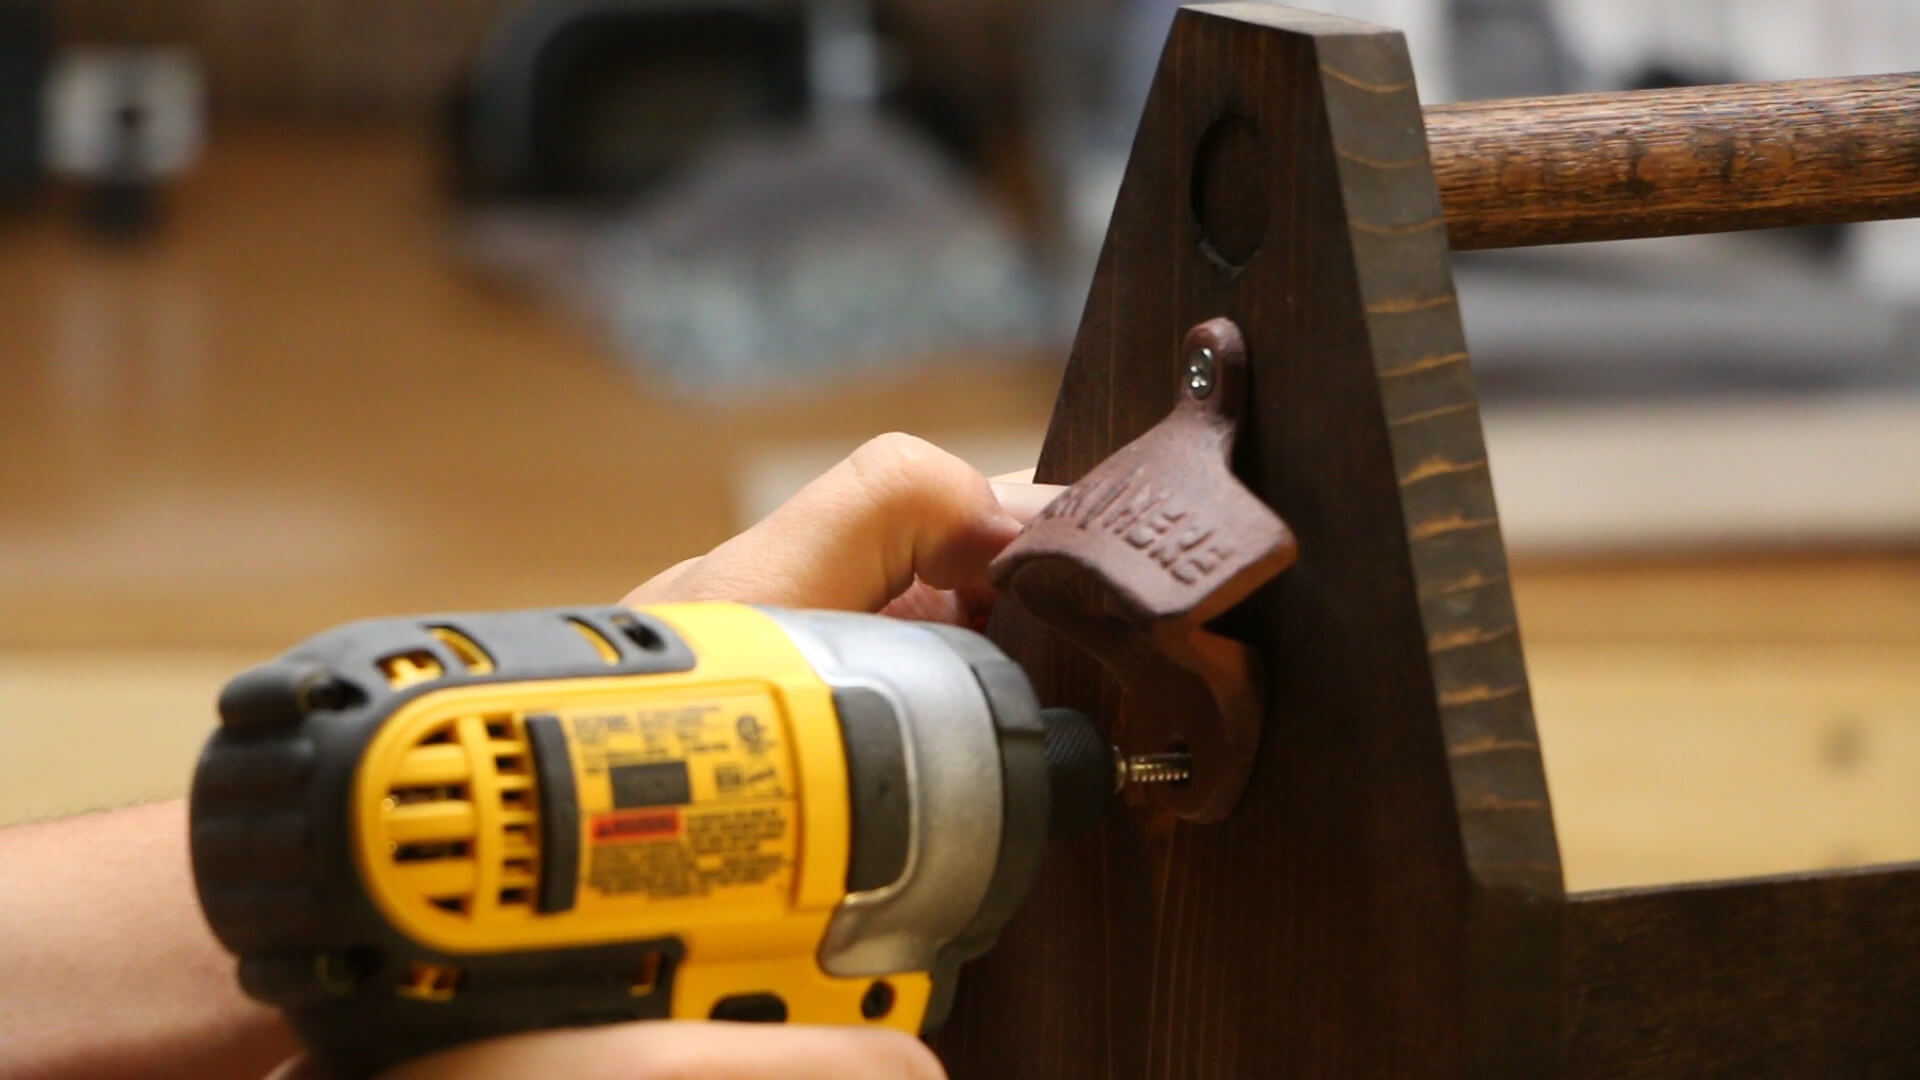
Apply a stain of your choice and then once dry, pre-drill and attach your wall-mounted beer opener!

Leave a Reply